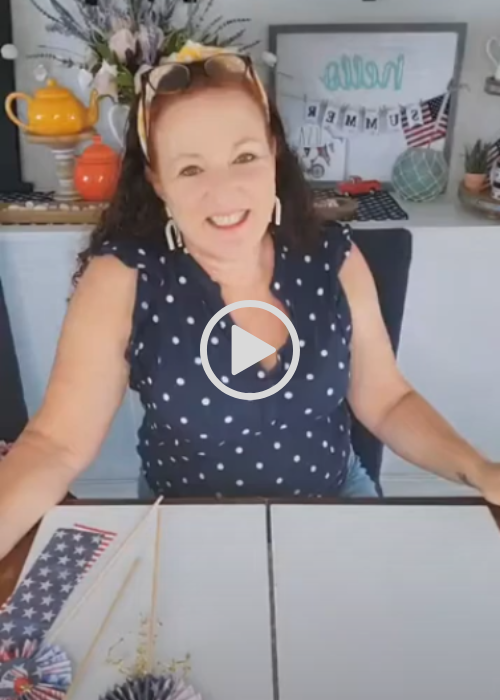
patriotic paper medallions
Decorating my home with items I have made myself gives me great pleasure.
A lot of my centerpieces and art that hang on my walls are made by me.
That said, I also do not like to pay a lot to decorate my home.
Who does, right?!
As an Amazon Associate, I earn from qualifying purchases. This page does contain affiliate links.
If you choose to purchase after clicking a link, I may receive a commission at no extra cost.
I came across a set of vintage patriotic paper medallions at a local antique store and fell in LOVE!
They were pretty tattered and fragile and I knew they would not last if I displayed them at home.
I knew that I could make these so, I “Googled” them to find out how.
Please ignore all the crazy electrical cords attached to my ring lights on the table!🤪
Materials You Will Need:
Decorative Scrapbook Paper
Paper Cutter or Scissors
Ruler
Pencil
Hot Glue Gun
Hot Glue Sticks
Wooden Dowels (optional)
1 and 3 inch Circle Cutters (optional)
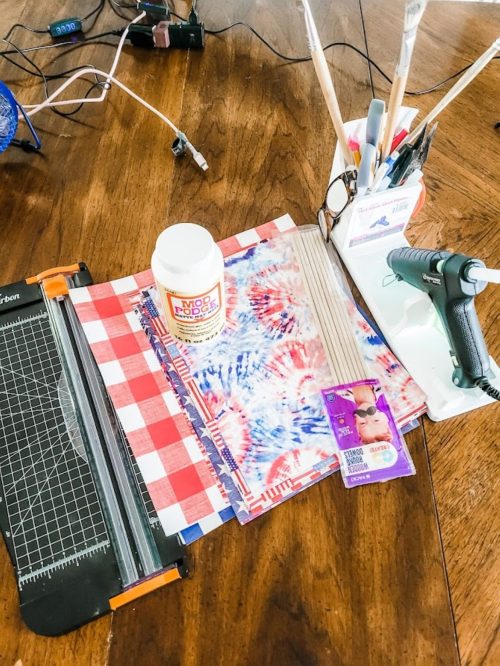
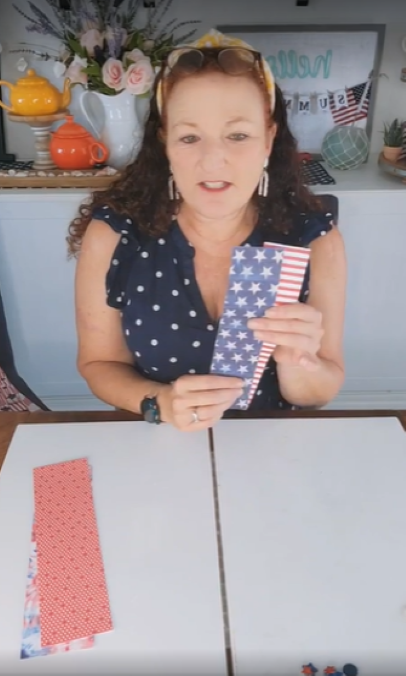
Using your ruler and paper cutter or scissors, measure and cut three strips of equal width (2 1/2 inches for the smaller one and 3 inches for the larger one)
Ensure all three strips are equal in length—approximately 12 inches long.
Next, you are going to fold each strip into a fan (like we used to do when we were kids)😊
Glue the 3 “fans” together using Mod Podge, ensuring your folds line up. Enclose the strips in a circle (see the last picture).
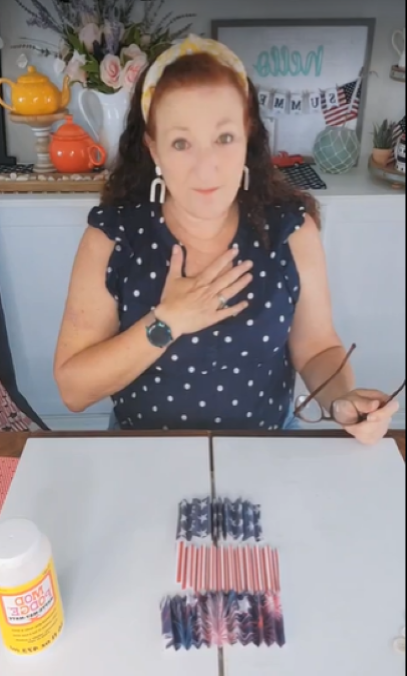
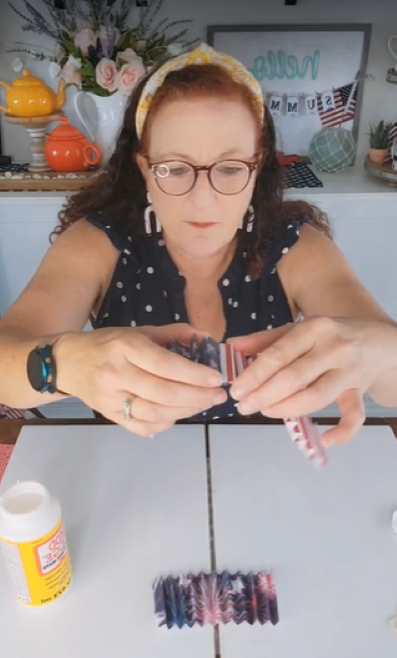
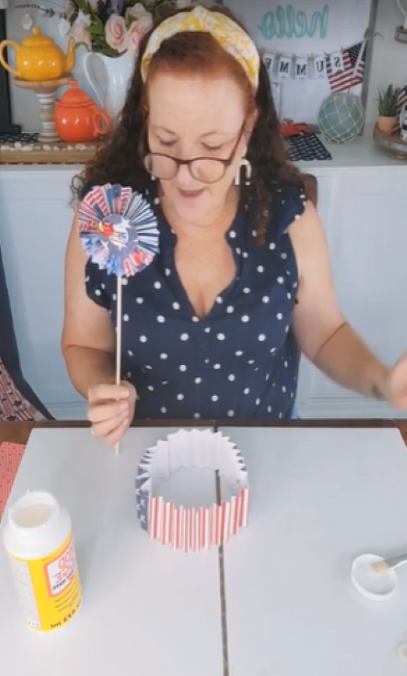
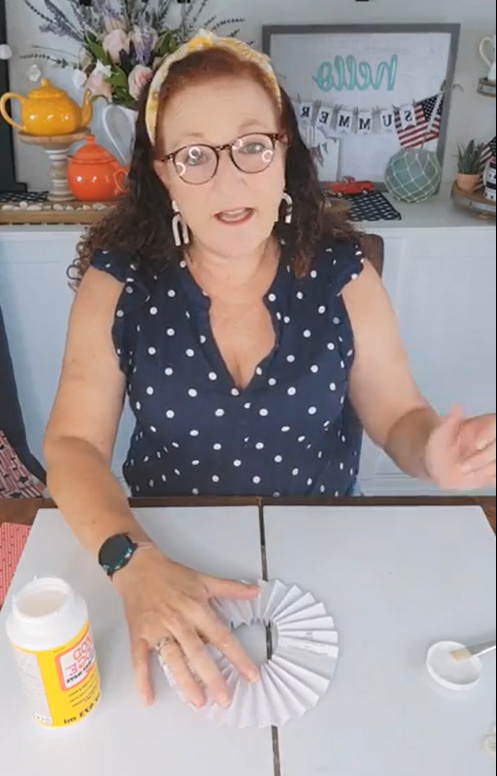
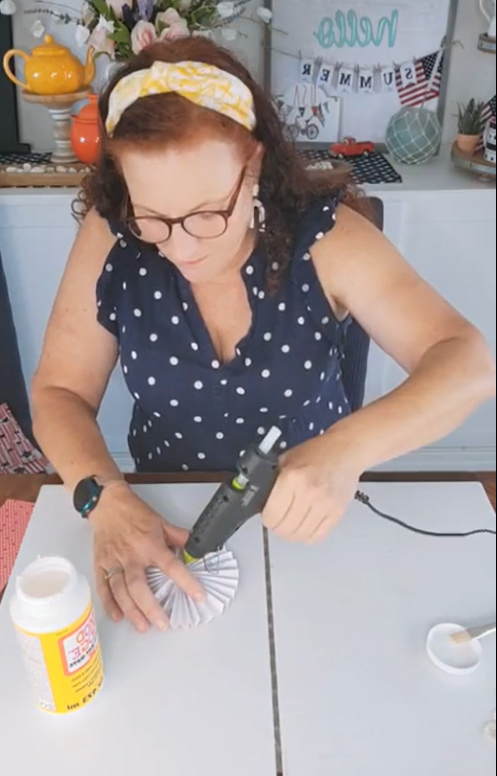
Press the circle flat and squish the center together.
Apply enough hot glue to hold the paper into the medallion shape.
Hold until glue is firm.
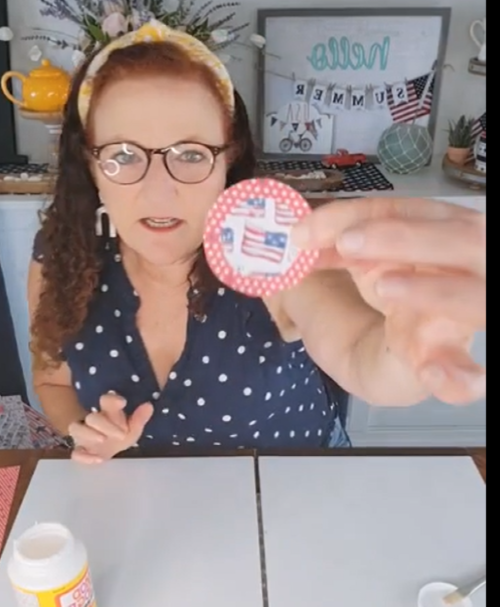
You can use a 1-inch and 2-inch circle cutter to cut circles out of coordinating paper.
Since I do not have circle cutters in that size, I looked around my home for something similar (a 3″ battery-operated candle and a 1″ spool of thread).
Draw a circle around each object on your paper and cut it out.
Glue the two circles together using Mod Podge (I also hot-glued a few buttons to mine) and then hot-glue the circles to your medallion.
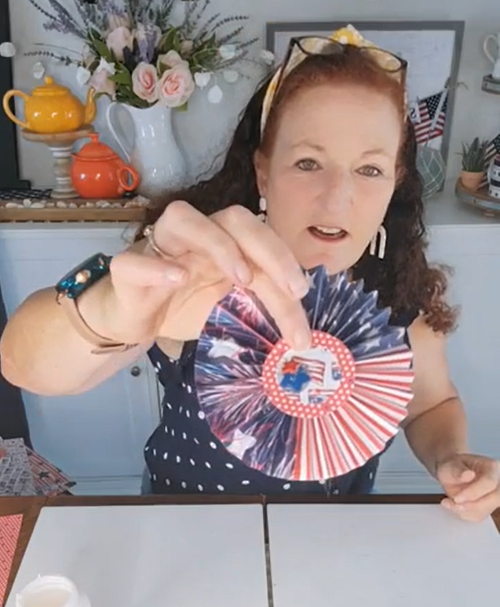
You can attach a wooden dowel to your medallion using hot glue like I did.
These are so cute when grouped with different-sized medallions.
I also added these sweet cardboard paper towel tube rockets to my grouping.
I love them!
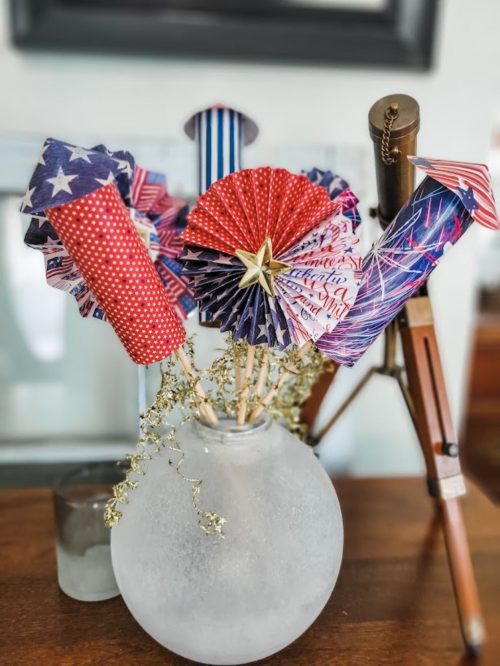
I hope you enjoyed this tutorial on making these patriotic paper medallions as much as I did.
I would love to hear from you.
If you decide to make a few, shoot me a picture in the comments below.

