Would you like to know how I made this sweet wreath from an old picture frame and some ornaments? This project is super easy and affordable!
Have you seen pictures of wreaths made out of picture frames and thought, “I really like that!” or “Wow! That is so unusual!”? I have to admit, I really didn’t know how I thought about them at first. I mean, they are nice, but… Then I was gifted this beautiful frame from a girlfriend. She said it came from Goodwill! I loved it the minute I saw it! My mom had a ton of these! I immediately pictured (get it?…”pictured” – frame?) Nevermind. Anyways…I knew that this frame would look gorgeous as a wreath in a girlie, Victorian kind of way.
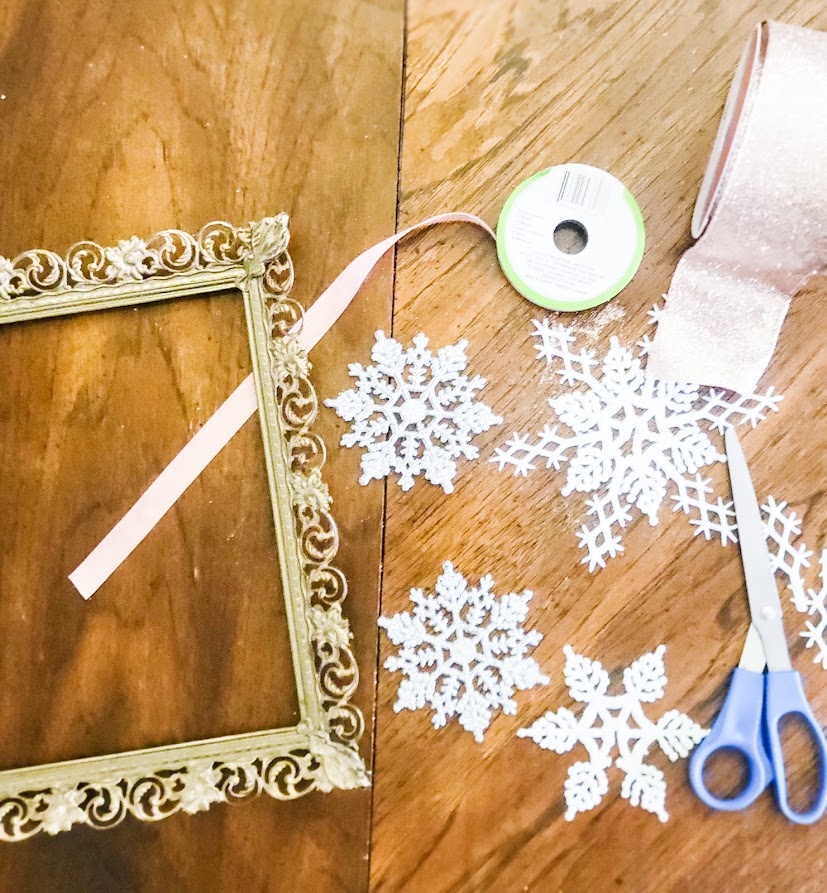
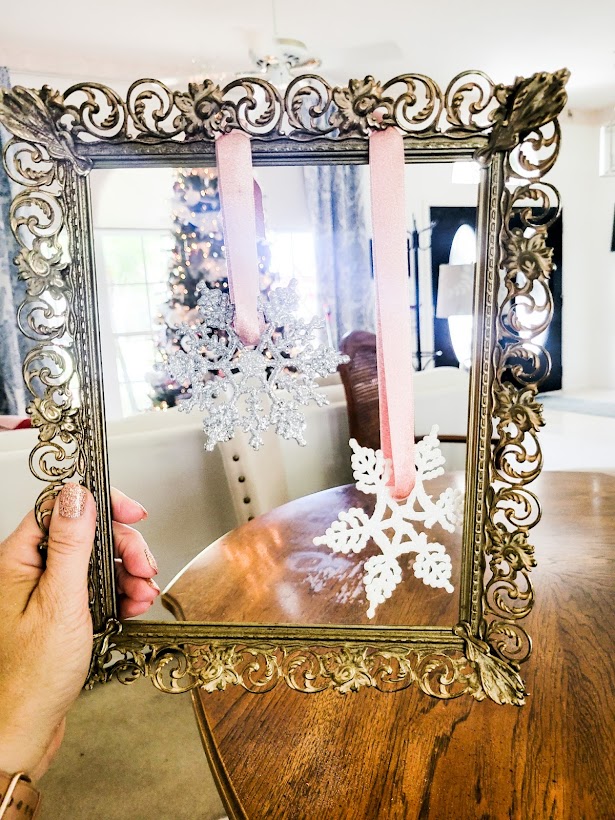
First I placed my frame on the table and then put the snowflakes inside the frame. After moving them around a bit, I decided on using two snowflakes.
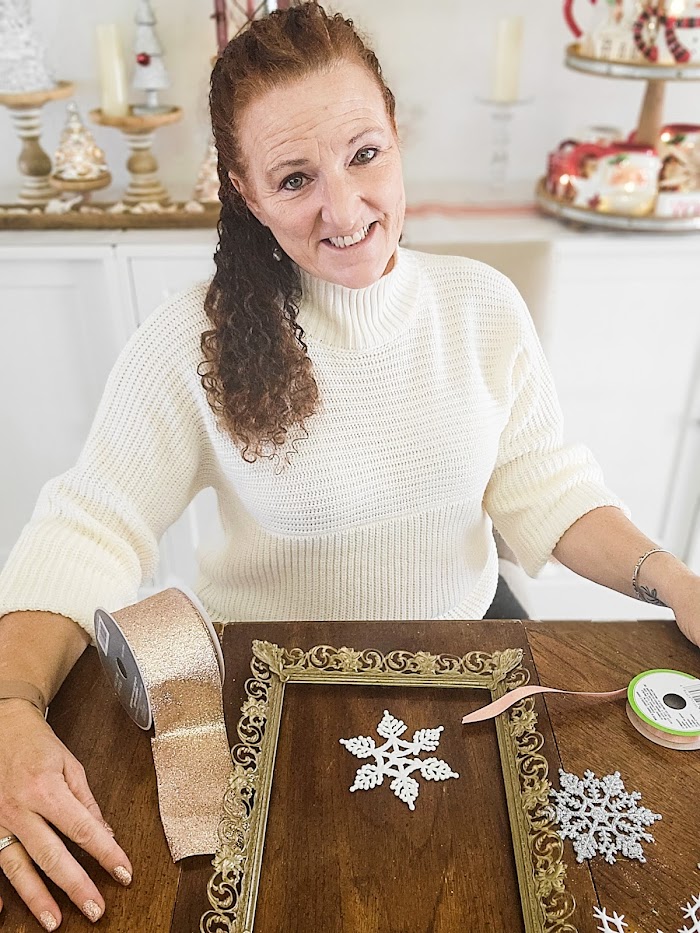
I decided that the larger snowflake was a bit too large, so I snapped off the longer legs and made it into a smaller snowflake (sounds frightening).
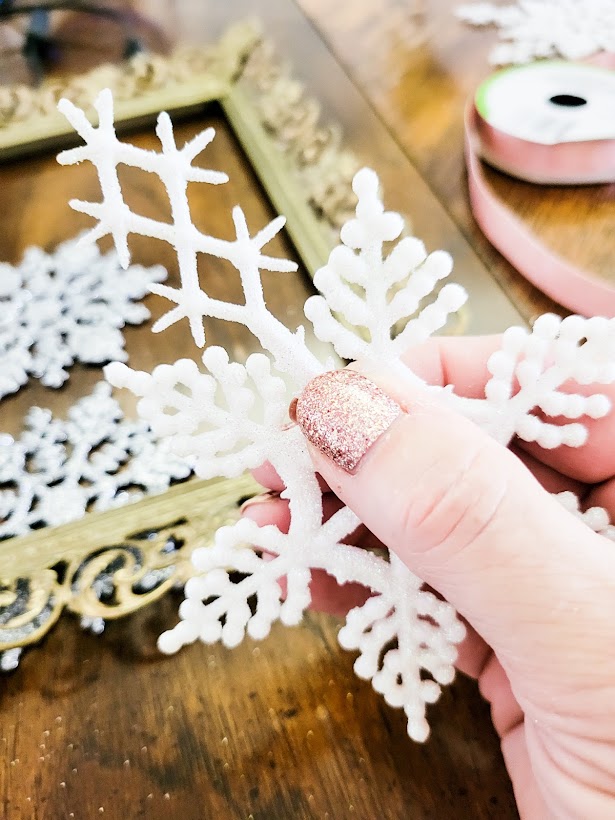
I then cut two lengths of the narrower ribbon approximately 20-22 inches and threaded then through the holes of the snowflake.
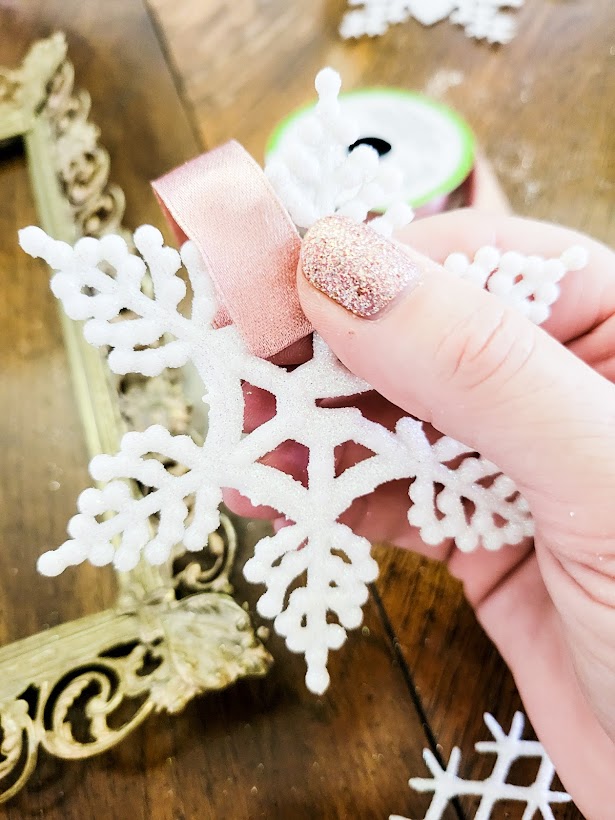
Next, I threaded the two ends of the ribbon through the holes of the frame. If your frame is not filigreed (having lattice or a lacy pattern with holes) like this frame, you can tie the ends of the ribbon in a knot and hot glue it to the inside of your frame.
Did you notice that my nails match the ribbon I am using? Totally unplanned. I am wearing nail stickers from the drugstore. Fancy lol.
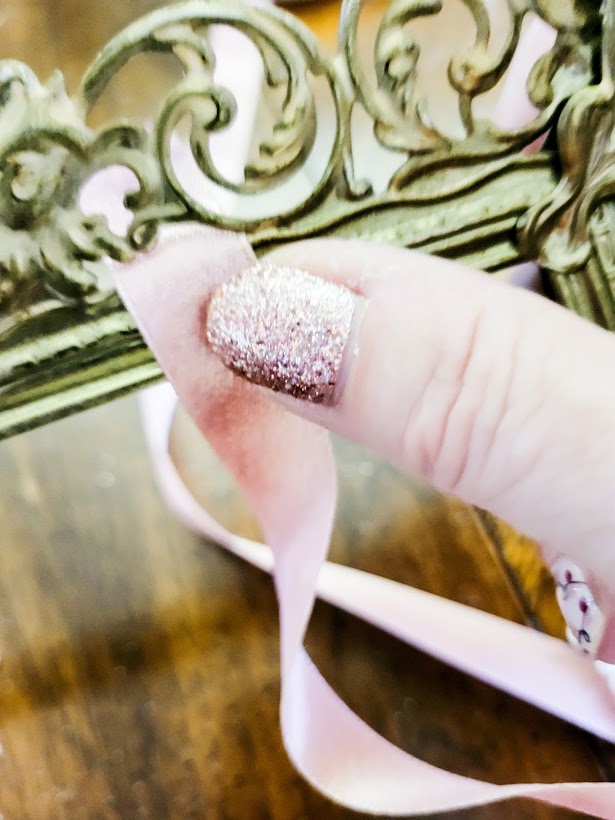
Tie a knot using both ends of your ribbon.
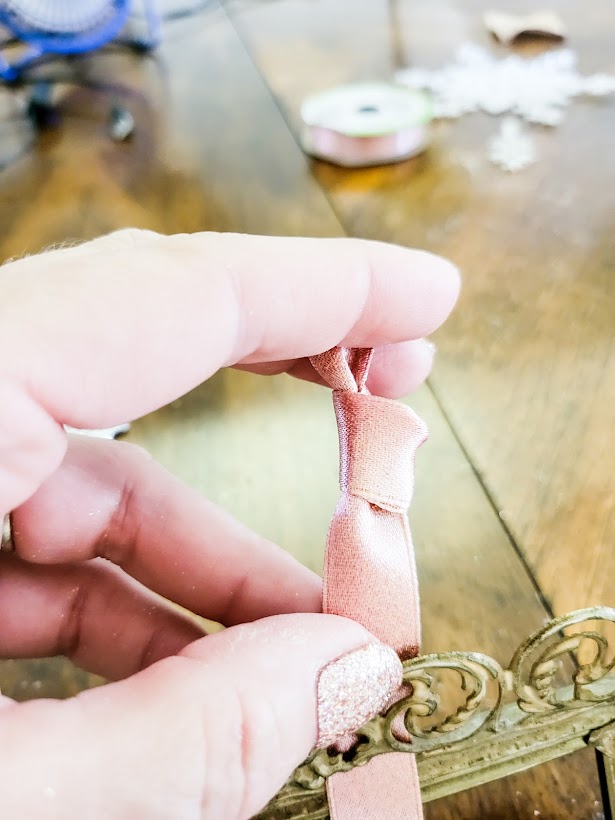
Pull the knot tight against the frame.
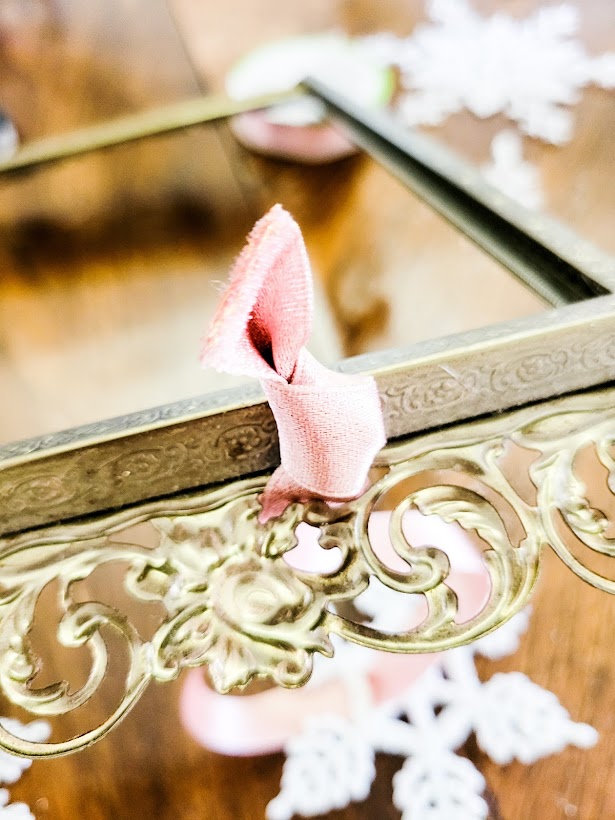
Do the same thing with the other snowflake. I chose a white and a silver snowflake for this project.
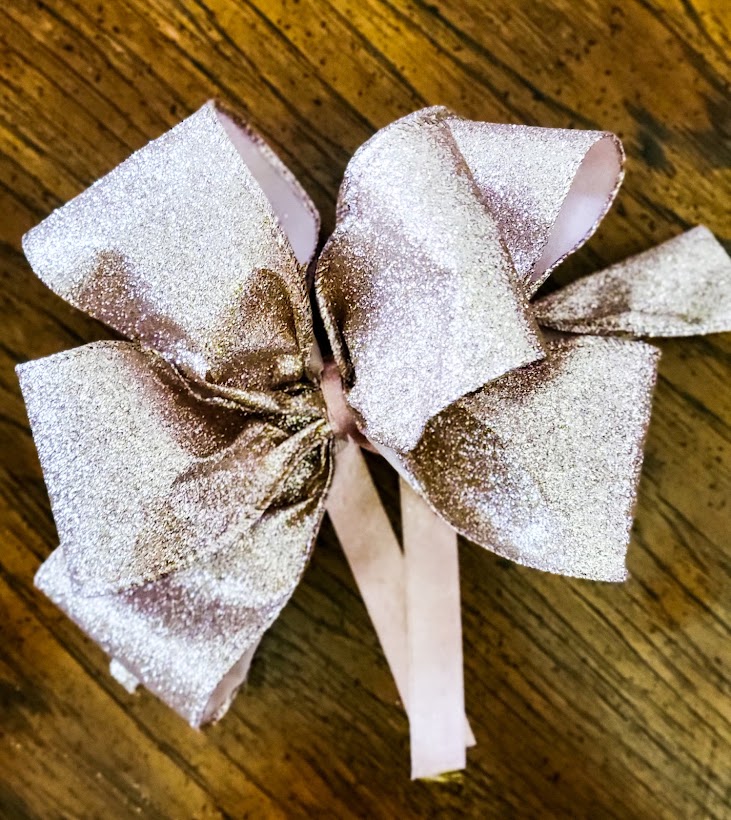
Next I made a really beautiful bow out of the wider ribbon. Although I am super terrible at making bows, this one turned out pretty great! Still, I am no expert. So instead of confusing you with my interpretation on how to make a bow, please watch this video.
I used my narrow ribbon to tie this bow together. I left the ends long enough so that I could tie it to my frame. That way it would be easier to remove if I wanted to change it for different holidays.
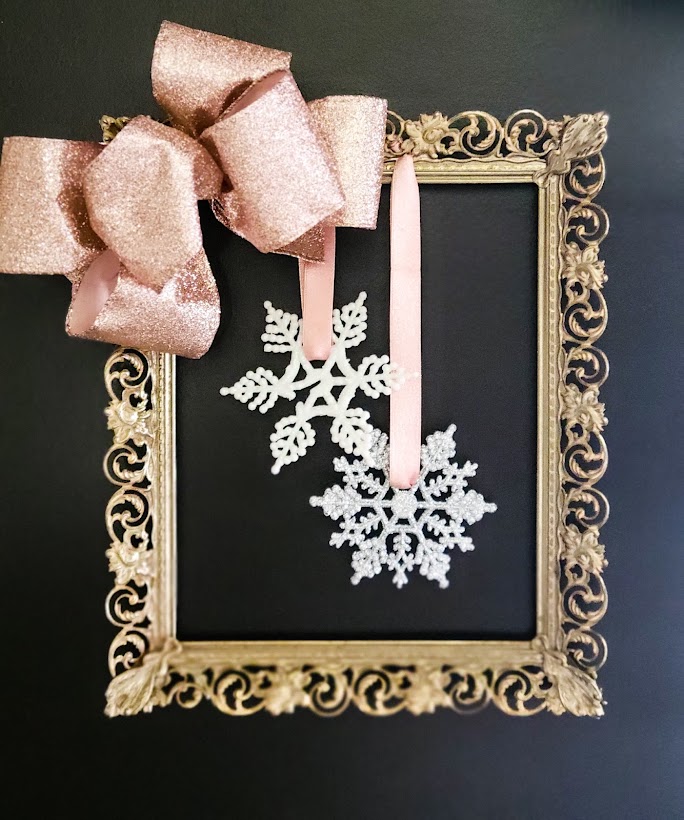
Here is my finished picture frame wreath on my black breakfast nook wall.
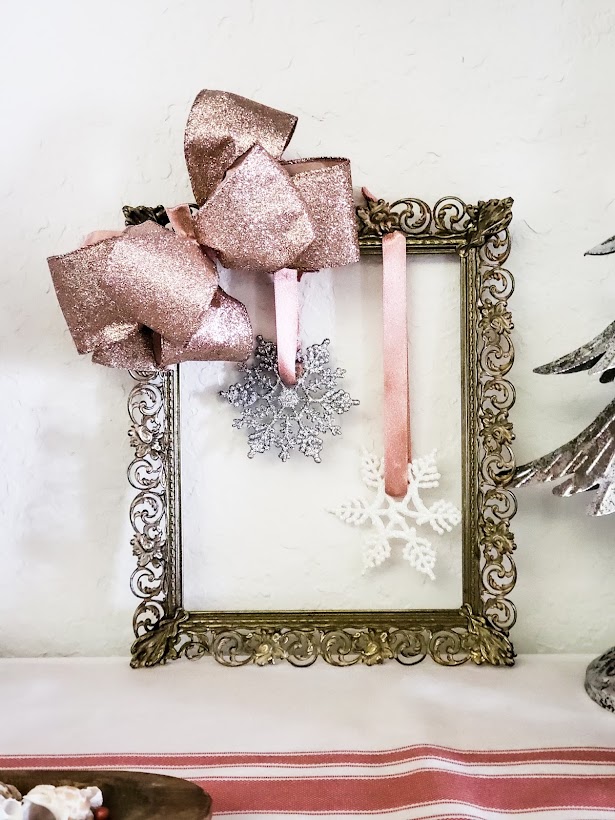
And here it is leaning up against my white wall in the dining room.
I hope you decide to make one of these beauties for yourself. Please use non-breakable items if you decide to hang your wreath outside. The possible variations of this project are endless. I would like to make two large wreaths (16”x20”) for my double front door! 😊
Thank you so much for joining me! This was pretty fun and super easy if I do say so!


