I found this idea one day while scrolling through Pinterest.
I have MANY pins… in sections… on boards.
Yeah, you too?
I decided to look at my pins instead of adding new ones.
I found so many ideas I forgot I had saved.
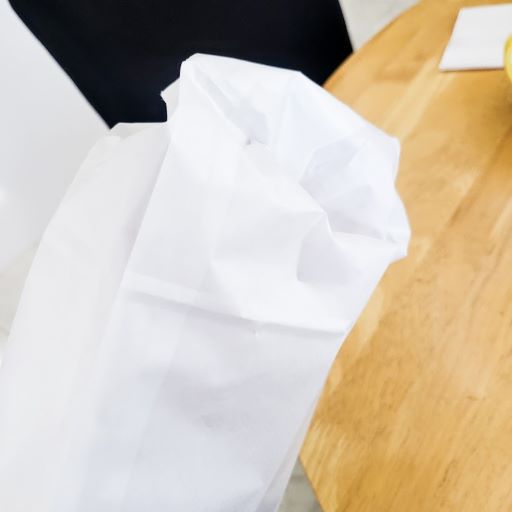
So, last week while looking for Spring projects to do on a live Facebook video, I found this GORGEOUS lunch bag wreath that is also easy to make (right up my alley). 😉
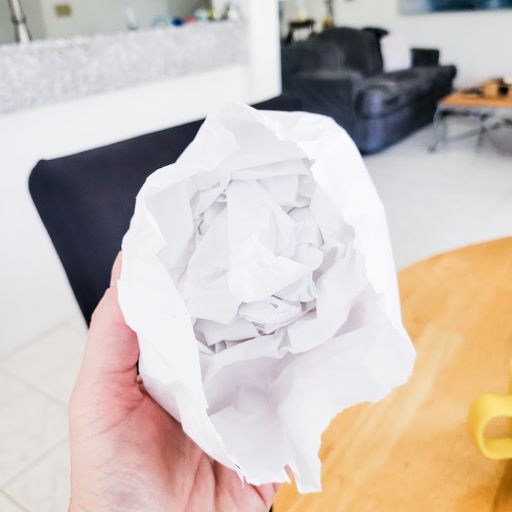
Pull the four corners in your hand down while pulling the outside of the bag up around the edges (4).
1
2
3
4
Repeat steps 3 and 4 until you are at the end of the bag.
You might need to fluff it up a little (5).
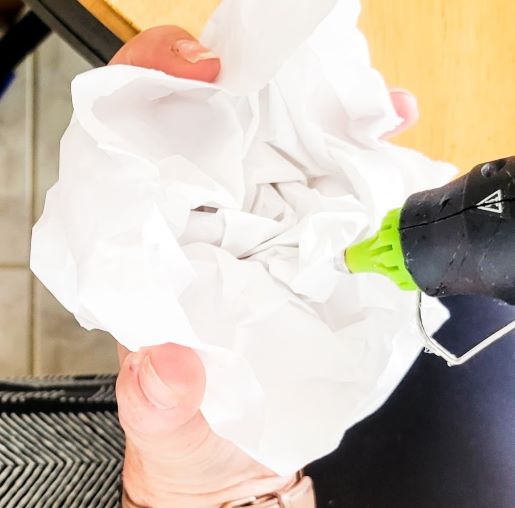
The back of the flower is the opening of the bag (6)
Every flower will look slightly different, but I think that makes it look “real.”
I made 30 flowers for my wreath.
5
6
Glue the bag’s opening around the flower’s base (7).
7
This next step is optional.
I glued my flowers in groups of 3 before adding them to my wire wreath form.
This really helps to fill in the spaces on the wreath and eliminate all gaps.
Flip your group of 3 flowers upside down and put your wire wreath frame on top.
Make sure that you glue your flowers to the convex (rounded side up) part of your wire frame.
You need to use quite a lot of glue to secure it to the frame.
Hold until set (approximately 20 seconds).
There you have it!
A beautiful lunch bag wreath from lunch bags for under $5! Yay!
I love how this turned out!
I plan to make 2 for the French doors in my dining room!
Let me know if you make one.
I would LOVE to see how it turns out!
Hi, I’m Danielle!
I am the designer, writer and diy’er behind this blog. I enjoy decorating my home for practically nothing by doing most of the work myself, finding new and imaginative ways to make it beautiful and by watching for killer sales. I find humor almost anywhere and can laugh at myself through it all. I have learned that most projects don’t go exactly as intended, but can be more beautiful than the original plan.
Re-Fabbed Boutique – Beautiful, quality clothing for women of all shapes and sizes!!
We use cookies to ensure that we give you the best experience on our website. If you continue to use this site we will assume that you are happy with it.OkNoPrivacy policy
You can revoke your consent any time using the Revoke consent button.Revoke consent