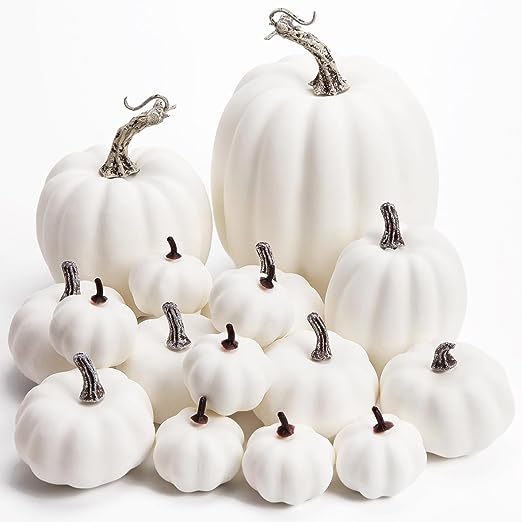
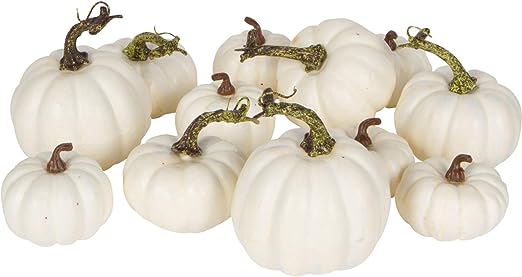
First, I painted my faux Styrofoam pumpkin white (it’s best to buy them white to begin with—see above 👆).
If I had sealed the pumpkin before using the Mod Podge, the orange might not have bled through. 🤔
Apple Barrel White Paint
Separate the napkin’s back layers—two if it’s 3-ply and one if it’s 2-ply, from the printed top layer, and cut out the motifs (in this case, the flowers) from the napkin.
Paint the Mod Podge on your pumpkin where you intend to place your napkin motif.
Your napkin will lay on top, so make sure that you put the Mod Podge in a big enough area that the whole napkin touches the liquid.
Pick up the motif by touching the paint brush to the napkin and apply it to the pumpkin.
Be careful to avoid wrinkles to the napkin.
Apply as many or as few motifs as you like to reach your desired effect.
Once dry, apply another coat of dishwasher-safe Mod Podge to seal your design and protect it from the weather.
Here are my finished pumpkins.
I already bought them in white so the orange did not bleed.
If you decide to make this, I would love to see how yours turned out!
Please send me pictures in the comments below.
Hi, I’m Danielle!
I am the designer, writer and diy’er behind this blog. I enjoy decorating my home for practically nothing by doing most of the work myself, finding new and imaginative ways to make it beautiful and by watching for killer sales. I find humor almost anywhere and can laugh at myself through it all. I have learned that most projects don’t go exactly as intended, but can be more beautiful than the original plan.
Re-Fabbed Boutique – Beautiful, quality clothing for women of all shapes and sizes!!
We use cookies to ensure that we give you the best experience on our website. If you continue to use this site we will assume that you are happy with it.
You can revoke your consent any time using the Revoke consent button.