When our son (oldest of the 3) and his wife were coming for a visit, he asked if I could give him a project to do. Why…yes, I could certainly do that! Better yet, a project we could do together! Poor kid! I don’t think he quite had that in mind! Ha!
I had been on Pinterest one day…I know, not surprised! Anyways…I was on Pinterest when I came across this idea to build storage benches in the corner of this little nook. GENIUS!!! DIY Banquette Storage Bench directions here.
So, I drew up a plan with the dimensions that would fit the corner of the room, figured out a materials list and off to Lowe’s I went. I think I was actually skipping! :0D
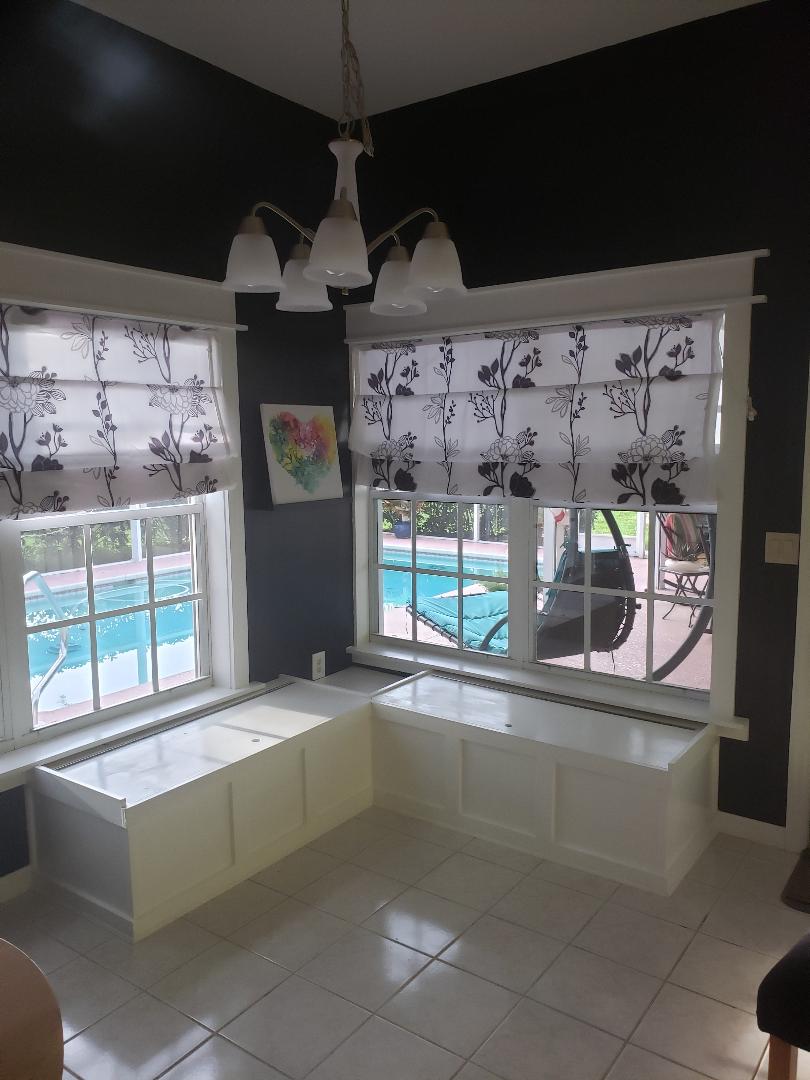
For the benches I used a “Board and Batten” type of finish. The “Board” or top and bottom (horizontal) wood strips along with “Battens” or the vertical pieces in between.
This type of siding is used mostly in “Farmhouse” or “Country” settings. I love the look it gives to these benches. Kinda says, “Come, sit and stay awhile!”
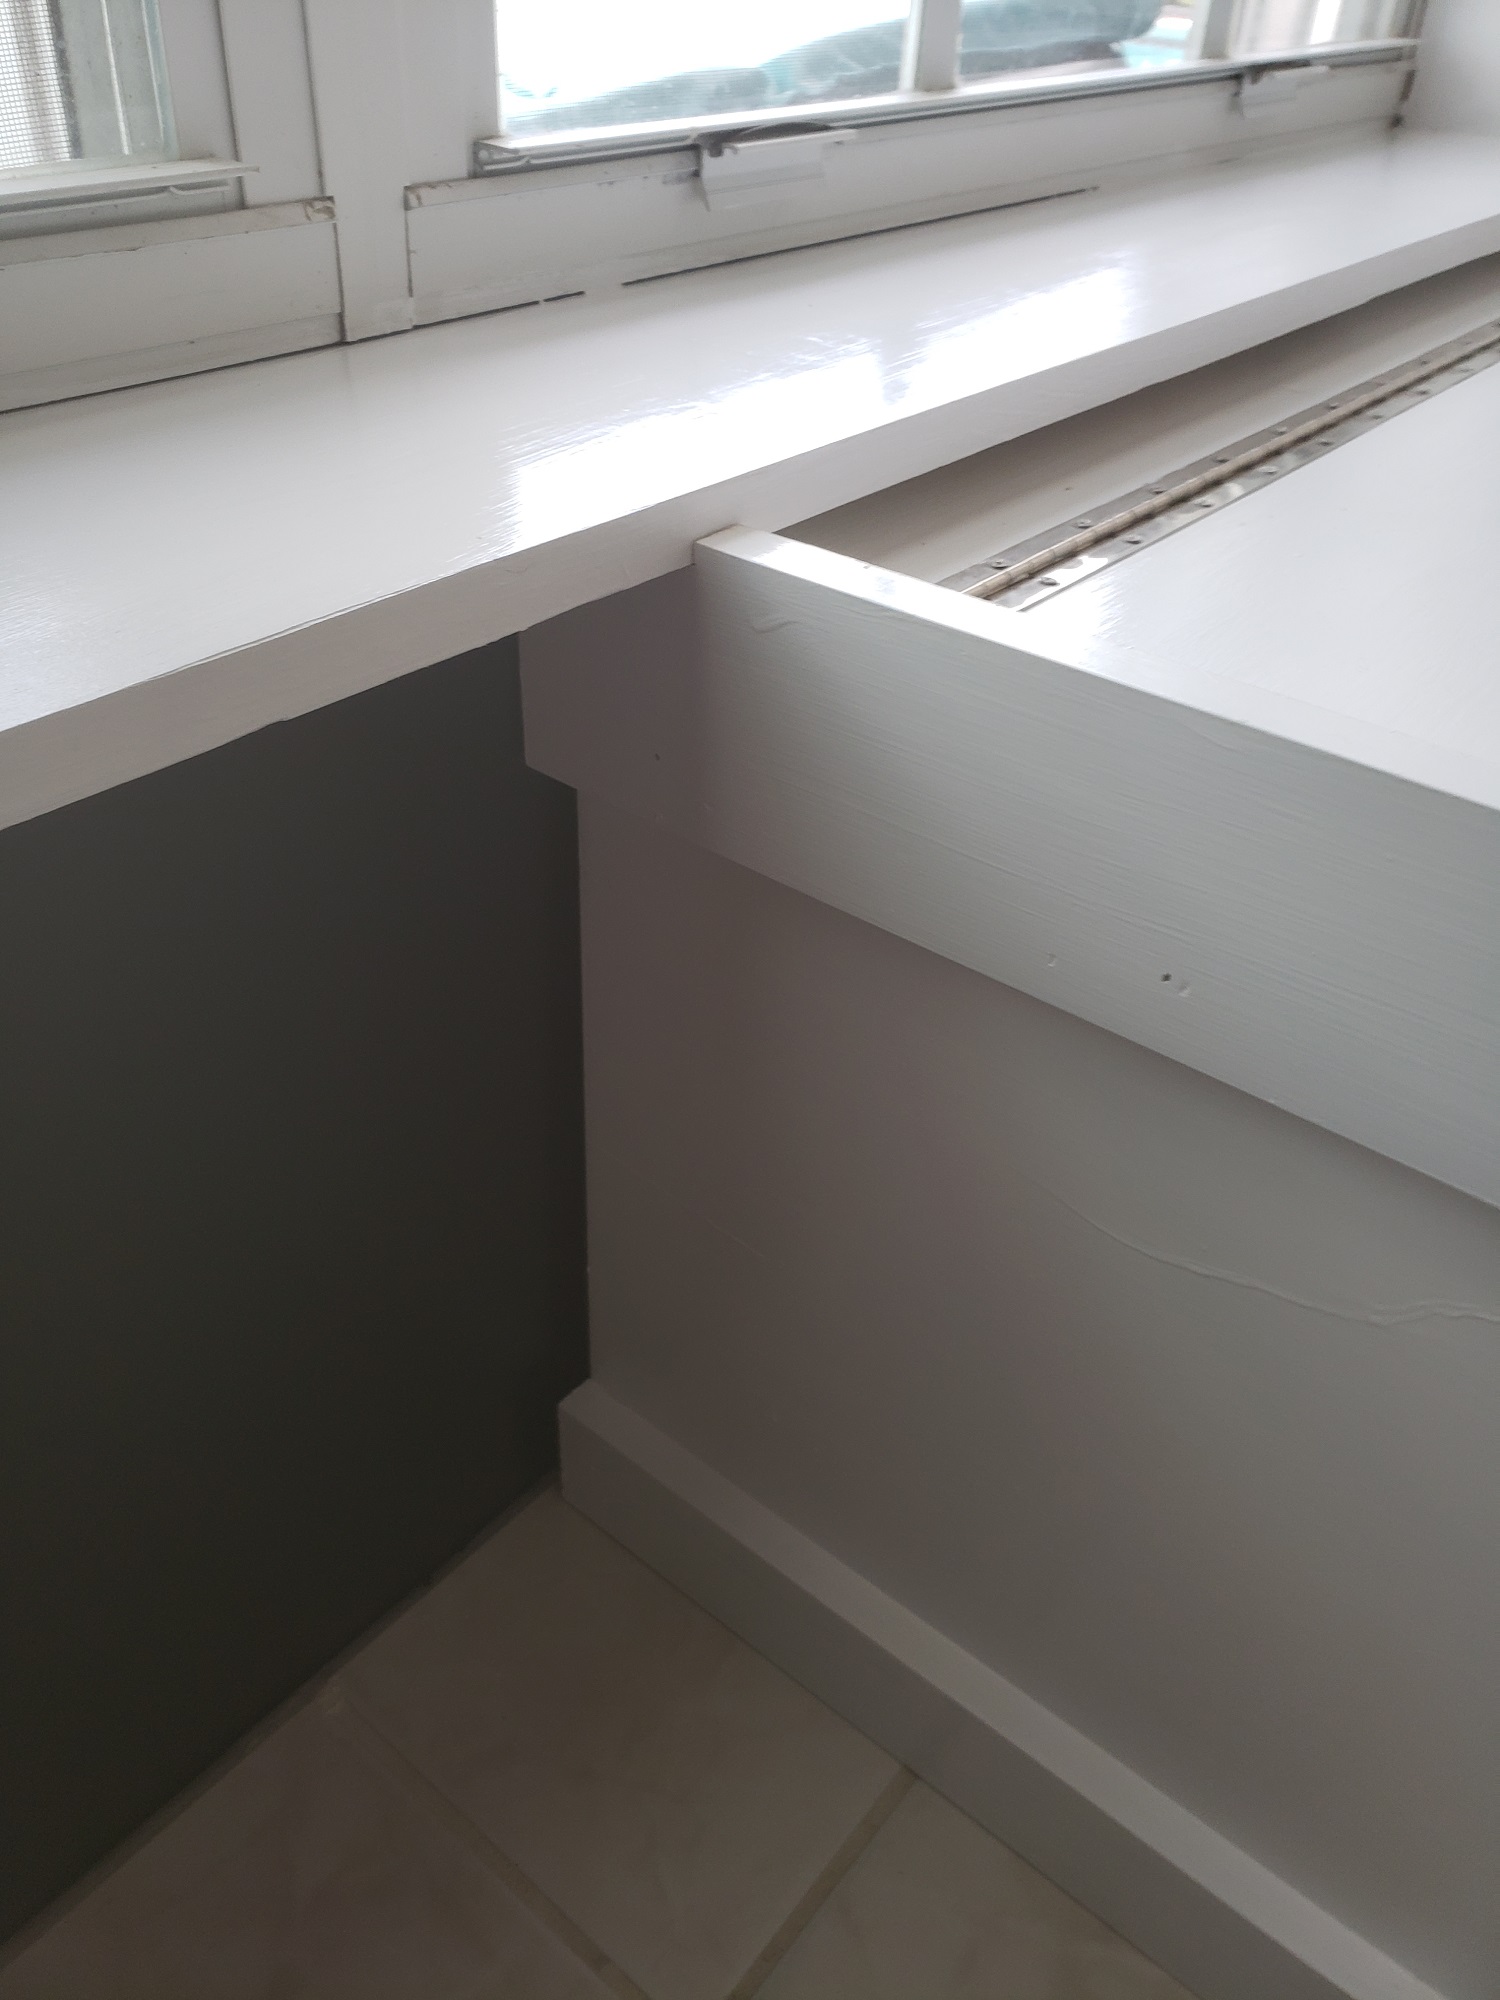
After the benches were trimmed out, I painted them Ultra White by Sherwin Williams in a High Gloss finish. I wanted them to be easy to clean and to “shine” just a little. 😉
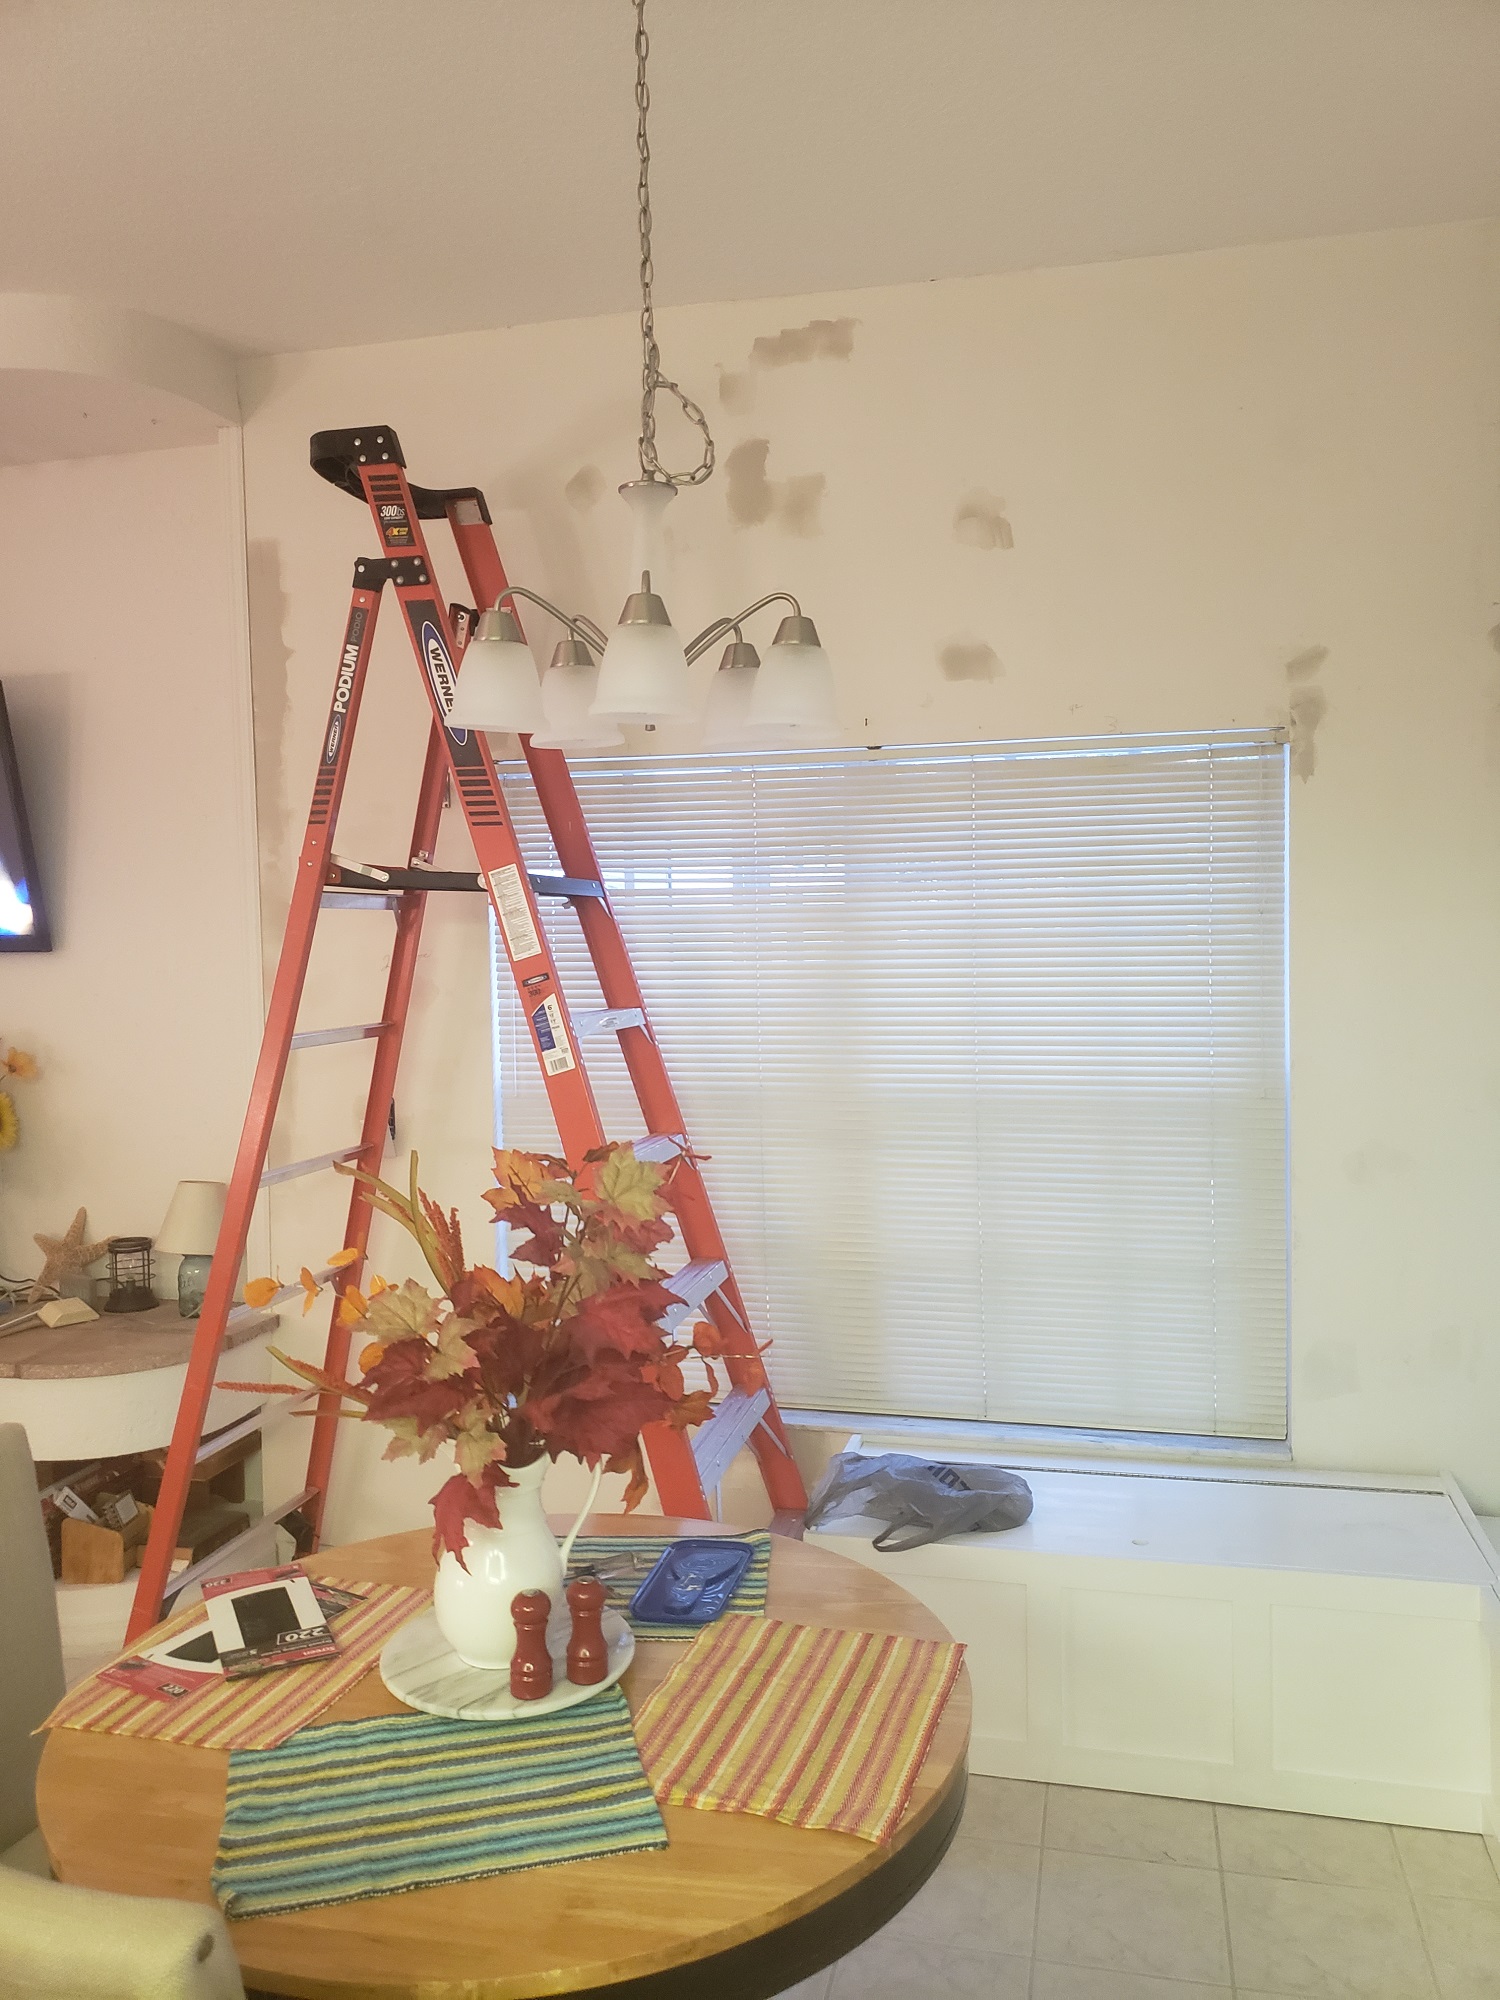
2. Remove Wallpaper
Now for the wallpaper! I must have been overly excited to get rid of that wallpaper because I forgot to take any pictures of removing it! Oh well…such is life!
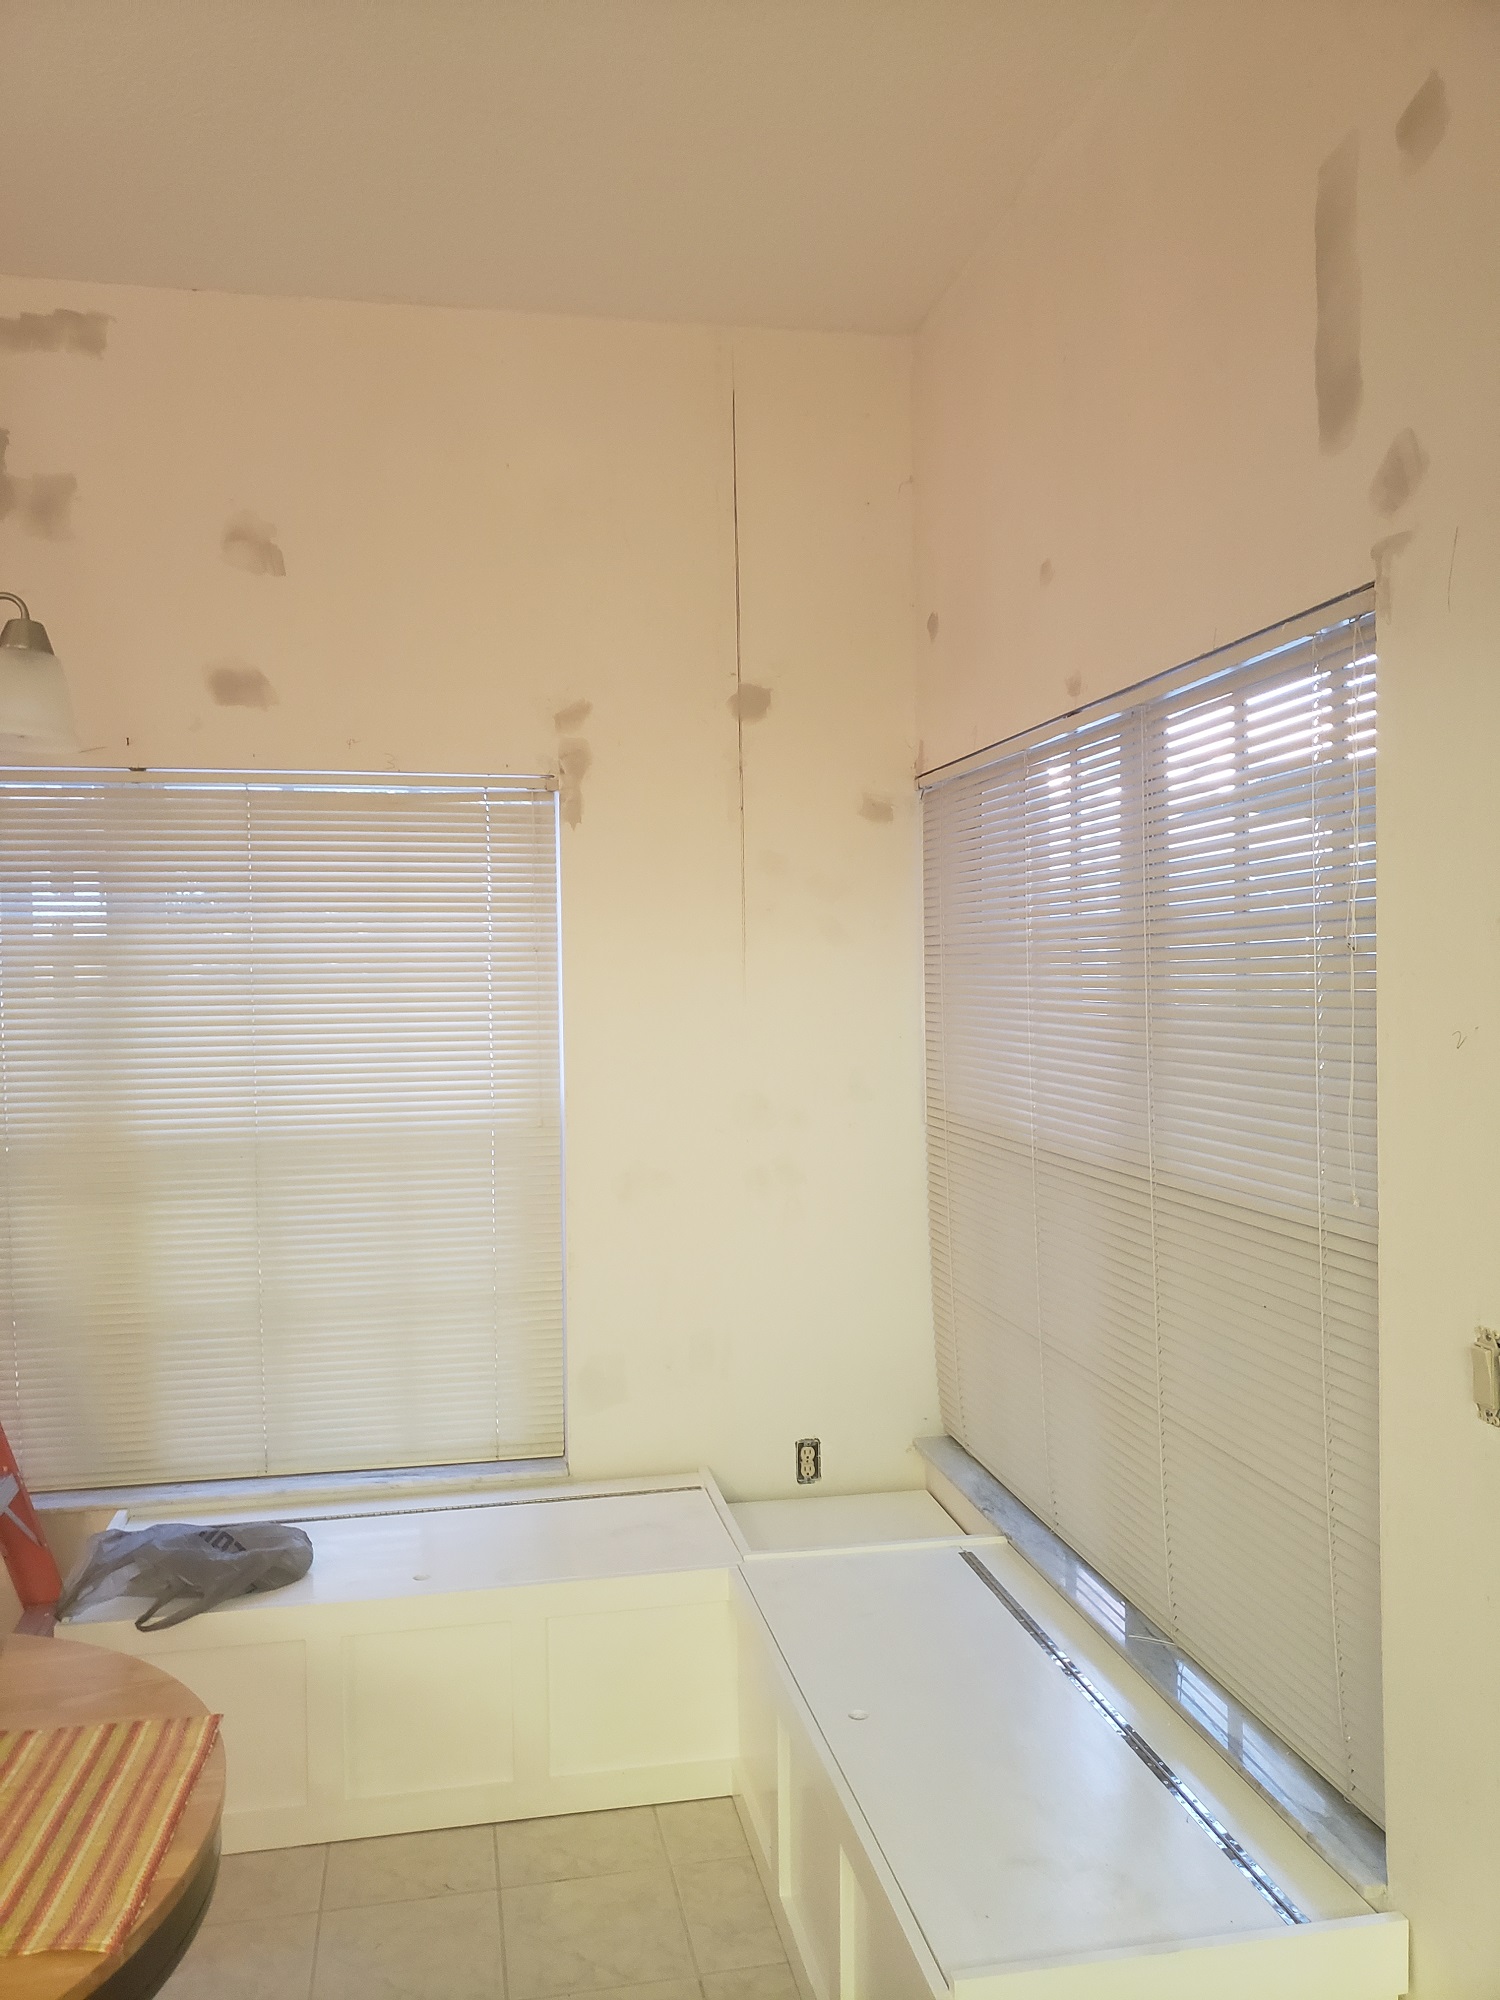
I did, however get shots of all the patching I had to do once the wallpaper was removed. I used regular low dust drywall compound. (I prefer USG Dust Control Patch and Repair Compound that I purchase at Lowe’s.) You can buy it in small quantities for jobs like this or in 5-gallon buckets for larger jobs.
Once the drywall compound dried, I sanded the walls smooth using an electric disc sander. If you remember, in my Master Bathroom Makeover post, I did not take the time and effort it required to sand properly before painting. Yeah…I will be re-doing that someday. :0(
3. Build Farmhouse Style Window Trim
After the walls were all properly sanded, it was time to get started on the widow trim. Here in Florida, most homes have trim-less windows and marble window sills. Being a girl from Ohio, I really think windows without trim is kinda…blah. Take a look at my DIY Farmhouse-style Window Trim directions here
4. Select Paint & Paint the Walls
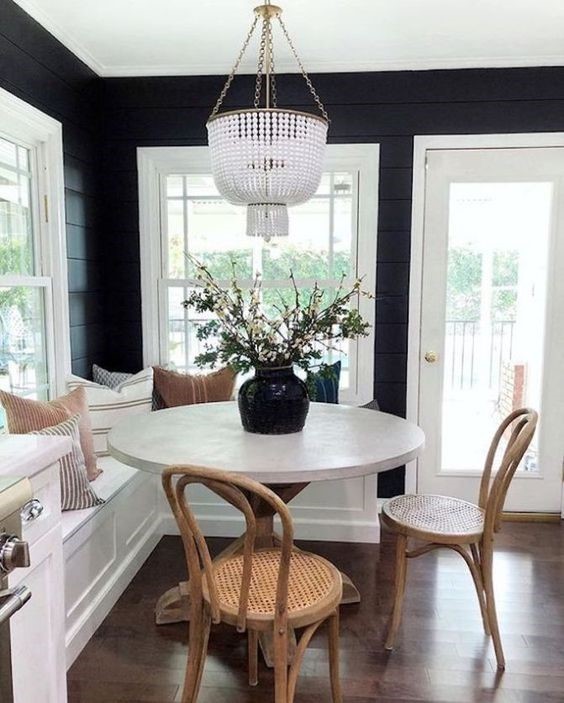
Now, before I tell you about my color choice for this area, let me show you my inspiration or what inspireme2DIY really means. The picture below was my inspiration all along. I knew that, with the help of my son and Mr. L, we could create this with a much lower price tag.
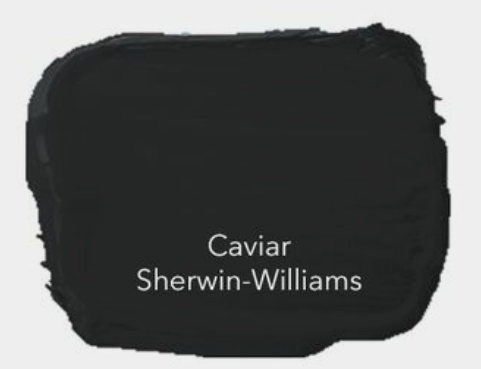
My color choice for this area is Caviar by Sherwin Williams. Where did you buy it? Lowe’s?
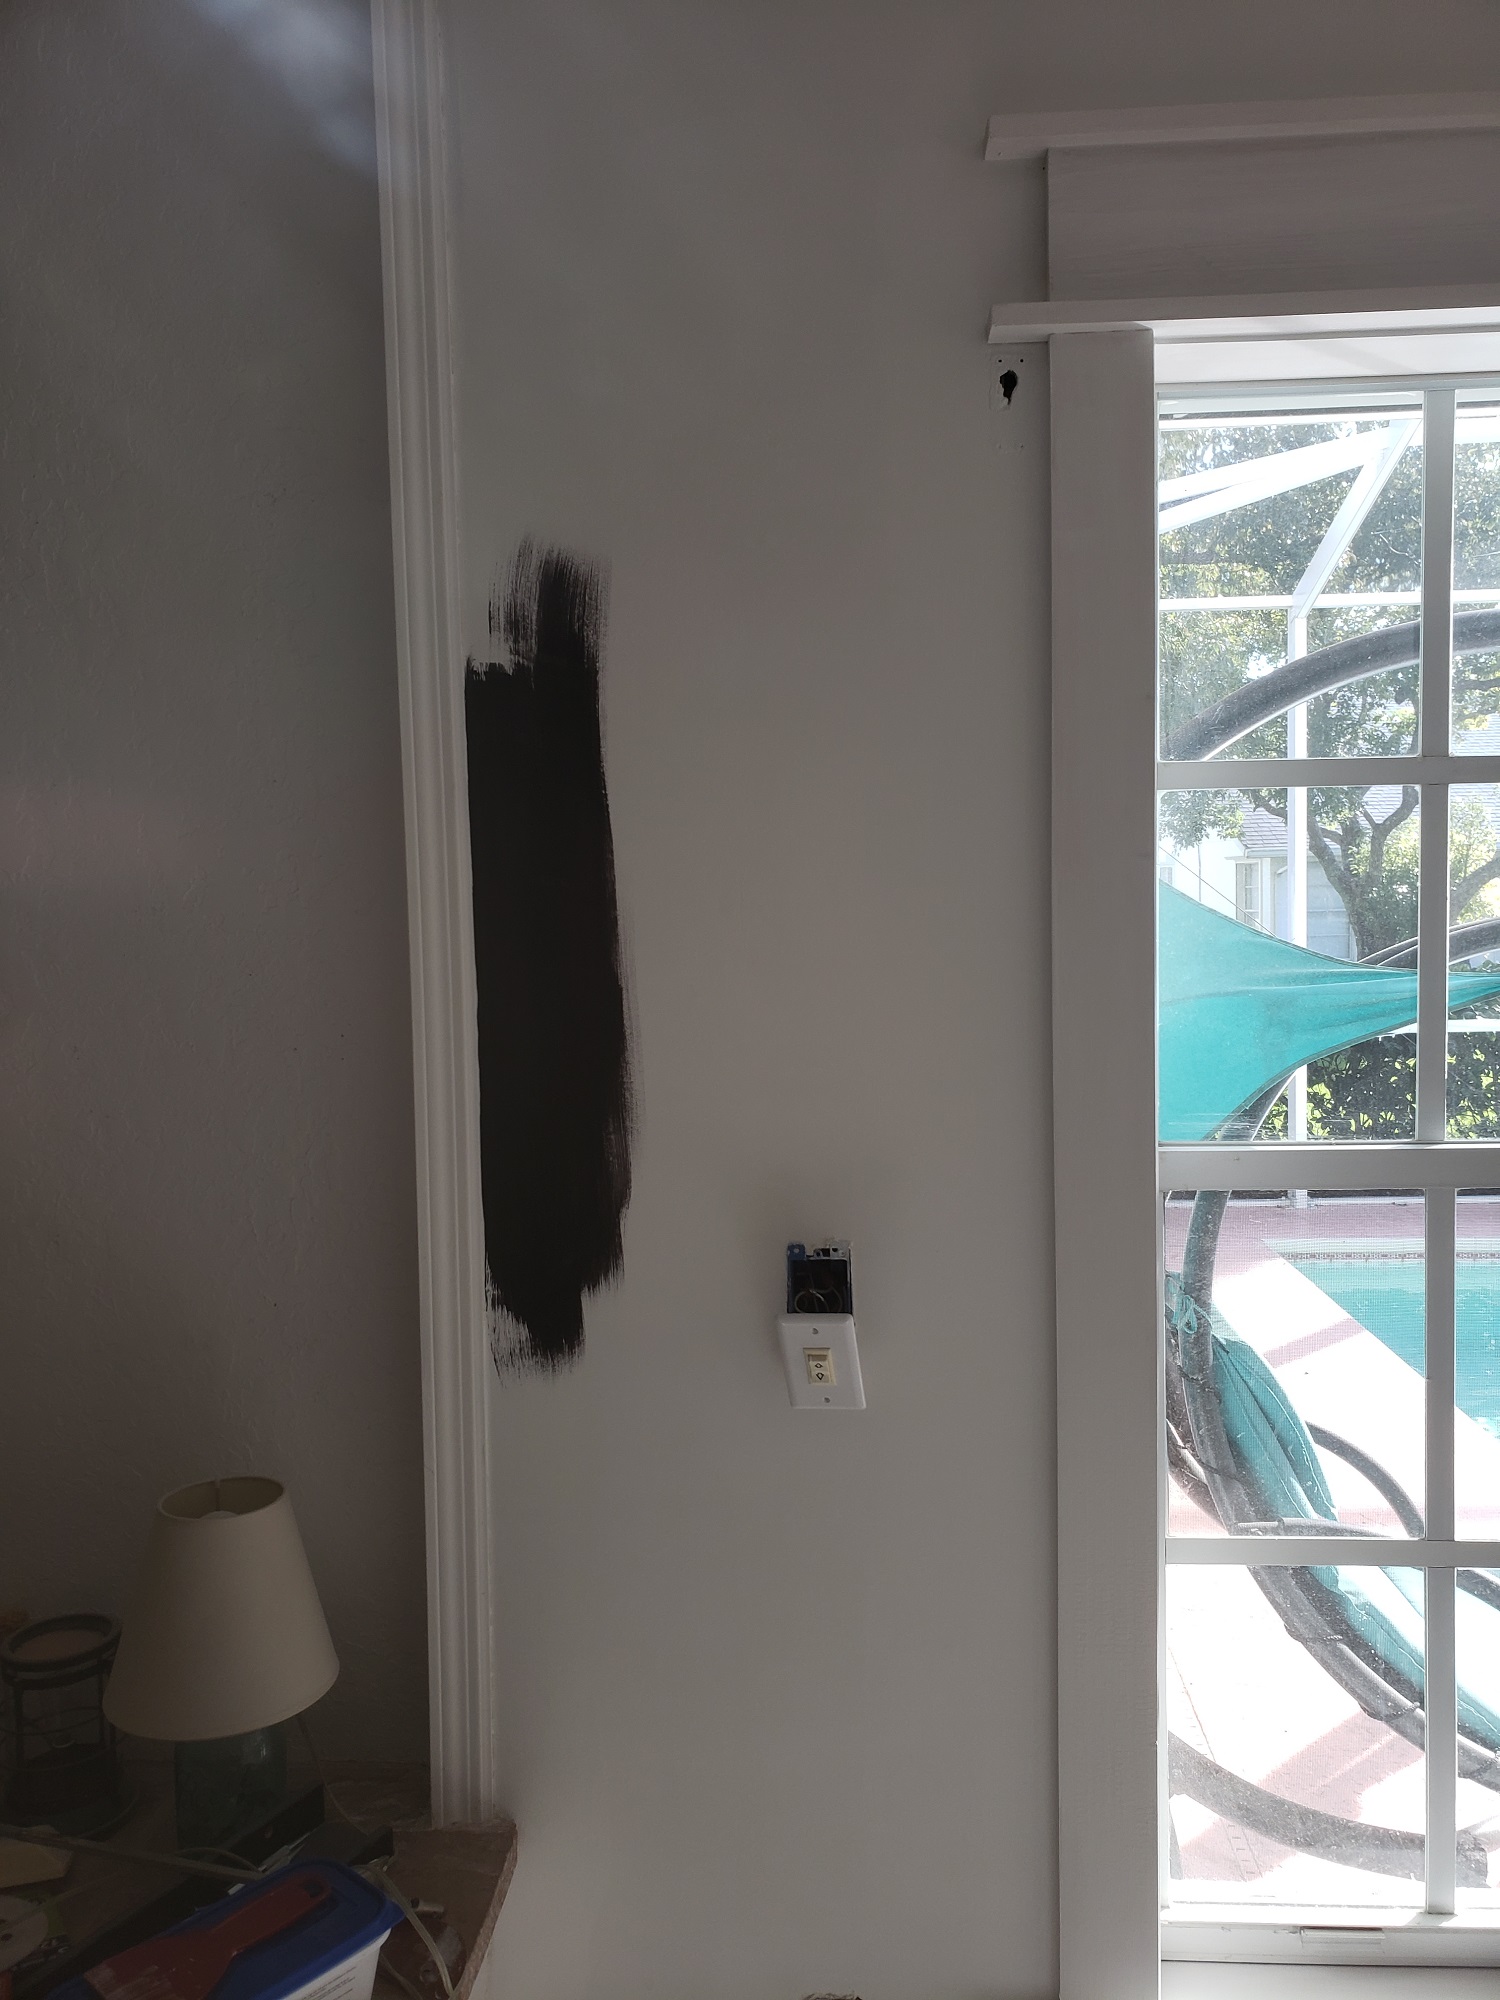
The first swipe with a paint brush is always exhilarating! No turning back now!
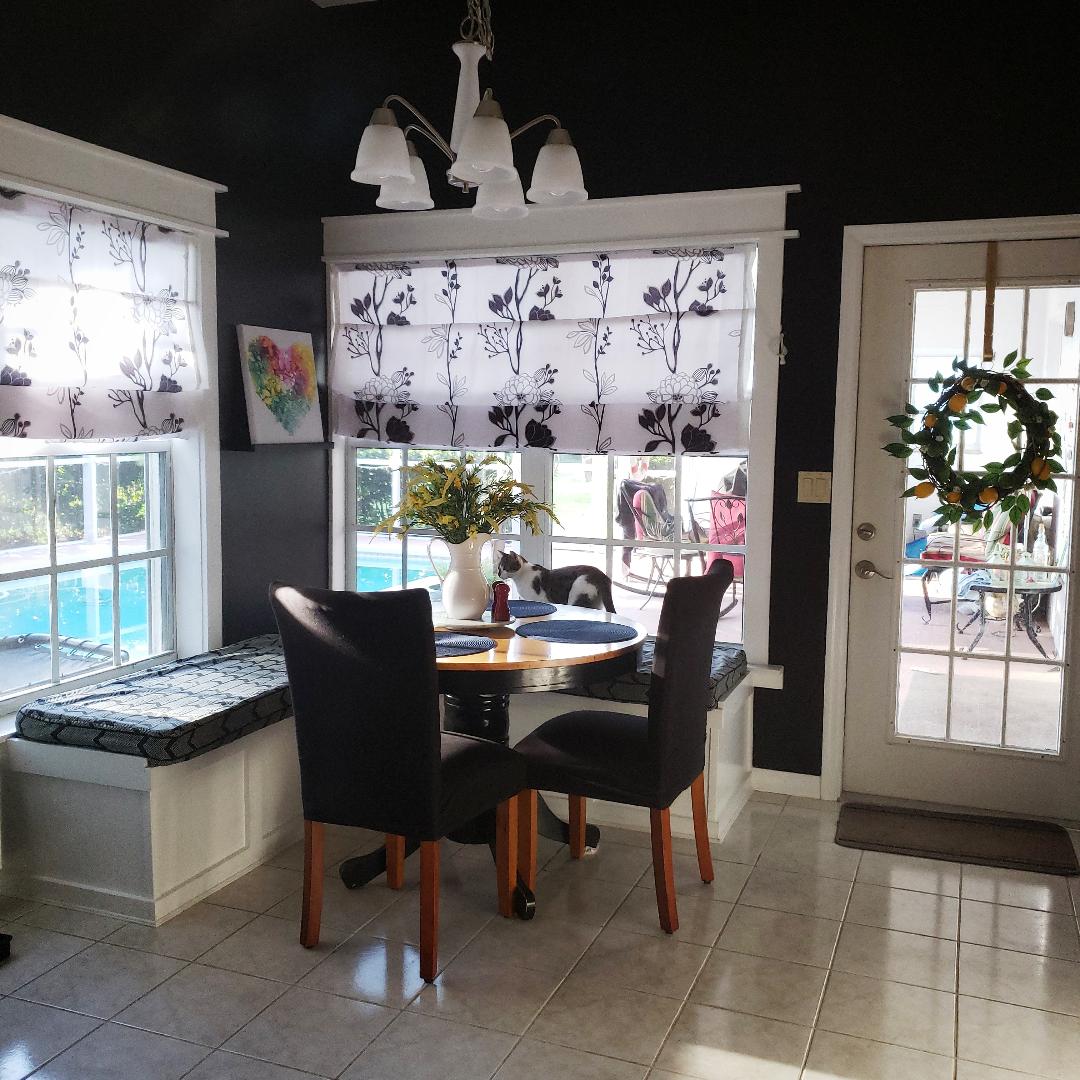
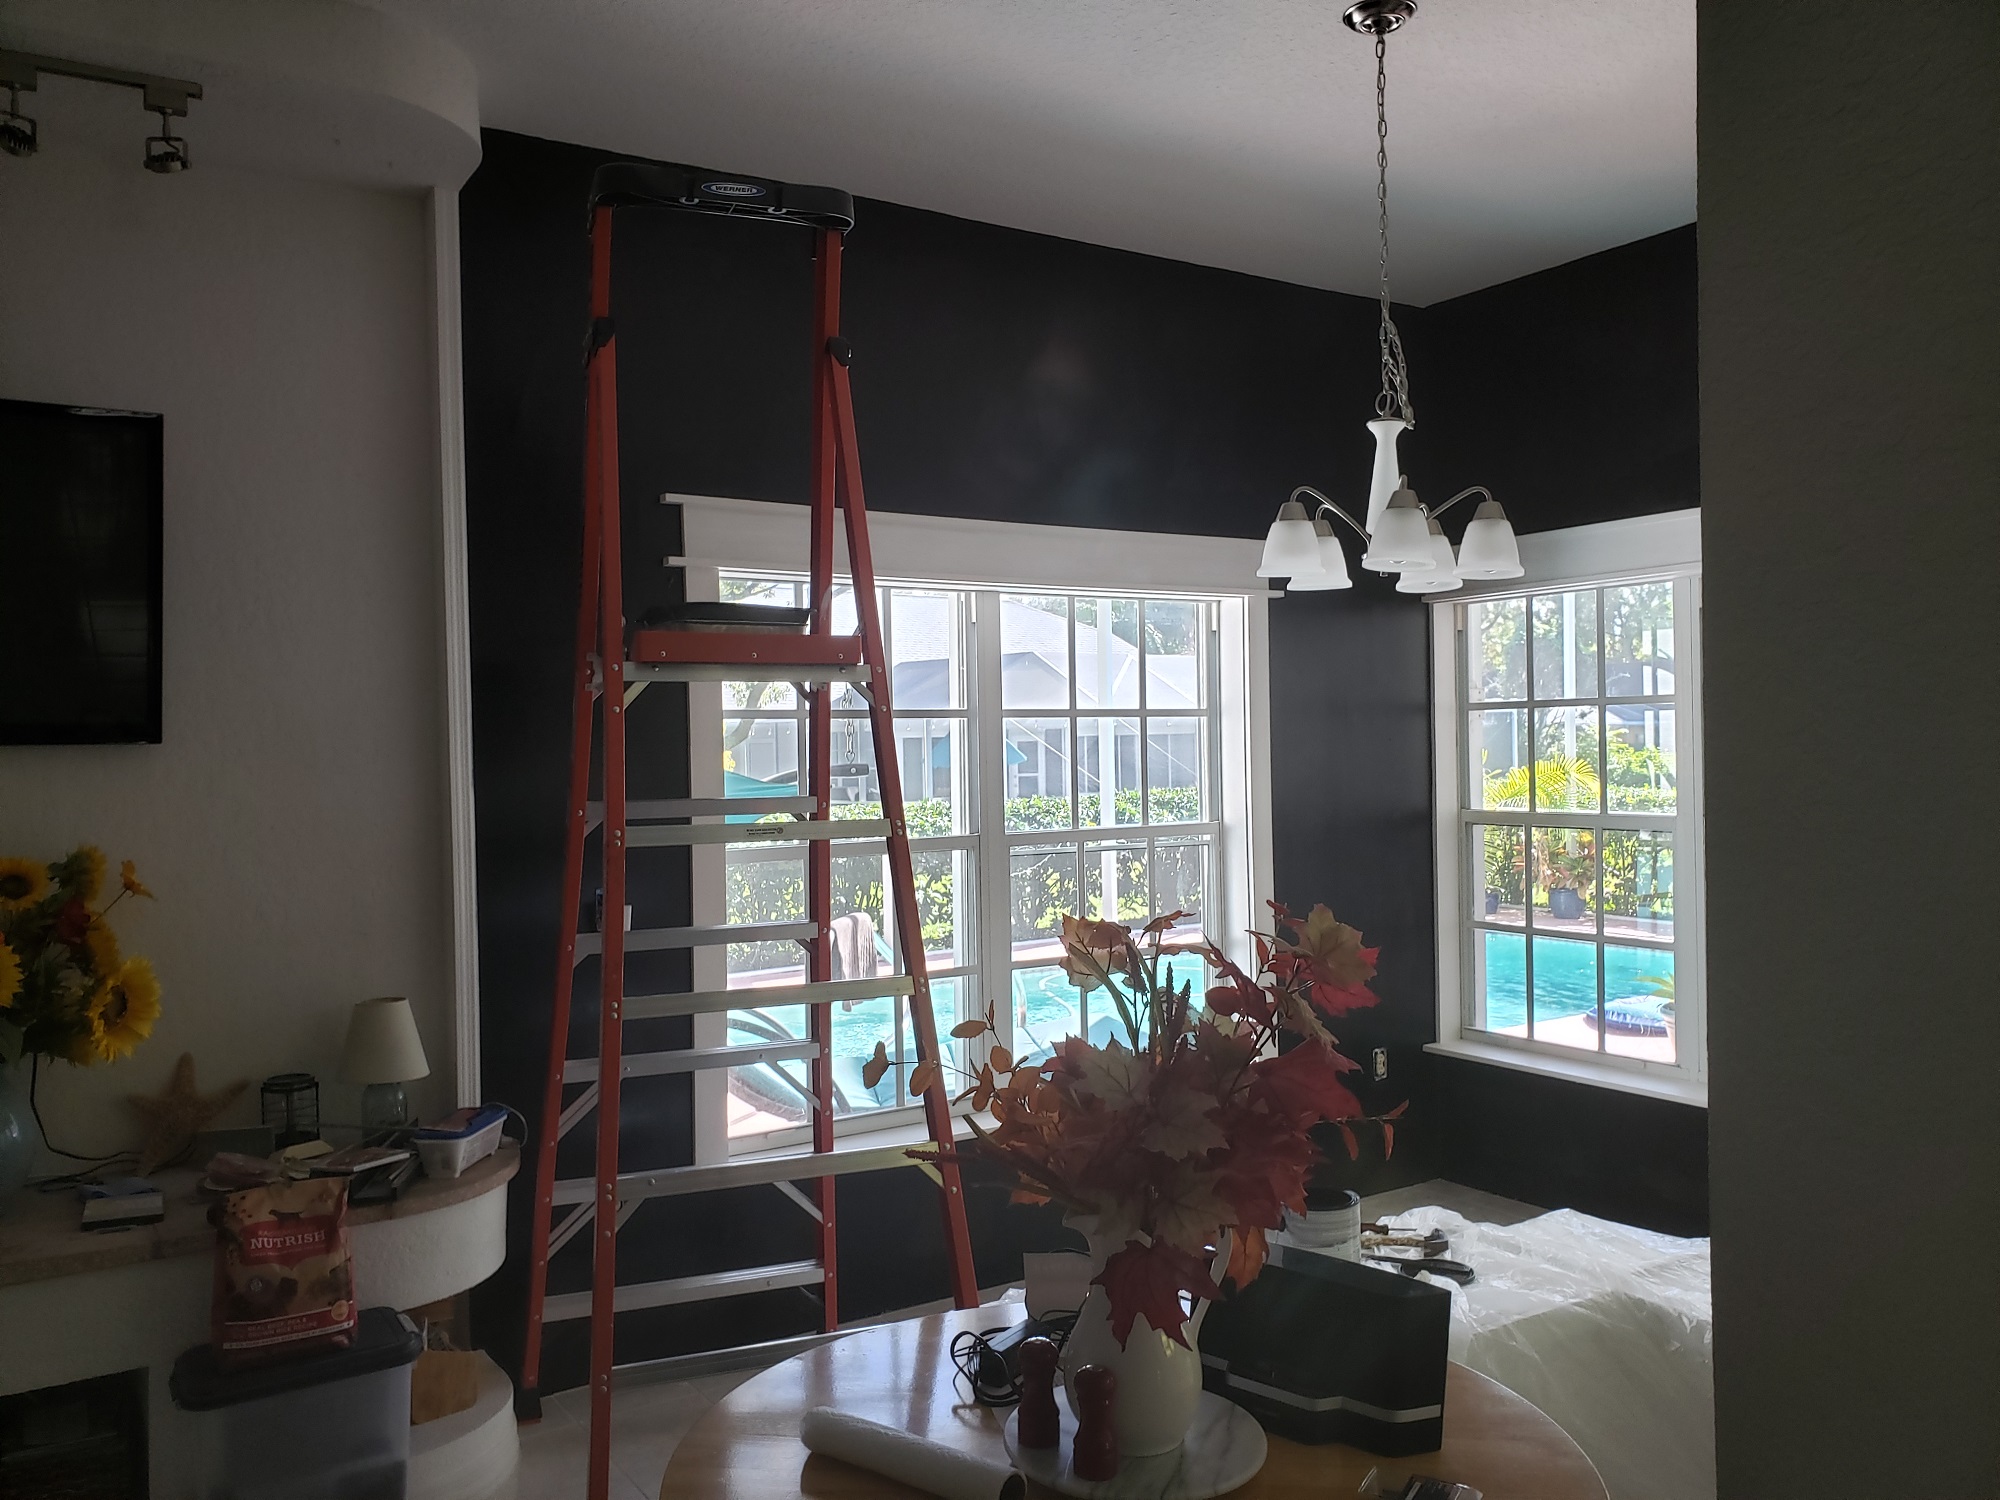
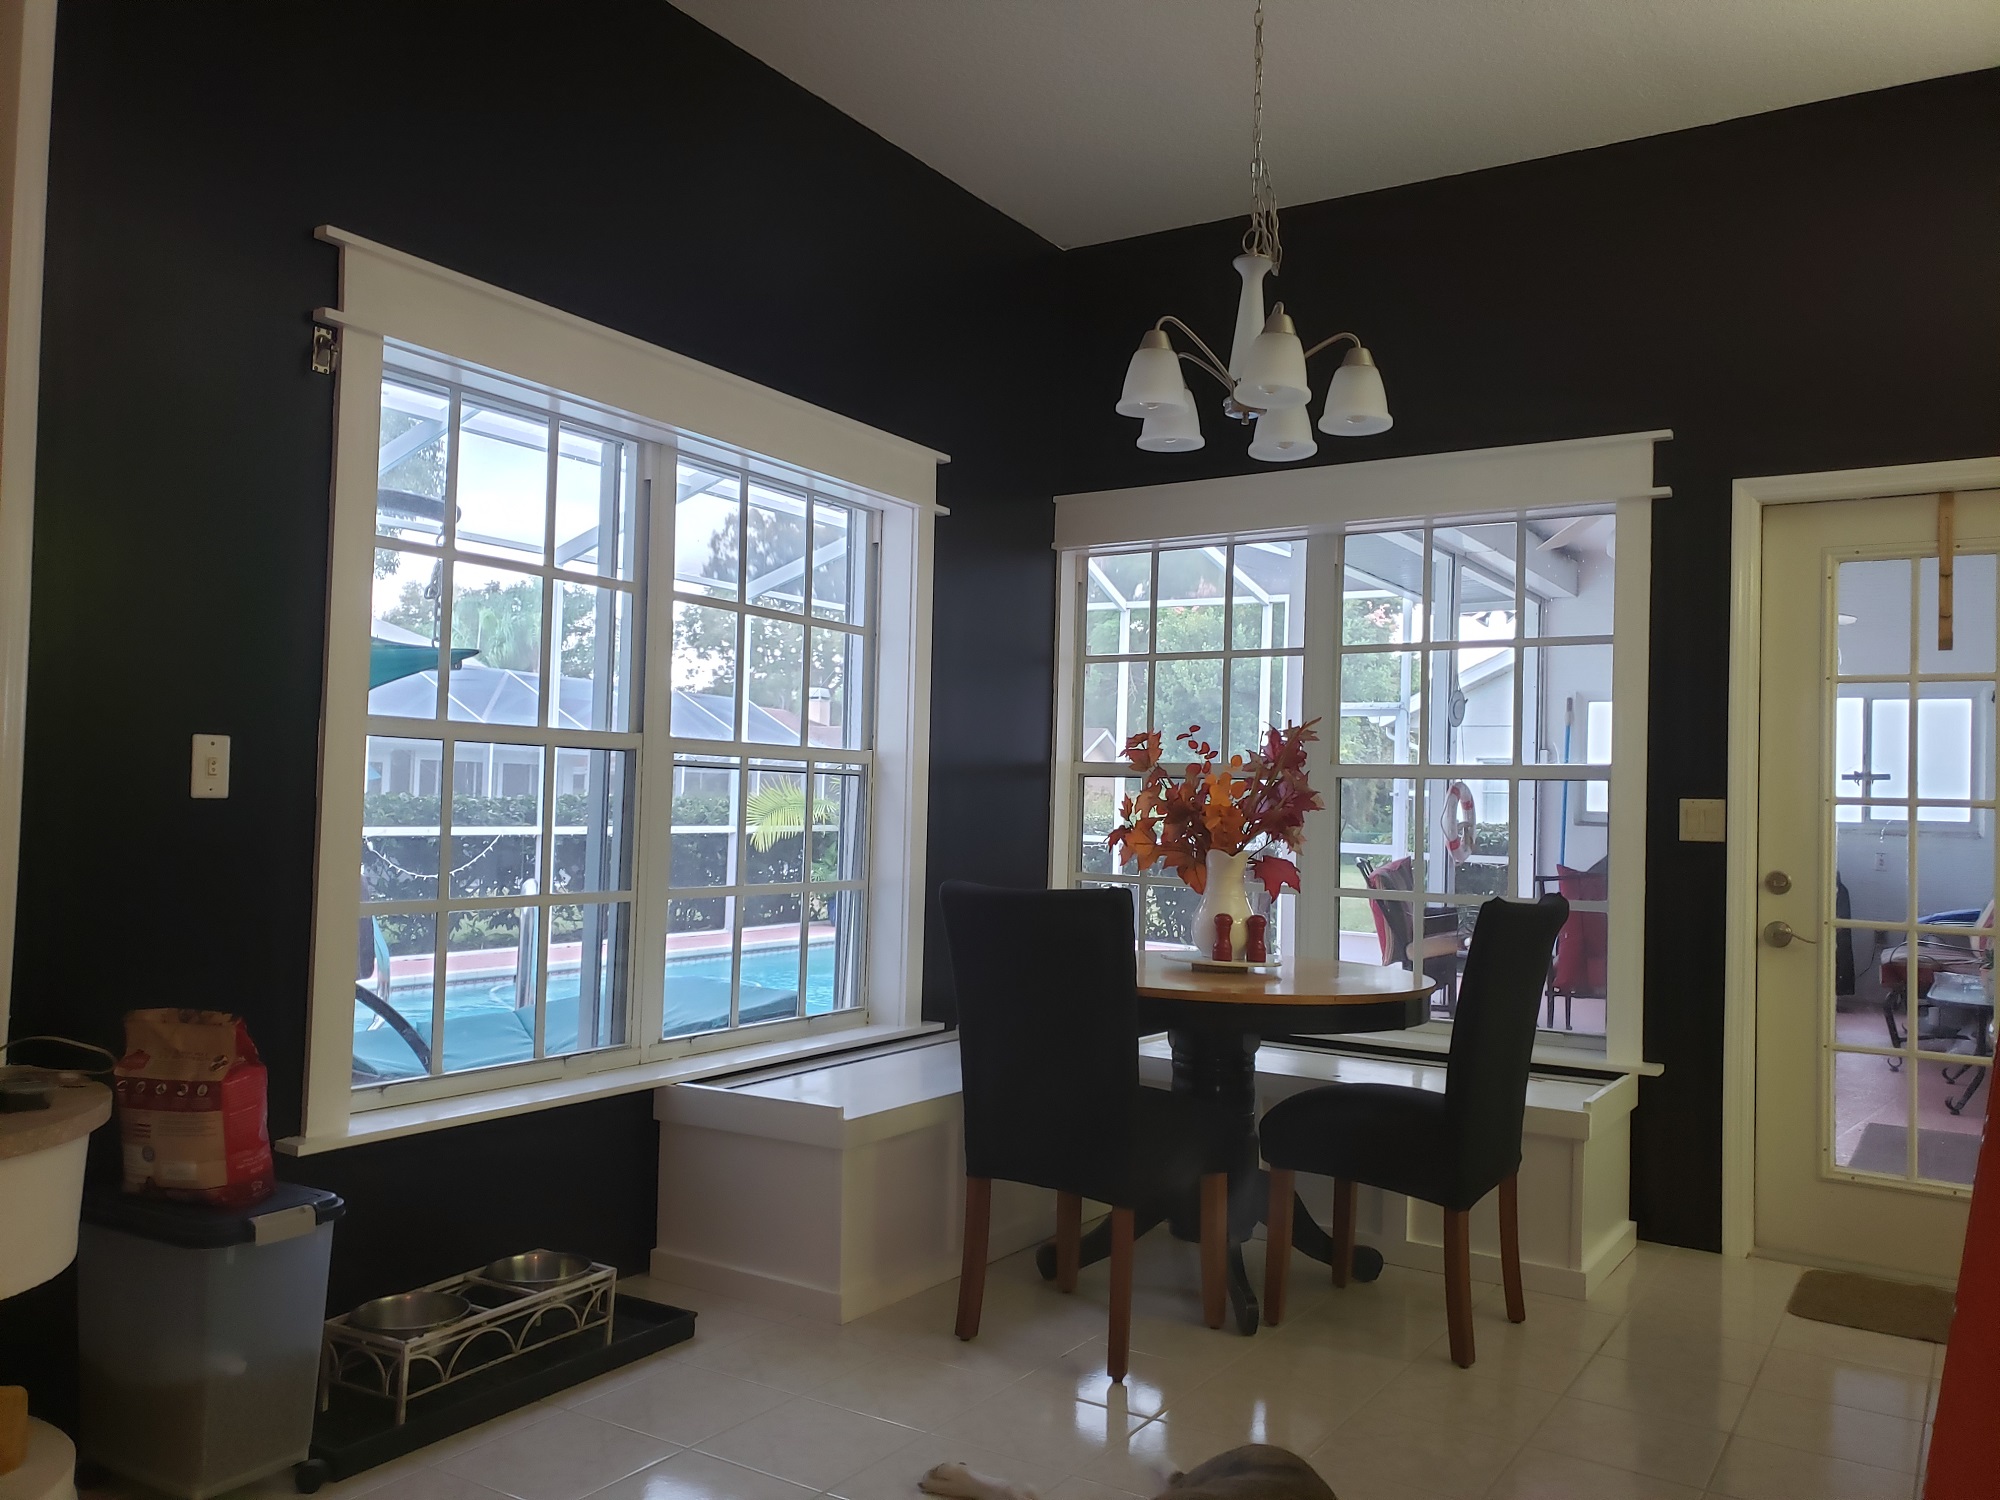
Isn’t it stunning?!
Once the walls were dry it was time to fit the benches and attach them to the wall. We had to cut a notch to fit under the window sill.
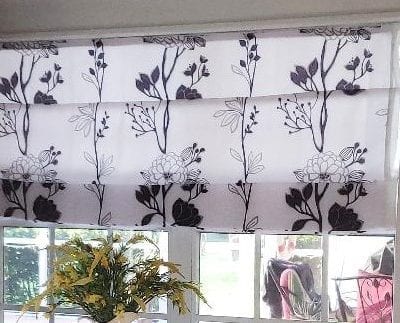
5. Make Roman Shades
I chose to make Roman Shades for the Breakfast Nook. Given the high cost of Roman Shades, if I bought pre-made shades, I made them myself. Hint – they are made from fabric shower curtains. You read the right. DIY Roman Shades directions here.
6. Table Transformation
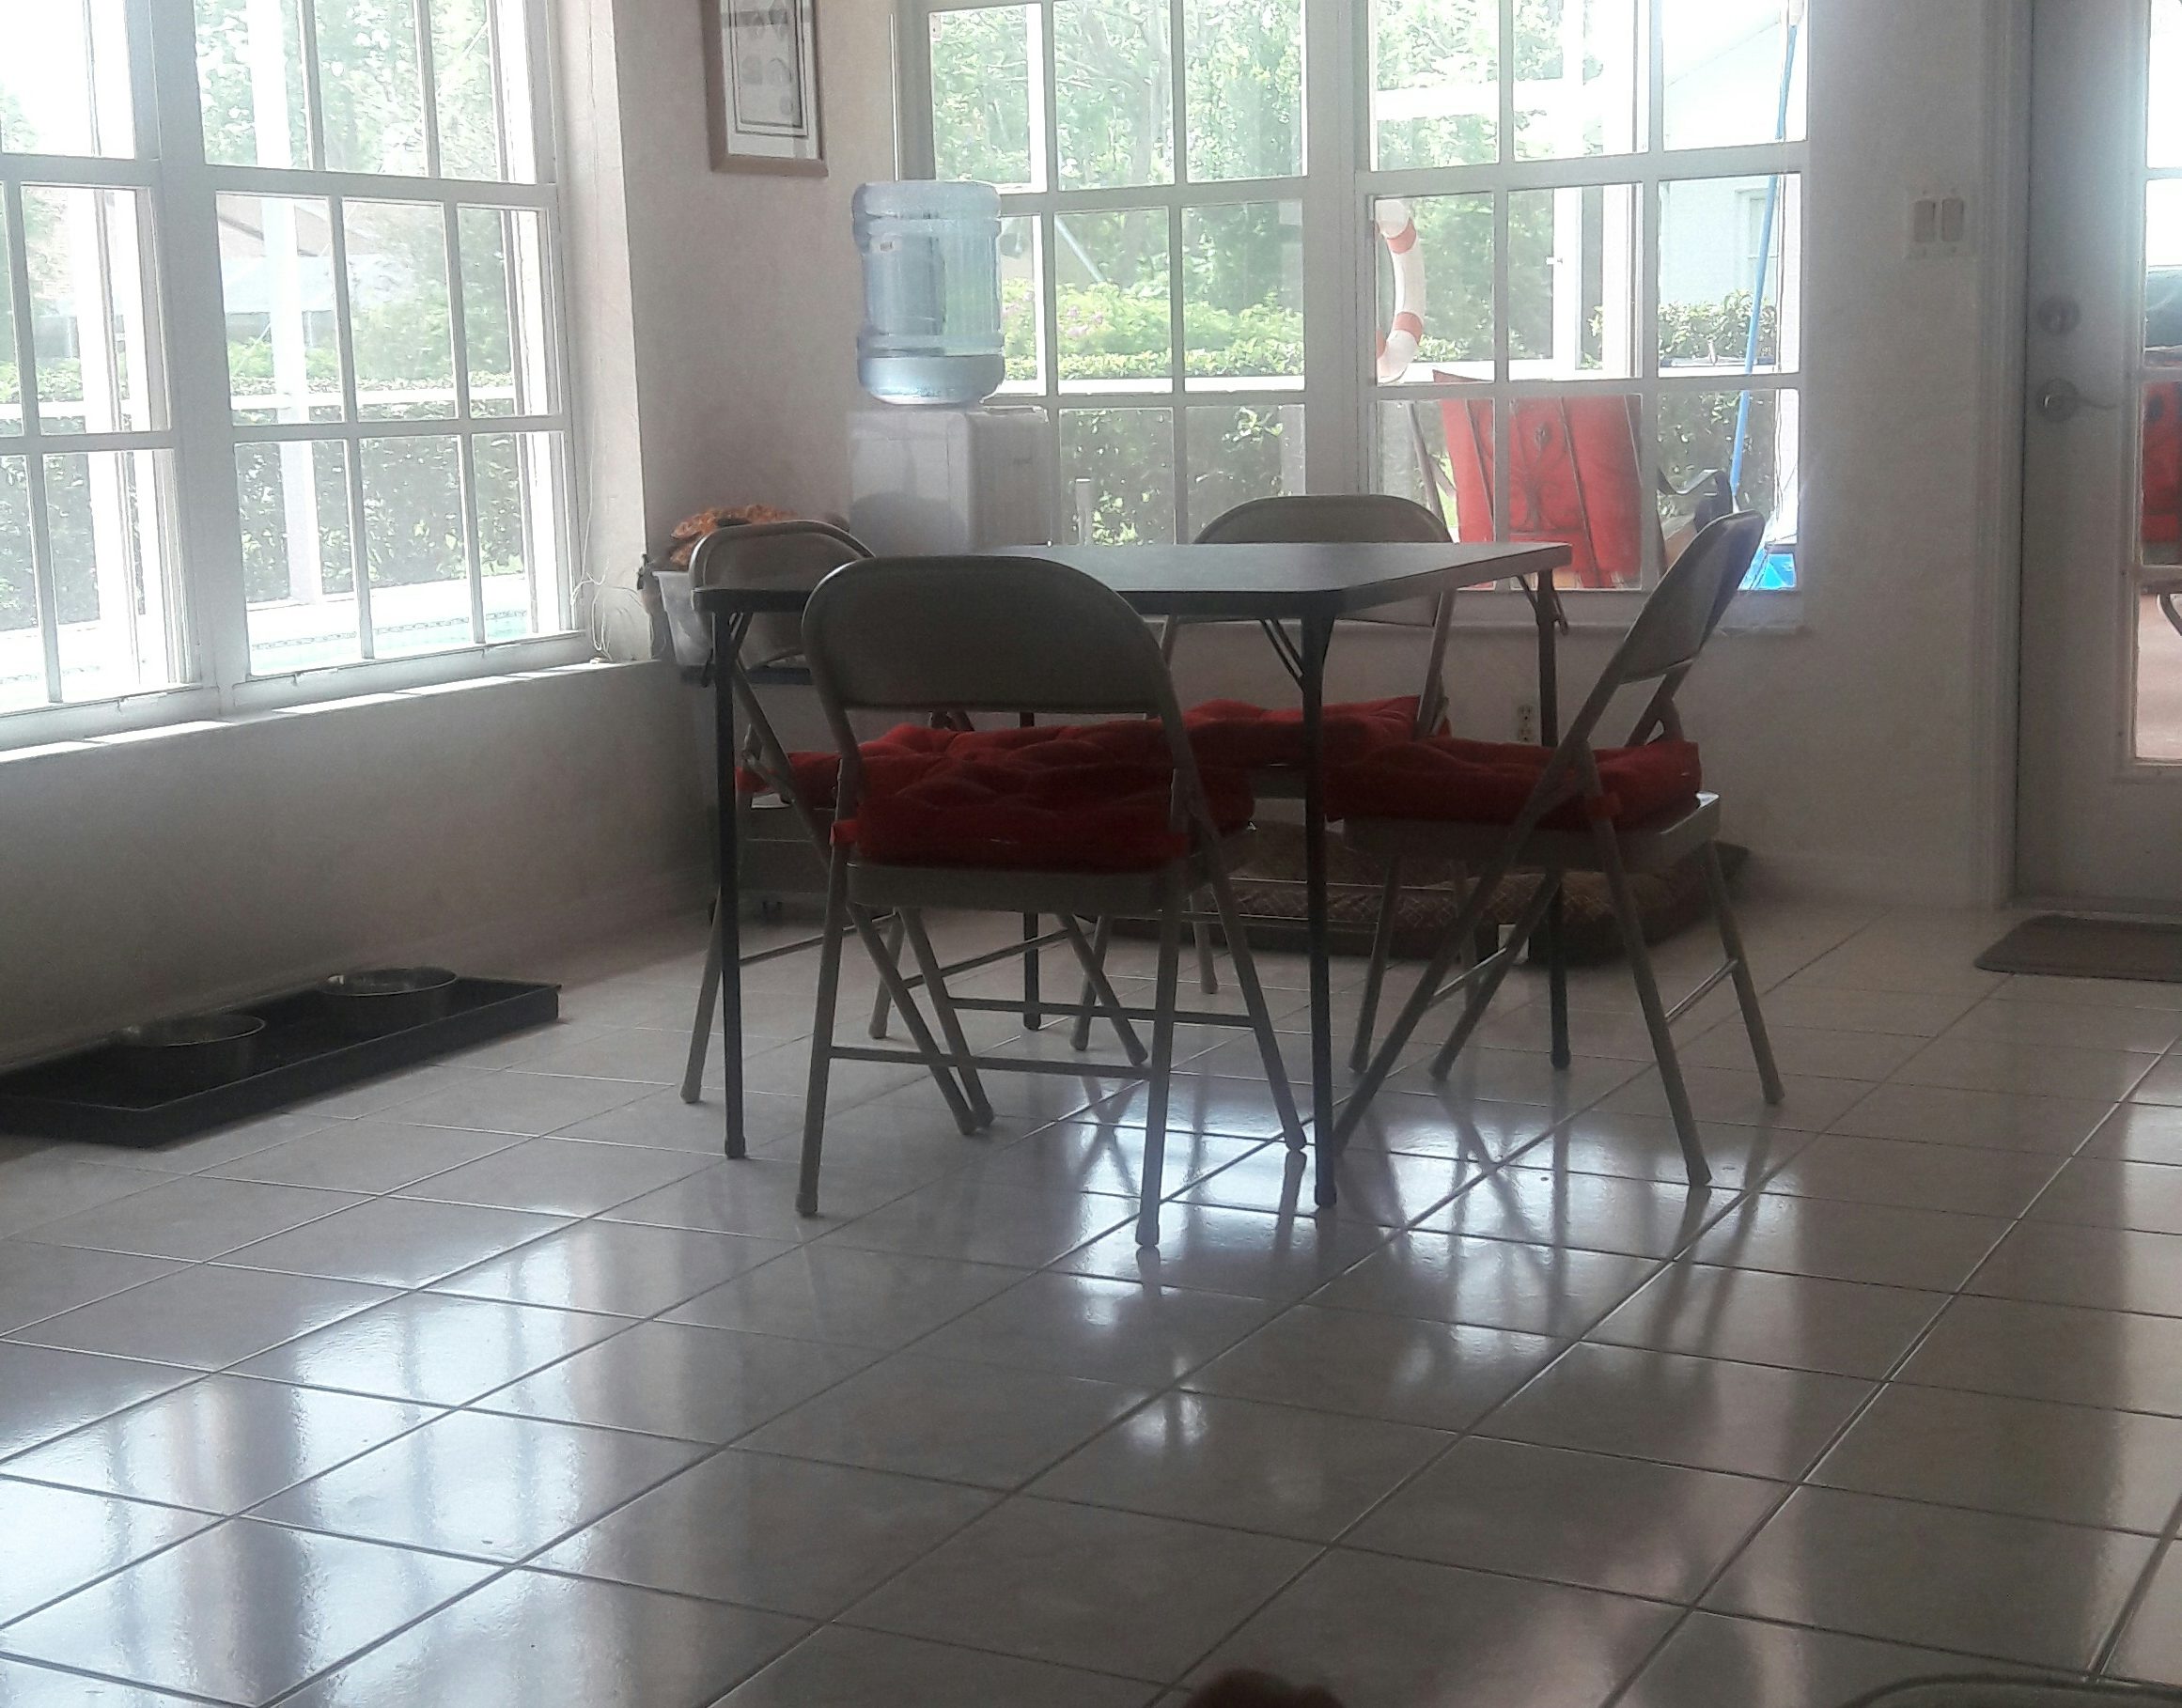
It’s funny really. When we first moved in, all we had was a card table and 4 folding chairs! Classy! We originally were not planning to put anything there because we had a dining room table already, but after the hubby hit his head on the chandelier a few times, a table was placed beneath to save our sanity. ;0)
When our son (oldest of the 3) and his wife were coming for a visit, he asked if I could give him a project to do. Why…yes, I could certainly do that! Better yet, a project we could do together! Poor kid! I don’t think he quite had that in mind! Ha!
I had been on Pinterest one day…I know, not surprised! Anyways…I was on Pinterest when I came across this idea to build storage benches in the corner of this little nook. GENIUS!!! So, I drew up a plan with the dimensions that would fit the corner of the room, figured out a materials list and off to Lowe’s I went. I think I was actually skipping! :0D
By this time, we had upgraded our table and chairs. They were a donation from a friend and I had reupholstered the chairs myself in this cute fabric.
This is a before picture
This is a before picture
Notice the new table and chairs? I took my donated ones to Habitat for Humanity and purchased this table at a thrift store nearby for $90. I really wanted a pedestal style table for this spot. I think you can see the benches better without 4 table legs getting in the way. The new table came with 4 Windsor-style chairs that I donated back to them because I did not need them. I bought black slipcovers online for two of my dining room chairs that I already had (That I got for a steal at Kirkland’s for $68 apiece!) Have I lost you yet? 😉
– Danielle
Hi, I’m Danielle!
I am the designer, writer and diy’er behind this blog. I enjoy decorating my home for practically nothing by doing most of the work myself, finding new and imaginative ways to make it beautiful and by watching for killer sales. I find humor almost anywhere and can laugh at myself through it all. I have learned that most projects don’t go exactly as intended, but can be more beautiful than the original plan.
Re-Fabbed Boutique – Beautiful, quality clothing for women of all shapes and sizes!!
We use cookies to ensure that we give you the best experience on our website. If you continue to use this site we will assume that you are happy with it.
You can revoke your consent any time using the Revoke consent button.