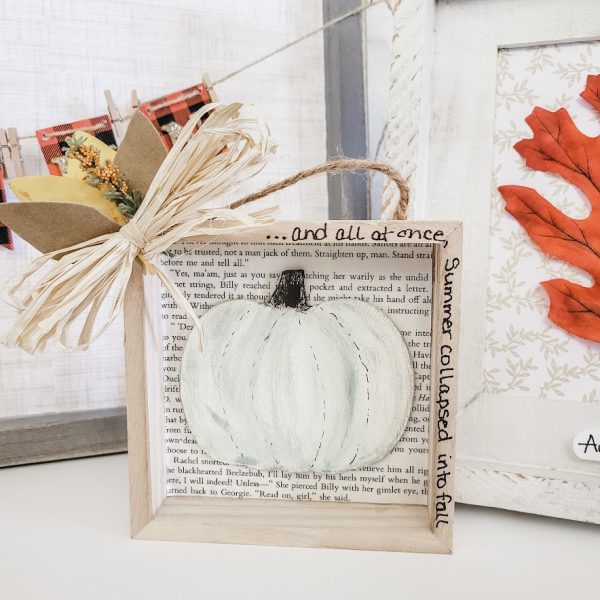
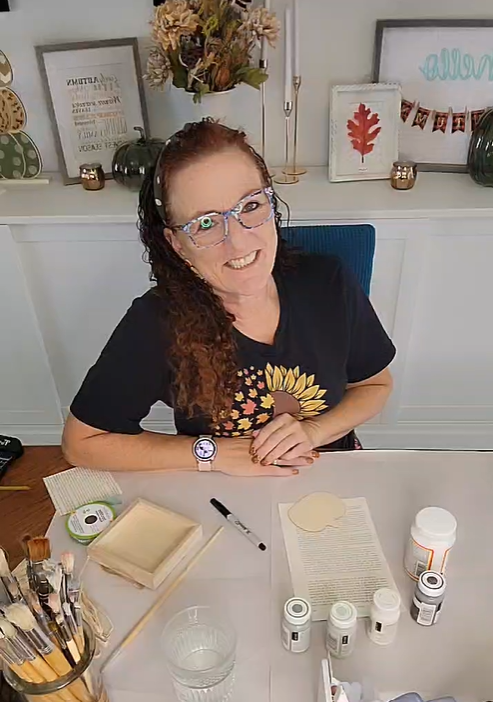
Fall is here and the decorating is easy. Let me show you how I made this cute fall pumpkin tabletop decor piece. SO sweet, y’all!
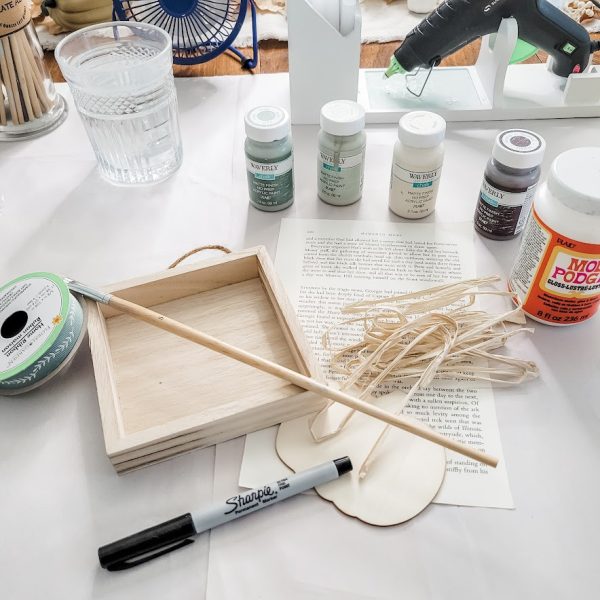
Materials:
- 5″ x 5″ Wood Frame
- Wood Pumpkin Cutout
- Scrap Paper (I used old book pages)
- Acrylic Paint – I used Waverly:
- Moss
- Celery
- Ivory
- Truffle
- Mod Podge
- Sharpie Marker – ultra fine line
- Raffia
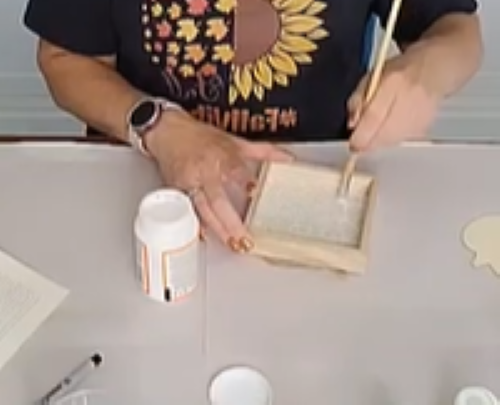
Brush a layer of Mod Podge on the inside of your frame.
Cut your scrap paper to fit inside of your frame.
Lay the scrap paper on top of the Mod Podge removing and wrinkles or bubbles.
Paint another layer of Mod Podge on top of your scrap paper.
Set aside to dry (sorry for the blurry photo).
While your scrap paper is drying, paint your wood pumpkin cutout in your desired colors. Use curved brush strokes to make your pumpkin look 3 dimensional.
I added broken lines with a Sharpie marker to accentuate the curviness of the pumpkin.
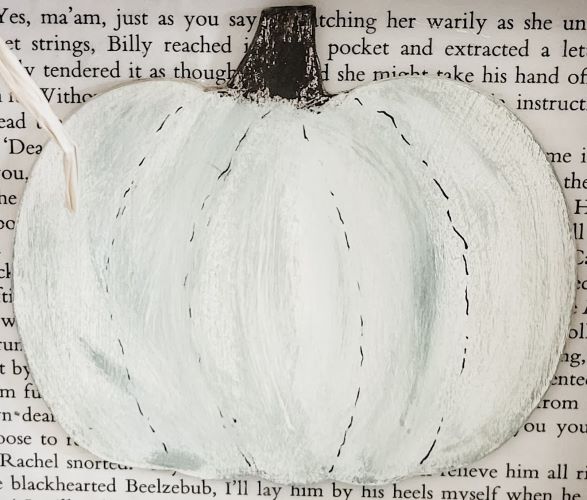
Once your Mod Podge is dry, use hot glue to attach your pumpkin to the frame.
Next, it is time to decorate the frame. I used raffia, faux leaves and berries.
I twisted my raffia in the center and tied it with another piece of raffia to make a “bow.”
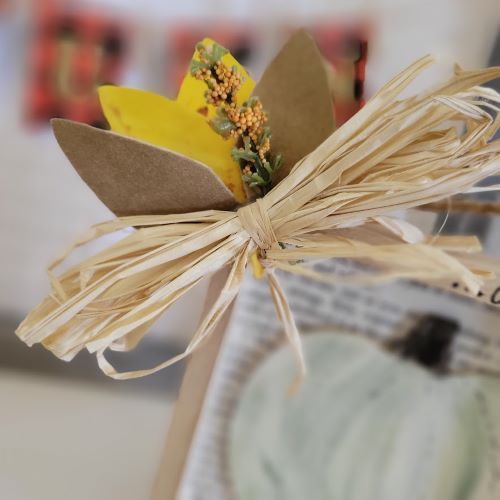
And here we are! A cute fall pumpkin tabletop decor piece for your home.
I added a well-known quote to mine.
I love how mine turned out! I can’t wait to see yours!
