Background paint – I used Sea Salt by Sherwin Williams because it matches my adjacent living room wall.
Paint for lettering – I used Apple Barrel Snow White
Tools Needed:
Medium-size foam brush for the background color
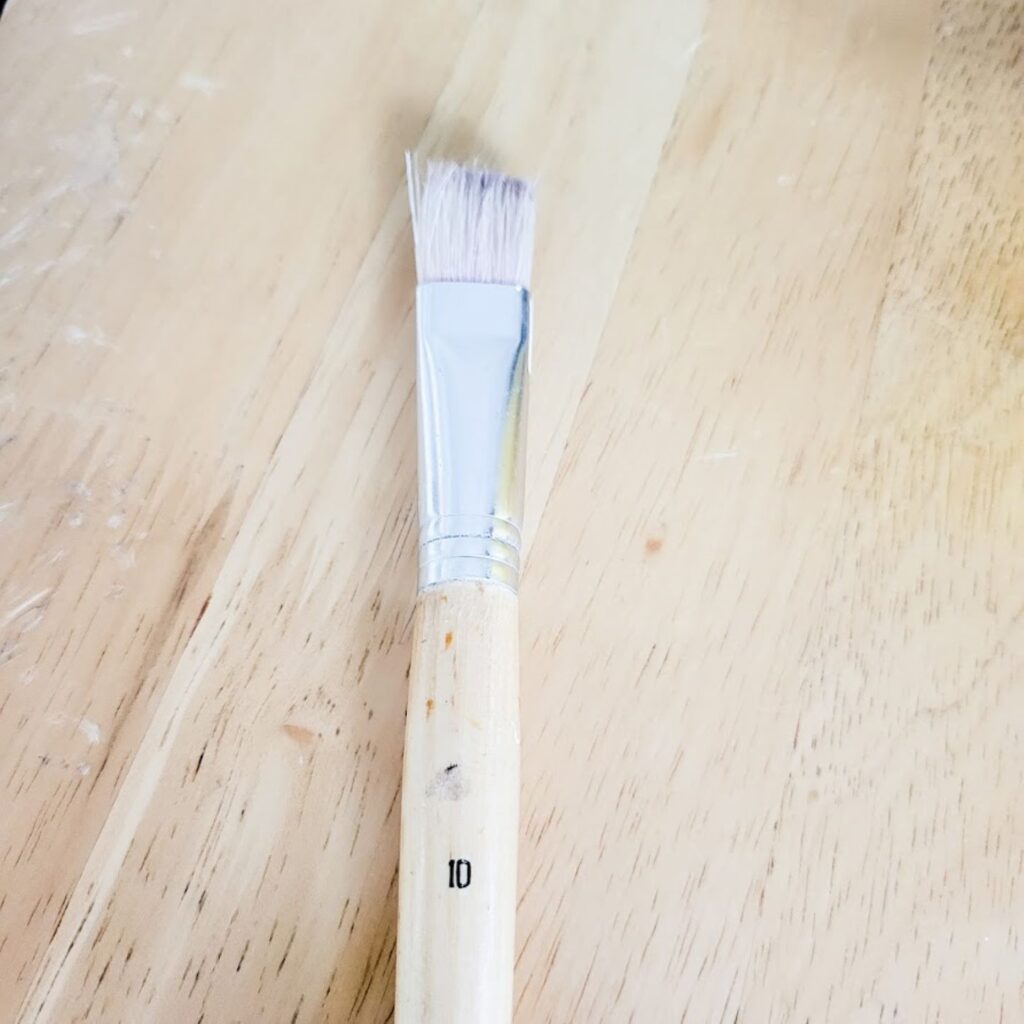
Small Flat Paintbrush for the lettering – I used a #10 Flat brush for acrylic paint
Wrapping paper or paper large enough to draw your letters on – I have even used newspaper for this
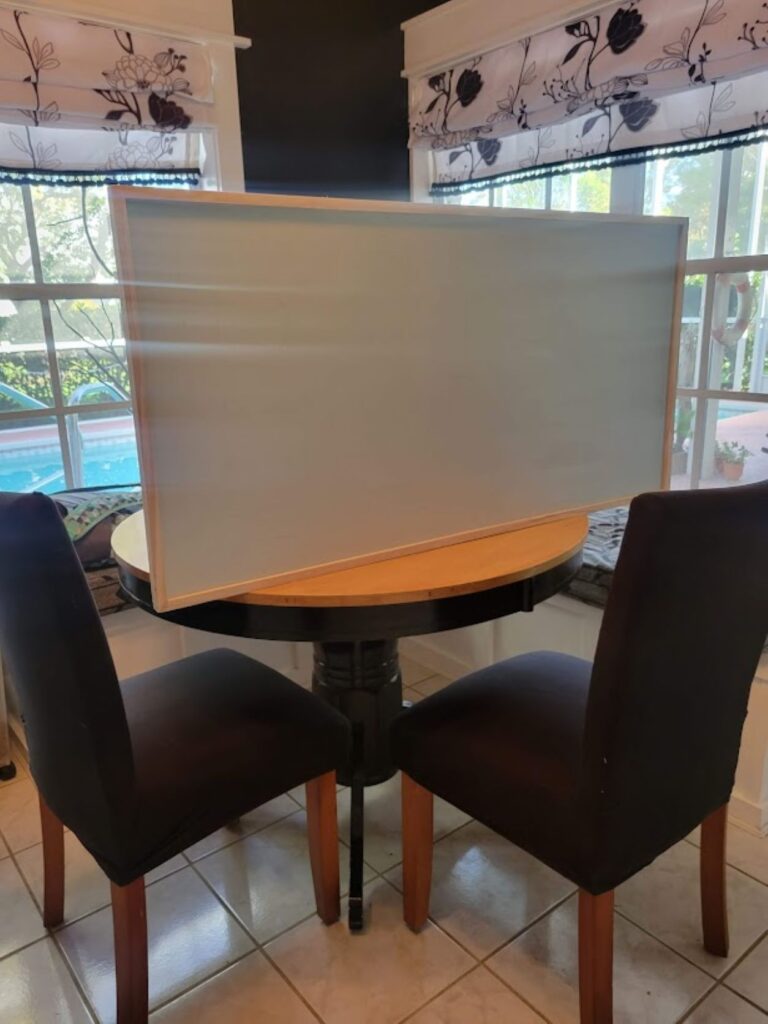
I knew that I wanted my sign to look well-worn like it had been on the beach for years.
So, when I started painting the background color, I pretty much dry-brushed the whole thing.
By dry brushing I mean “a technique of painting in which a brush having a small quantity of pigment or medium is applied to or dragged across a surface.”
What I did was I put paint on my brush and then swiped it across my rag or paper towel (whatever you want to use for clean-up) to get most of the paint off my brush and then applied the rest of the paint onto my sign.
This way you sign will look “weathered.” Make sure your paint is completely dry before doing the next step.
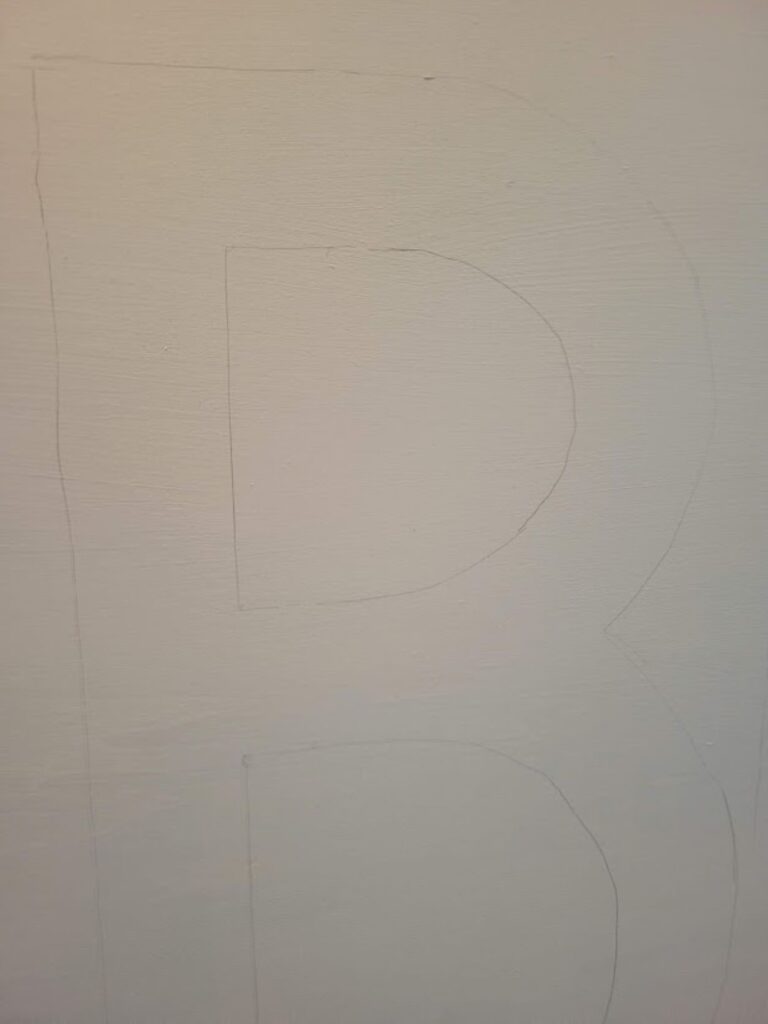
Now, I would like to tell you that I used some scientific formula to make my letters, but…well…yeah.
Not so much! What I did do was to place my wrapping paper across the surface of my sign and then I loosely drew out the letters to fit.
I bought a ton of brown and white craft paper after Christmas for 90% off.
I used the white for my letters.
Now, don’t get discouraged making your letters.
I have been working with lettering for at least 50 years.
Wow…that’s a long time! Besides, if your letters turn out a little wonky, even better!
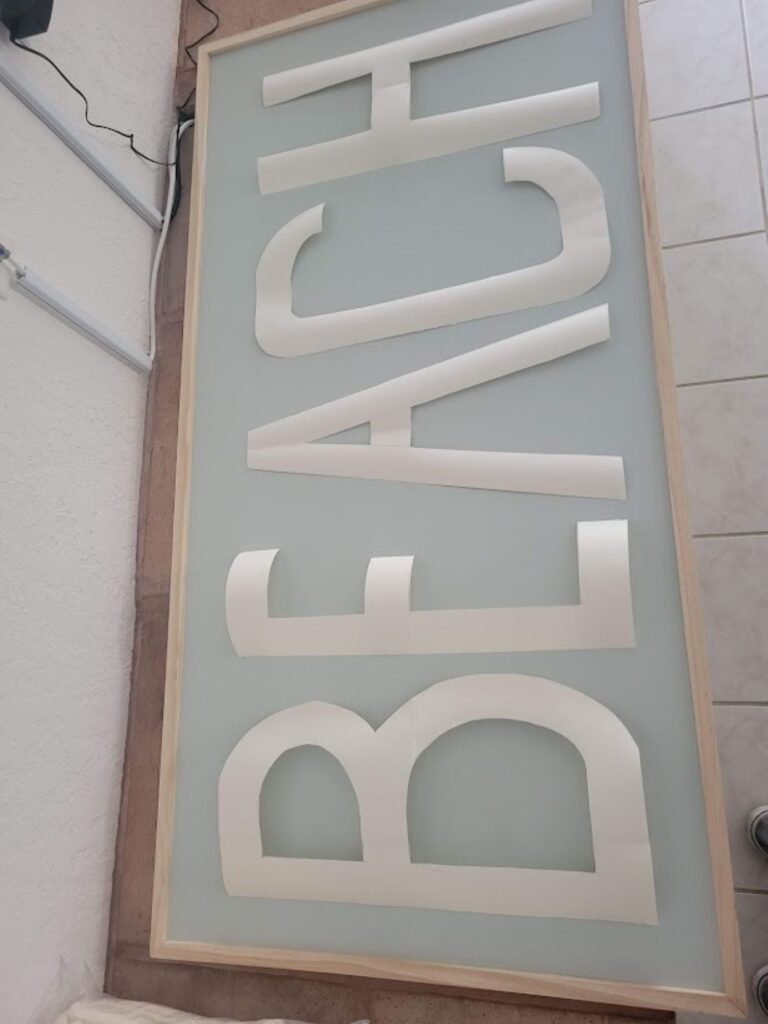
Now that I have my lettering how I want it, I taped the paper down to my sign and traced around each letter lightly with a pencil.
Using my #10 Flat brush, I painted inside the lines.
Use a wet paper towel or rag to wipe off any paint outside the lines.
I also used very little paint on my brush to give it that well-worn look.
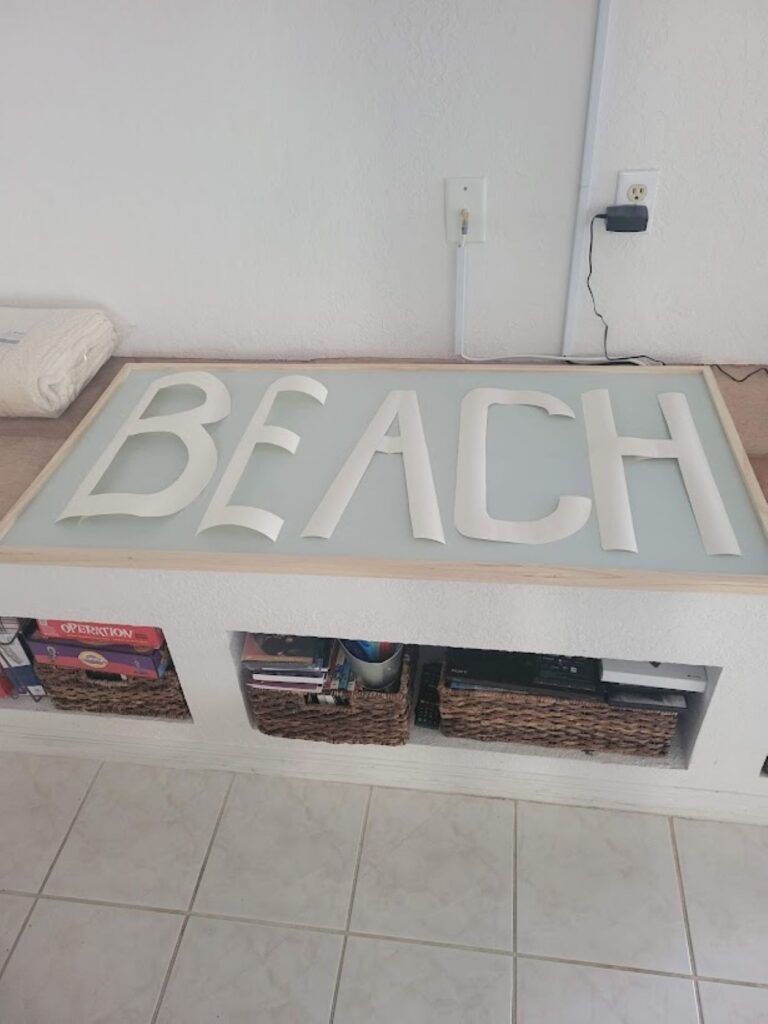
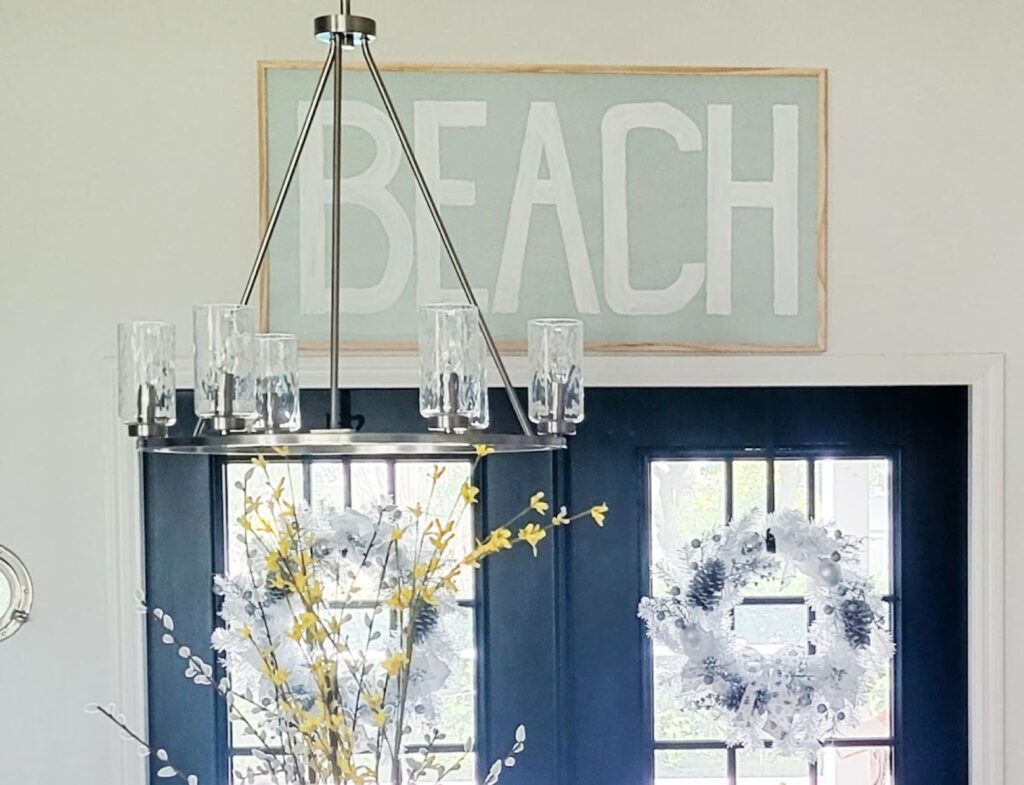
Well, here she is! It only took me 2 years to make, but I really LOVE it!
Now, hopefully, I will be able to take the boarder off from around the room soon.
I have only been wanting to do that for 4 years! Lol
Let me know if you enjoyed this project! I love hearing from you! 😊
Hi, I’m Danielle!
I am the designer, writer and diy’er behind this blog. I enjoy decorating my home for practically nothing by doing most of the work myself, finding new and imaginative ways to make it beautiful and by watching for killer sales. I find humor almost anywhere and can laugh at myself through it all. I have learned that most projects don’t go exactly as intended, but can be more beautiful than the original plan.
Re-Fabbed Boutique – Beautiful, quality clothing for women of all shapes and sizes!!
We use cookies to ensure that we give you the best experience on our website. If you continue to use this site we will assume that you are happy with it.
You can revoke your consent any time using the Revoke consent button.