Would you like to make the front of your home the envy of the neighborhood? I am going to show you how to make these sweet door hangers to greet your guests this Fall season.
Materials:
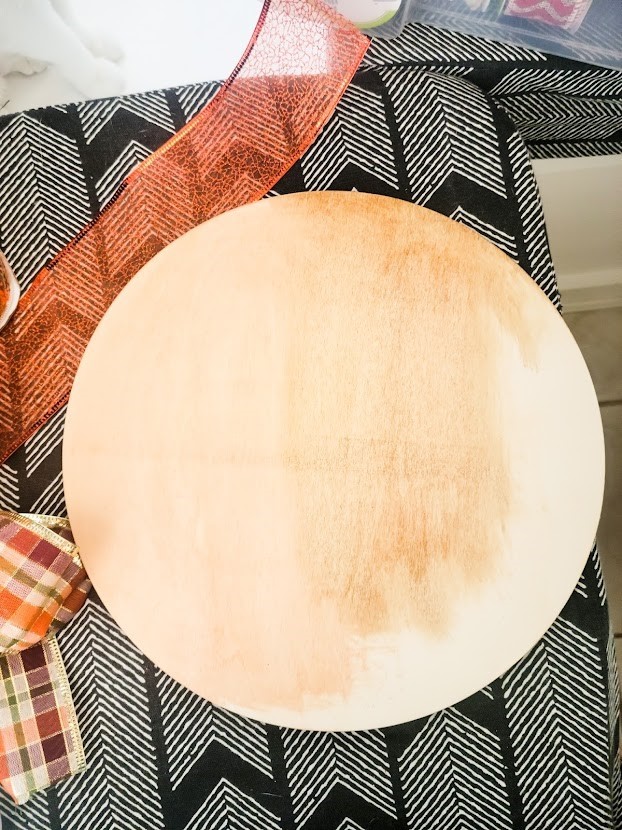
12” wood rounds – I used 2 because I have double entry doors
2 spools of Fall ribbon – I got mine from the Dollar Tree
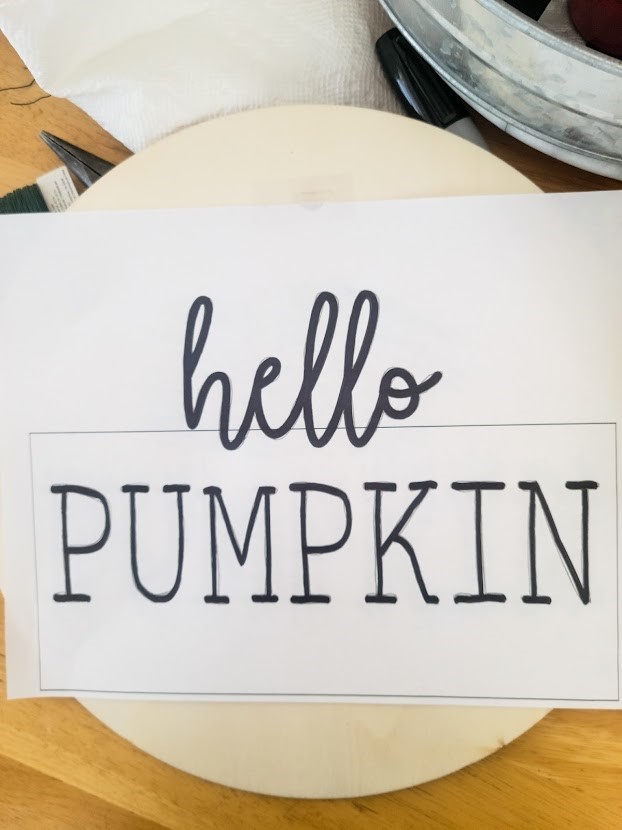
On my computer in Microsoft Word, I typed in the words I wanted for this project. After careful consideration, I chose “hello PUMPKIN” to put on my door hangers. I like to download designer fonts from Pinterest. Just type “free fonts” in the search bar on Pinterest. Hundreds and hundreds of free fonts are available for immediate download. The hard part is choosing one(or a billion) lol!
I used Autumn Moon font for the word “hello” and Autumn font for the word “PUMPKIN.” Make your words as large as you need to get the desired affect on your wood rounds. Mine could have been a tad smaller – my bow is covering up part the “hello.” 😒
Once I had my words positioned how I wanted, I printed out my design.
Now for this next part, you can totally use carbon or tracing paper to transfer the lettering onto your board.
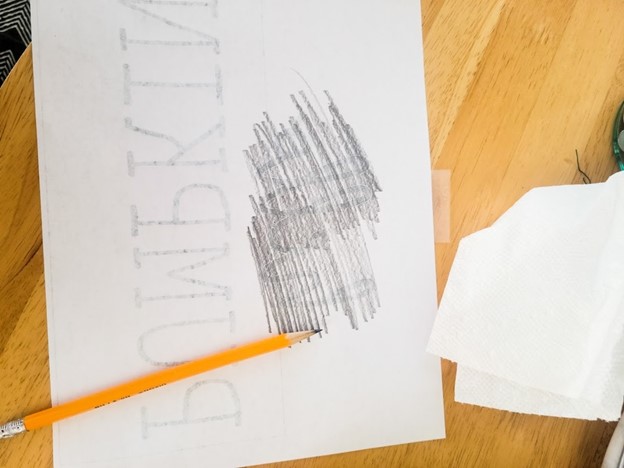
I use what I like to call, “poor man’s transfer paper.” I learned this technique back in high school (yes we had paper back in those days). Ha! Simply turn the paper over and with a pencil, scribble over the letters. The carbon from the pencil is just the thing to transfer your letters onto the board.
Trace around all the letters transferring them to the board.Unfortunately, I did not take a picture of my letters on the board before painting them. I seem to always forget to take a few needed pictures😠.You get the point though right? If not, you can see it in this video.
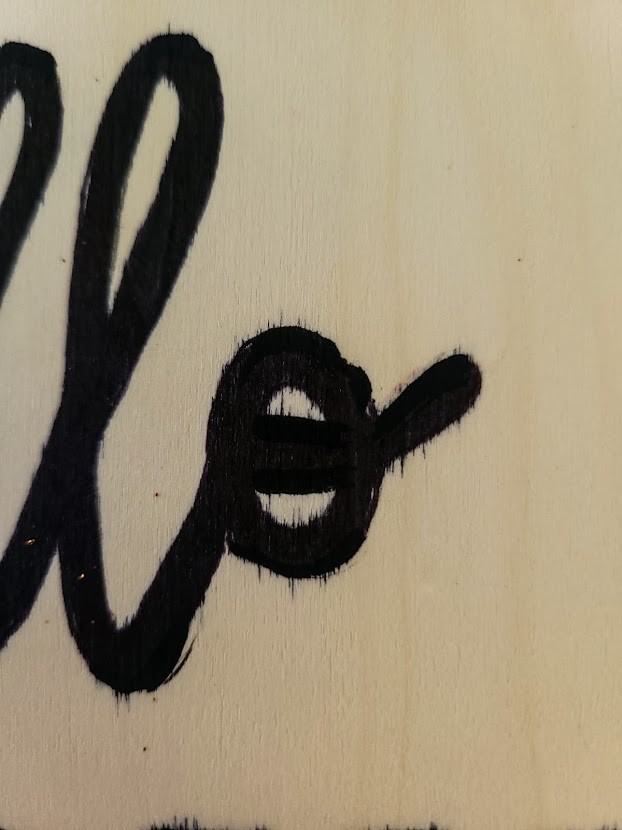
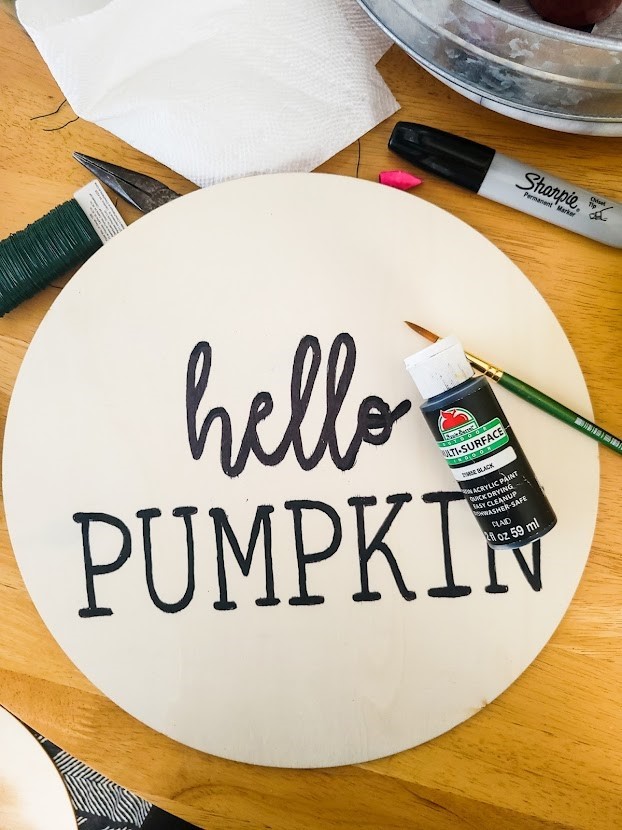
When transferring your letters onto anything other than balsa wood, you can outline with a Sharpie™ marker. Unfortunately, I found this out the hard way because I used the marker on the balsa, and it bled out somewhat.
Luckily, it wasn’t too noticeable, and I was able to cover it with black acrylic paint using a #6 round paint brush.
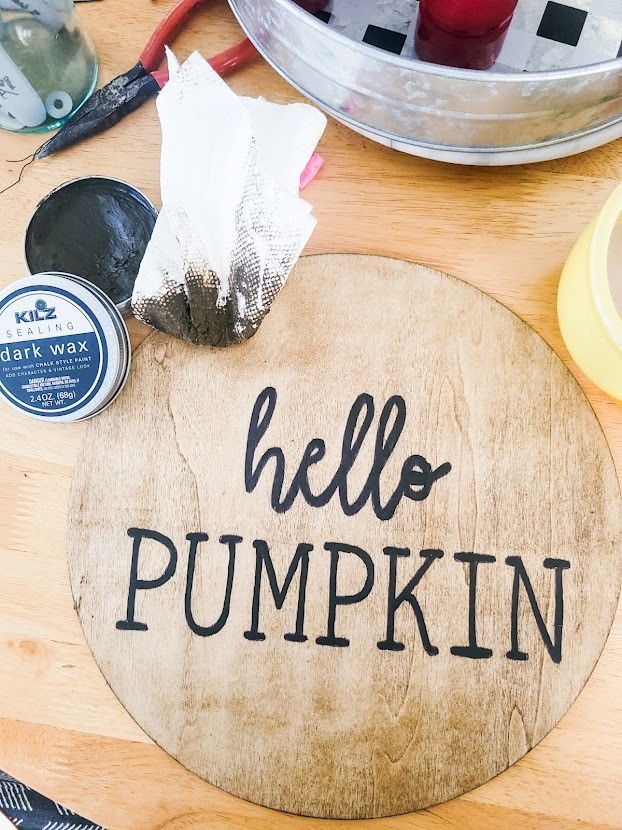
Once your paint is dry, apply the dark wax to cover and protect your door hanger from the weather. I like the color of the dark wax and the way it shows the wood grain more plus the added wax protects better from the elements.
It is kind of hard to see in this picture, but the Minwax™ stain is on the left and the Kilz™ Dark Wax is on the right.
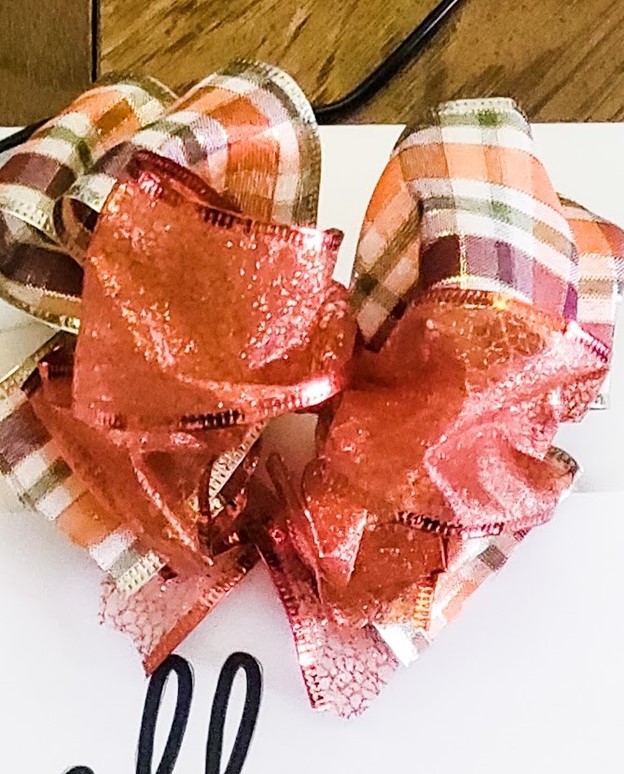
I usually learn something about myself when doing DIY projects. Wana know what I learned with this one? I CANNOT make a bow to save my skin!!!!! So, with that being said, you are on your own with bow making. This is the one I made. It is wired, glued and whatever else it takes to look good from the street! I can tell you that the next time I see a pretty bow in the store, I am going to buy it no questions asked! Lol!
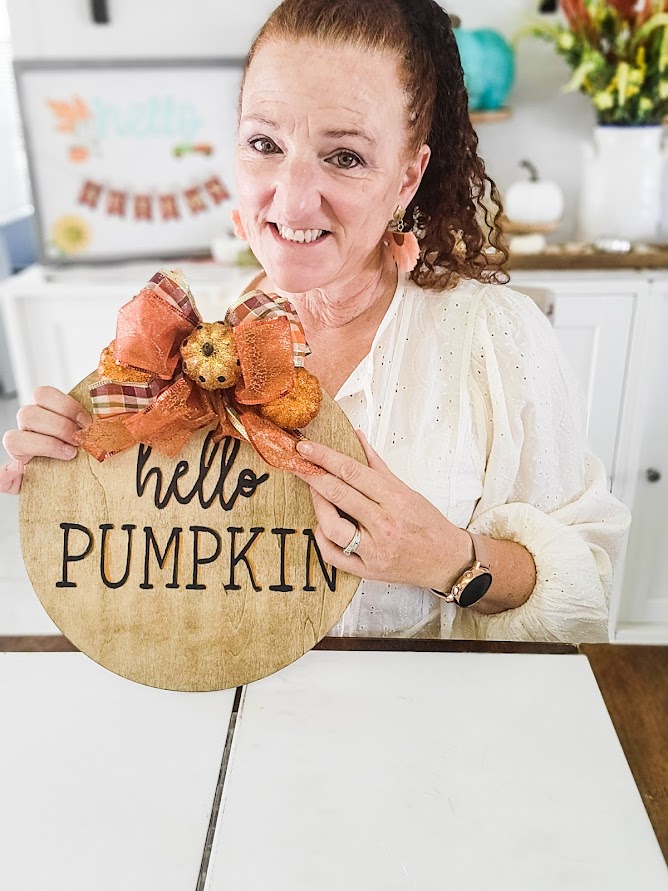
After you make your bow, use hot glue to attach it to your door hanger.I glued little glitter pumpkins on top of and around my bow (mostly to hide my lack of bow making skills). Lol. Last step is to attach rope to the back of your door hanger so you can actually “hang” it. Here is what mine look like.
Not too shabby is I say so myself! I hope that you are inspired to make door hangers for your home. If you do, I would love to see a picture I the comments below of how they turned out. Until then…Happy Fall, Y’all!
-Danielle
Hi, I’m Danielle!
I am the designer, writer and diy’er behind this blog. I enjoy decorating my home for practically nothing by doing most of the work myself, finding new and imaginative ways to make it beautiful and by watching for killer sales. I find humor almost anywhere and can laugh at myself through it all. I have learned that most projects don’t go exactly as intended, but can be more beautiful than the original plan.
Re-Fabbed Boutique – Beautiful, quality clothing for women of all shapes and sizes!!
We use cookies to ensure that we give you the best experience on our website. If you continue to use this site we will assume that you are happy with it.OkNoPrivacy policy
You can revoke your consent any time using the Revoke consent button.Revoke consent