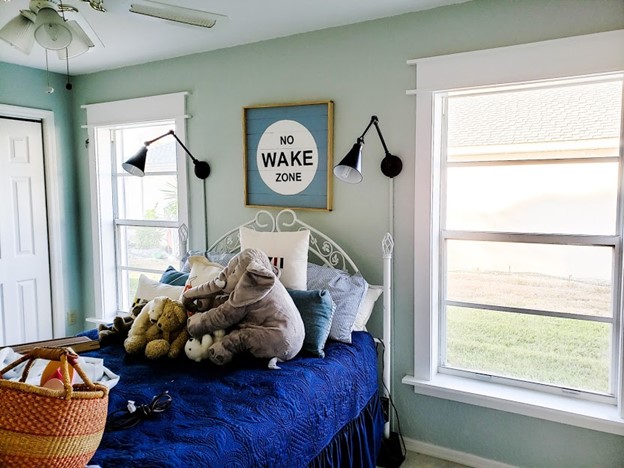
Hey, Ya’ll! I finally got my guest room windows trimmed out last week! If you have been following me, you know that I LOVE me some wood trim! Unfortunately, in most Florida homes you have marble window sills and no wood trim. Also, no crown molding and minimal, “skinny” trim around the interior doors. I mean, really?! Is there some kind of wood shortage here?! So, last weekend Mr. L (my favorite woodworking buddy) and myself trimmed out the windows in the guest room.
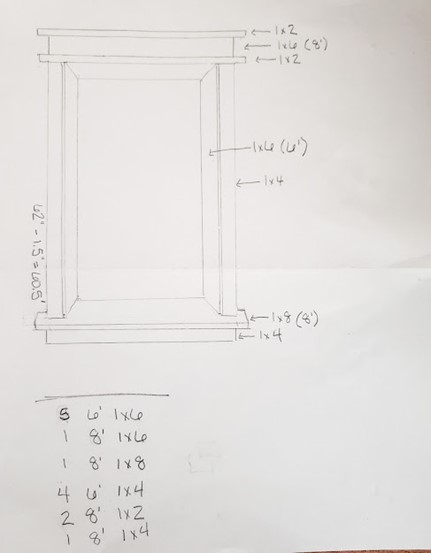
I drew a picture of what I wanted it to look like and Mr. L and I measured and figured out a materials list of what lumber we will need. Believe it or not, the whole project was 80 dollars! Thant’s only 40 dollars a window! BIG bang for my buck!
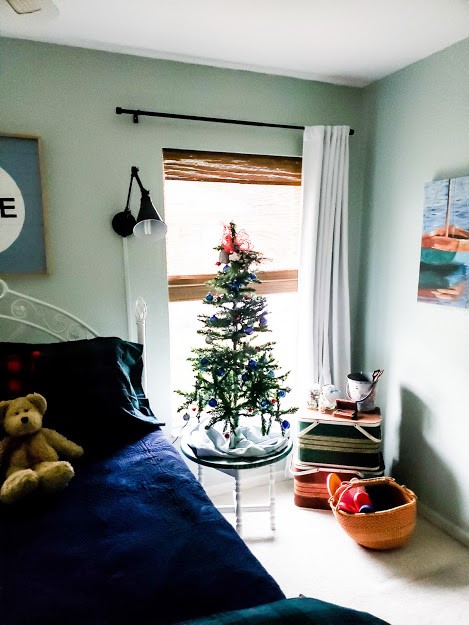
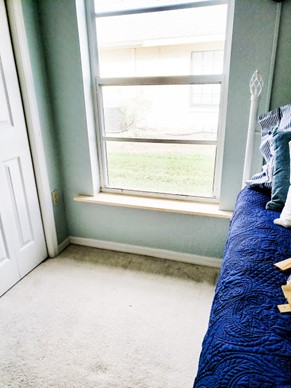
This is what they looked like at Christmas. No wood trim…kinda blah.
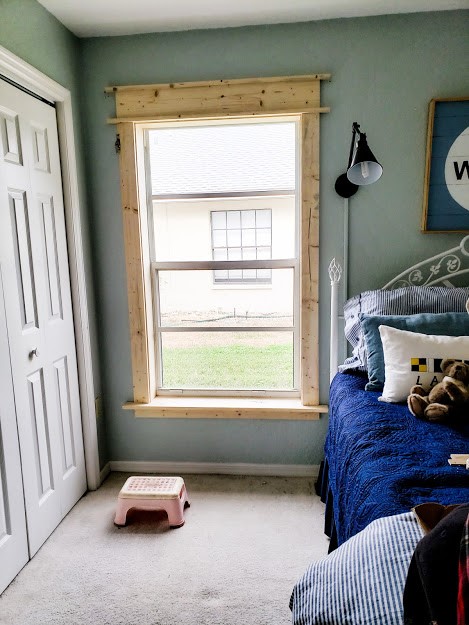
It is so hard to get a good picture of this room due to the lighting, but trust me, wood trim is a BIG improvement!
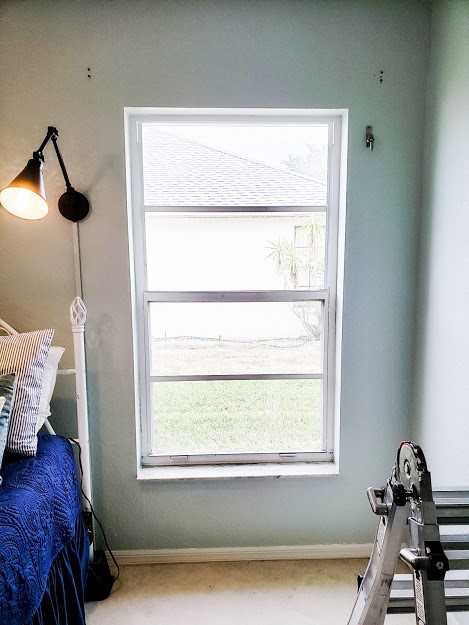
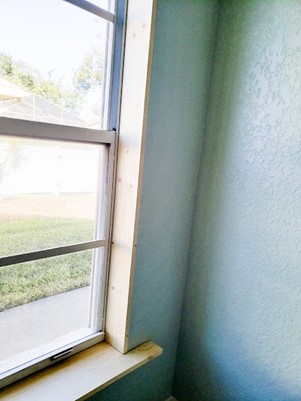
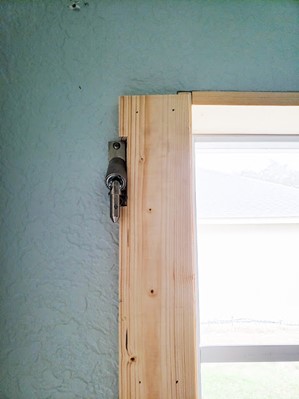
The marble window sill is the same width as the window so it really adds no character. I hope to be able to repurpose the marble in another project. 😉To get started, we removed the woven blinds, curtain rods and marble sills. That little gizmo on the right side of the window is a manual crank to lower the hurricane shutters (a must in Florida). It attaches to a longer pole to crank the steel shutter down over the window, like a garage door. We have these on all our windows and doors.
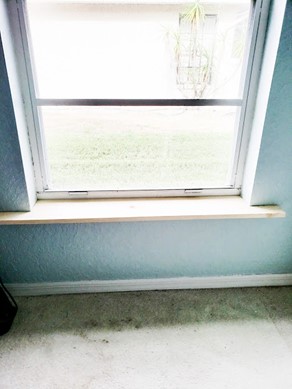
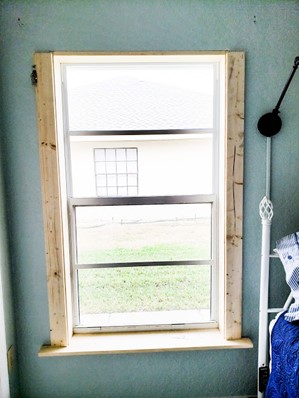
The next step, and probably the hardest, is measuring and cutting the window sill. We used a 1” x 8” pine board. You can find many tutorials on Pinterest on how to do this. It’s a little tricky, but totally doable if you have the right tools! The sill was checked using a level to keep it well…level, shims in places to keep it aligned and then wood glue to hold it in place.
Next came the inside sides of the window. The width measurement required us to have to rip or cut the board long ways. This takes a bit of skill of which I do not possess, but Mr. L does! 😊 He used a tape measure, marked the correct width and used a metal yardstick as a straight-edge to draw a line along the length of the board. He then used a smaller (5 ½”) circular saw to cut along the line he drew on the board. He’s WAY better at this than I am, but I’m learning!
Once these were fitted into place, they were nailed to the wall with 2” 18-gauge finish nails. A few years ago, around Father’s Day, I splurged on an air compressor combo that came with a 16-gauge nail gun, an 18-gauge nail gun and a staple gun. I have used these tools a BUNCH for projects around the house. Father’s Day is the best time to score deals on tools! 😉
After the inside side pieces were on, we cut to length and ripped to width the inside top piece. Don’t feel bad if it doesn’t fit the first time. Sometimes it takes multiple measurements and head-scratchin’ to get it just right.
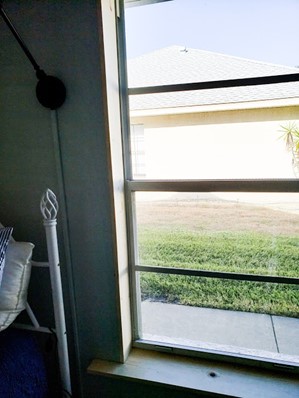
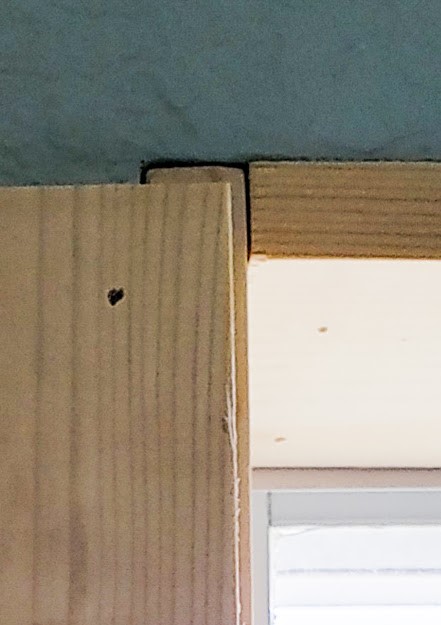
Next came the outside of the window frame. I love the look of an “off-set” wood trim. By that I mean the front-facing wood trim is ¼“ off-set from the inner frame. This gives the finished piece more of a custom look. Kinda looks like a pro did it! 😃
So now the front-facing side pieces are nailed on. Notice I had to notch around the hurricane shutter crank. I usually like to fill my nail holes as I go. I mostly use actual nail hole filler, but I have been known to use drywall compound.
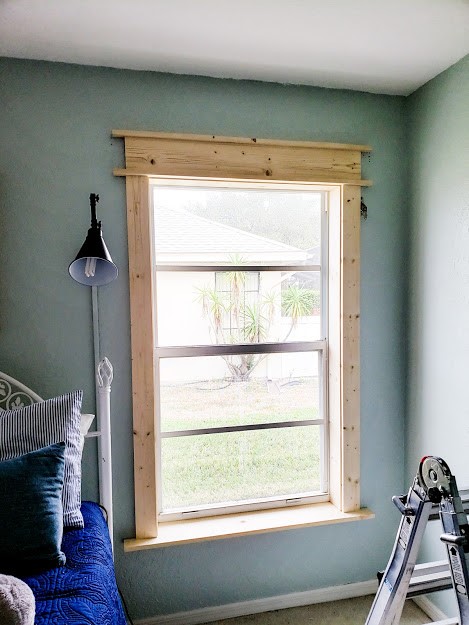
This is about the time I get really excited because I get to build the header or the top decorative piece! WoopWoop! I built this using a 1” x 6” pine board sandwiched in between two 1” x 2” pine boards. Ta da! I love this farmhouse look even though my home does not have that traditional, old-fashioned design. Isn’t it pretty? 😊
Lastly, on the building part anyways, was the apron or the board under the window sill. This finishes off the piece.
So, here she is! All ready to be nail hole filled, sanded and painted.
I won’t bore you with the details on that. Here is the finished product. So proud of what Mr. L and I have done!
My son and his beautiful wife will be coming down in a couple of weeks. I plan to have the blinds and the curtains back up before they get here. I will post pictures of that later. Thank you for joining me on this journey. Do you have plans to update your home this year? I have BIG plans (and a small budget). More on that later.
Please drop me a little message in the comment section below and let me know your big plans for 2021. It doesn’t have to be home décor related. Maybe you have specific goals, hopes and ideas. I would LOVE to read about them!

