You will also need a 9″ x13” pan filled with warm soapy water to clean your stamp.s
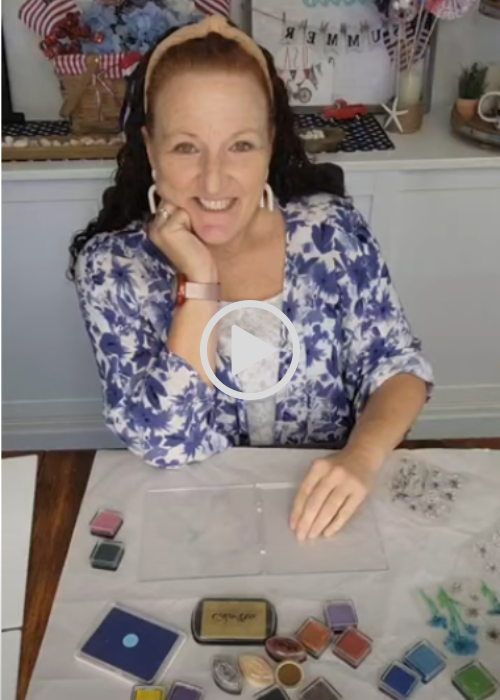
Here are the materials I used for this project
Make sure your acrylic stamp positioning tool is clean and dry.
Skipping this step could cause your finished design to turn out fuzzy.
Clean and dry your positioning tool
Pick out a stamp and place it on your positioning tool (sticky side against the acrylic)
I chose a rose stamp for this project
Placing my stamp on the acrylic positioning tool
Position your card inside the positioning tool lining it up with your stamp.
Make sure you know which way your card is supposed to be facing (so you don’t stamp your card upside down).
Lining up the card to my stamp
Tape your card in place so it doesn’t shift.
Taping the card to the positioning tool
Ink your stamp with your ink cubes, making sure to get plenty on the stamp and not on the background – this is why the smaller pads work best.
applying the ink to the stamp
Place your stamp on your paper and press the stamp firmly against your card.
Open the positioning tool to see if your stamp came out fully inked.
If you find that there are spots not completely stamped, re-ink the stamp and press it once again against the paper.
That is the beauty of using this positioning tool.
You can re-ink and press in exactly the SAME spot! Yay!
There are many ways to ink your stamps.
I stamped my leaves in green without cleaning off the pink I used for the rose.
I used two different pinks for the flower and three different greens for the leaves.
I think placing the colors over each other gives your design more dimension.
Here I am applying green ink for the leaves
This is how it looks finished.
I might color it in with colored pencils or maybe acrylic paint! Yay!
Here is how it looks finished
I love how this handmade greeting card turned out and the positioning tool is definitely a game changer!
I even decorated an envelope to match my card!
I seriously think I am going to try to hand-make my own Christmas cards this year!
It is the end of July right now, so I will have plenty of time if I start right away! Yay!
If you enjoyed this project, send me a comment!
I would LOVE to hear from you!
Hopefully, this will inspire you to make your own handmade greeting cards.
Hi, I’m Danielle!
I am the designer, writer and diy’er behind this blog. I enjoy decorating my home for practically nothing by doing most of the work myself, finding new and imaginative ways to make it beautiful and by watching for killer sales. I find humor almost anywhere and can laugh at myself through it all. I have learned that most projects don’t go exactly as intended, but can be more beautiful than the original plan.
Re-Fabbed Boutique – Beautiful, quality clothing for women of all shapes and sizes!!
We use cookies to ensure that we give you the best experience on our website. If you continue to use this site we will assume that you are happy with it.
You can revoke your consent any time using the Revoke consent button.