Have you been wanting to clean out that craft closet, but you’re not sure where to start? Trust me, I have totally been there!
Since I started doing Facebook live videos, I have accumulated much more “pieces and parts” to my craft closet. With this comes a need for storage solutions, but how many bins can one person have? The answer is…as many as it takes! 😊
Cleaning out a craft closet can be daunting or very rewarding, depending on your mindset. I usually wait until I can’t find things before I buckle down and start weeding out the junk from the treasure.
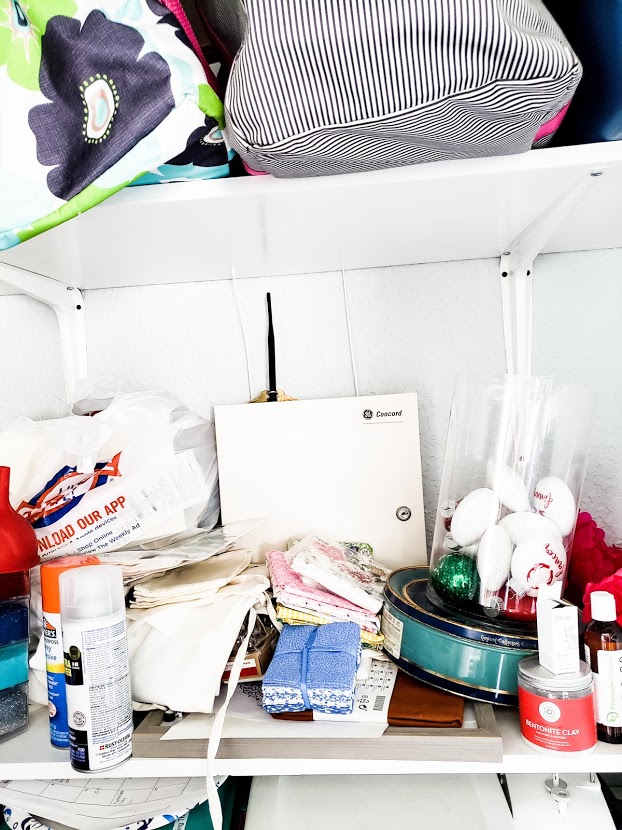
Craft Closet Shelves before
Since I cleaned out this little jewel box of a closet only 3 months ago, I really did not have much junk, but I was amazed at how much I accumulated in such a short time! I found out something about myself in the meantime…If I cannot find what I am looking for, I go and buy it again rather than tear apart my already out of control stash! What a waste of time and money! Sure, I will use these items at some time in my life, but really (insert eye roll here)?!
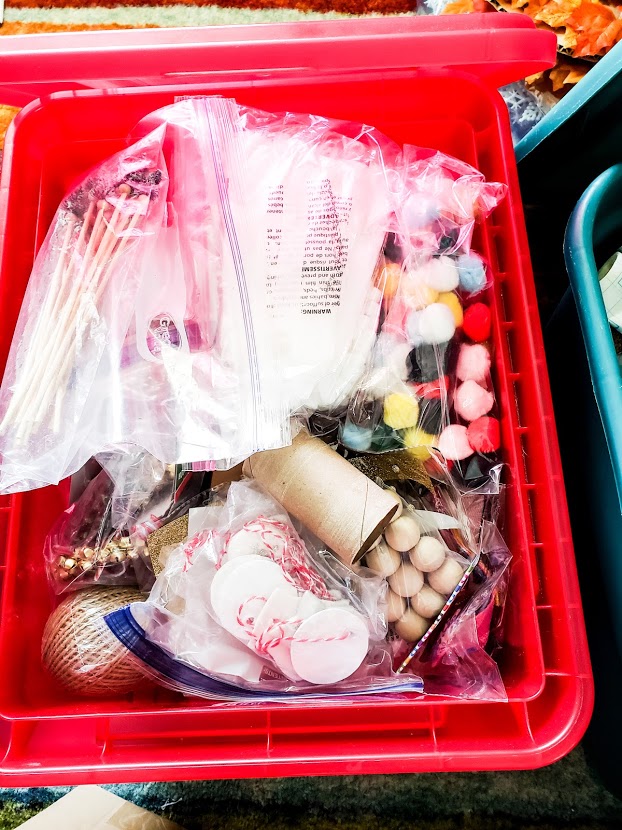
Holiday craft leftovers
Even this little wire rack on the side wall, which by the way is normally a hard-working piece, by that I mean it holds the things I need most often and takes the brunt of clutter I create, was looking a little “disheveled” if you will.
Messy Wire Rack on Side Wall
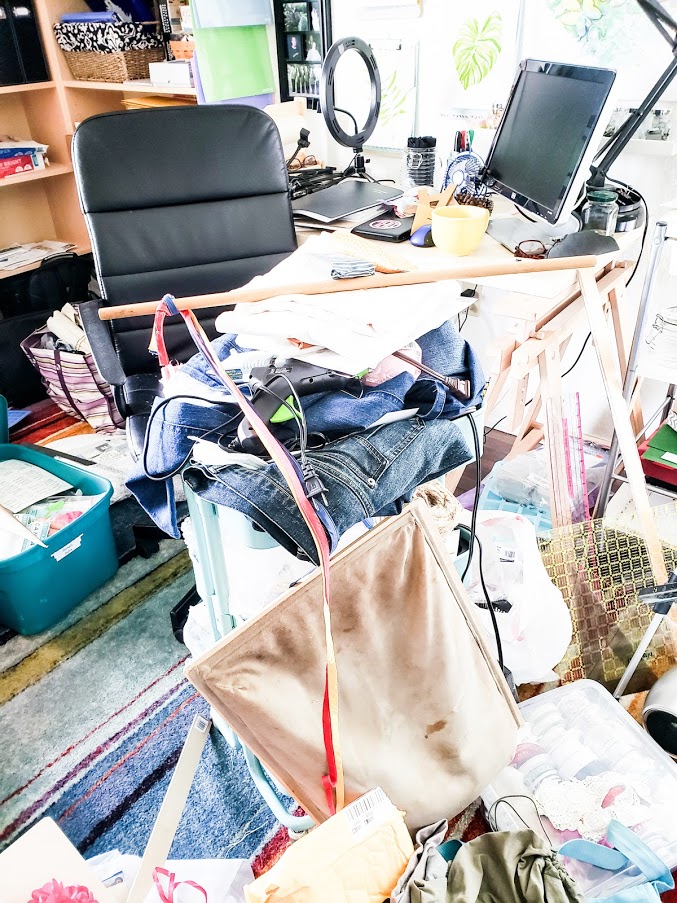
Now, I have a system when it comes to truly cleaning and organizing my spaces. I drag EVERYTHING out of the closet and onto the floor. This way I can see exactly what I have. I do not do any sorting at this time.
After I have taken out all the things, I thoroughly clean the shelves, walls and floors. I then walk away from the room and take my first 10-minute break. I might have forgot to mention that coffee is a MUST when doing hard tasks! 😉
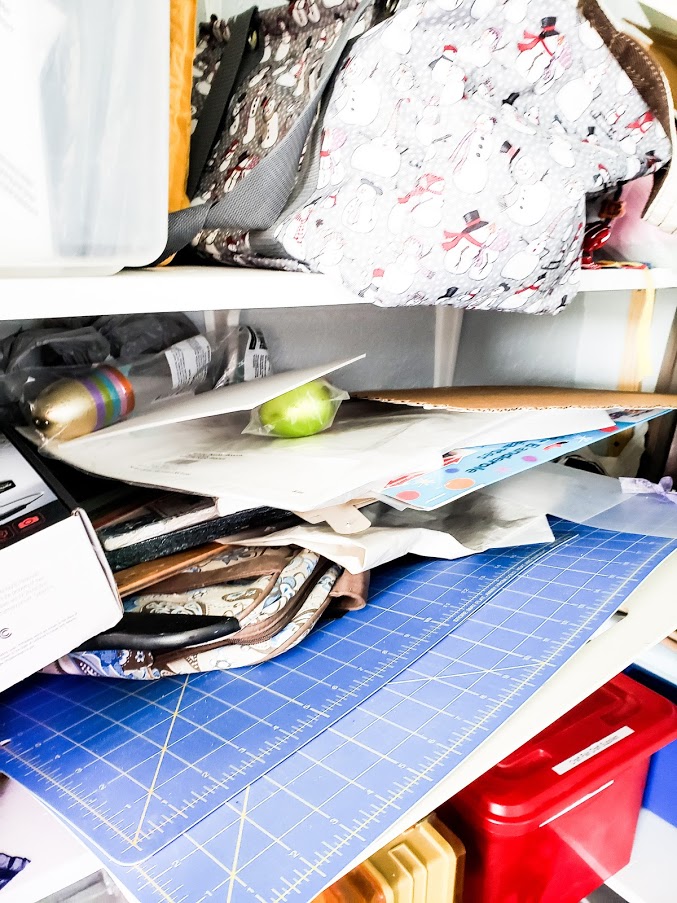
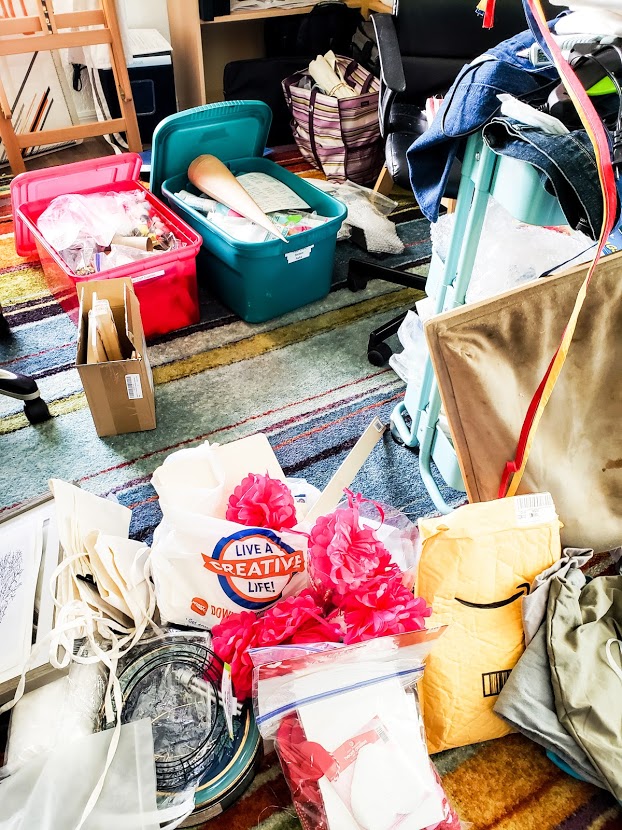
Craft Supplies Covering the Floor
Continued Craft Supplies on the Floor
Once your break is over, walk into the room and take a good look at everything on the floor. This is where I start the sorting process. As you start to tackle the ginormous pile of “things”, make separate plies on the floor for trash and donation. Pull out all the things that are trash. Things such as broken pencils, bits of string and dried up paint bottles need to go in the trash. If you are keeping something because you need to get more of the same color, size, etc., take a picture of it with your phone and throw the thing away.
Next, I look at things that I have liked in the past, but not so much now. Things like plastic canvas pieces and large plastic pony beads that are in good shape, but not to your taste anymore need to go into a donation bag. I like to take my left-over craft supplies to our local nursing home. They are more than happy to get these, and I love to see what they make out of them. 😊
Hodge-Podge of Craft Supplies
Now what you have left is all the things you want to keep, for the most part. Do not remove the trash and donate piles just yet. You might want to add to these piles as you go through your “keep” pile.
I like to buy clear plastic bins so that I can see what is inside. I do, however, have some that are not clear. A dear friend and fellow crafter recently passed away and I inherited much of her crafting supplies along with these colorful bins. They are the perfect size for the shorter-height shelf I have in my craft closet. I built this shelf that way to purposely fit those precious bins.
Next, it is time for another coffee break! Yay!!!
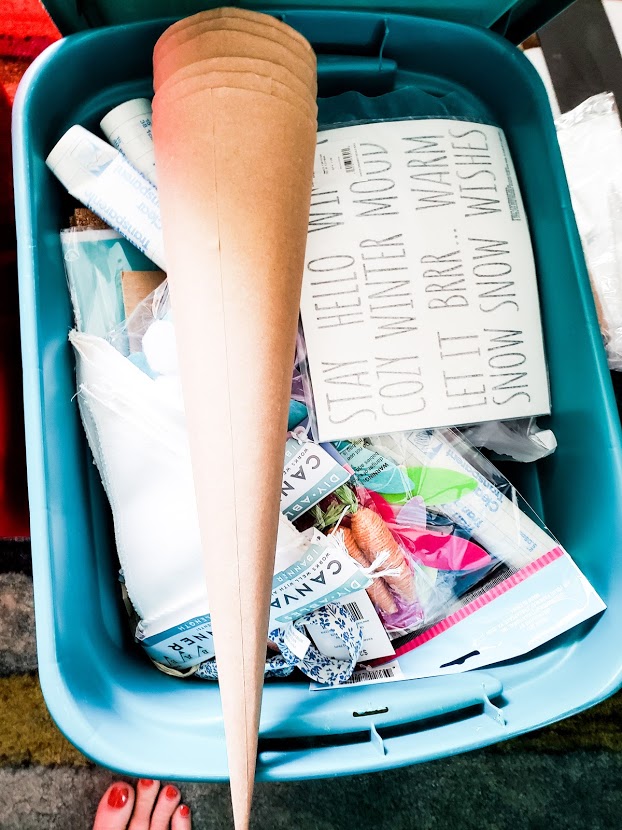
Too Much Paper Supplies For the Size Bins I have
After your break, take a deep breath and grab two garbage bags because you are in the home stretch, baby!!!
Bag up your trash and donate piles and place them somewhere out of the way. Now…this is my favorite part! I love this step most of all because I get to see what I actually have in my craft arsenal to work with! I get the best ideas when I see the inventory!
Now, find a good place to sit and get comfortable. I like to sit on the floor. Open your first bin and dig in. Again, throw away anything and everything that is broken or has missing pieces. If your bin has smaller pieces that can get lost inside, I recommend getting a smaller bin to go in your larger one. My sewing stuff, for example, has smaller bins for thread, rivets, bobbins, etc. My yarn bin is my largest bin because yarn takes up a ton of space. Inside that large bin are smaller ones for crochet hooks, row markers, yarn needles and the like. Just make sure when you label the outside of the bin that these smaller bins are included. Repeat this with all your bins.
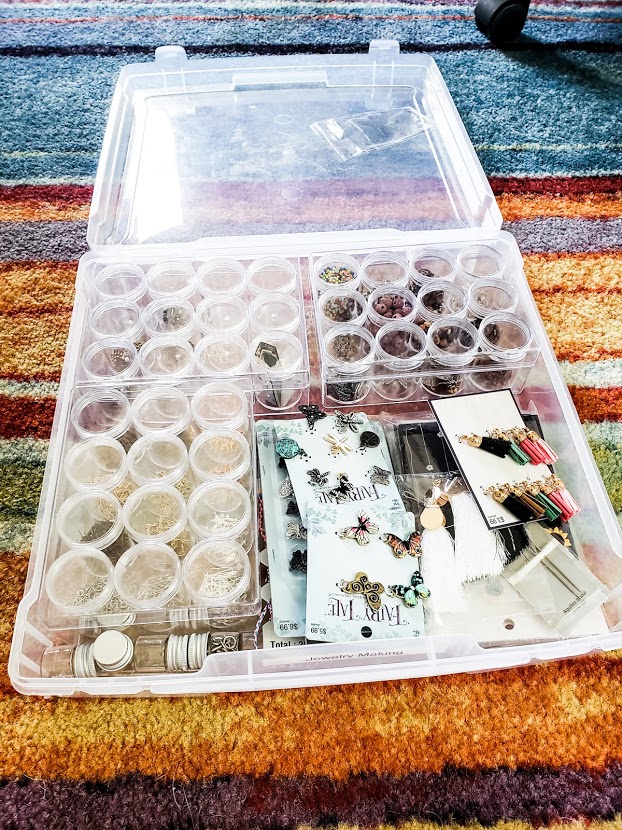
Jewelry Making Supplies All Neat and Tidy
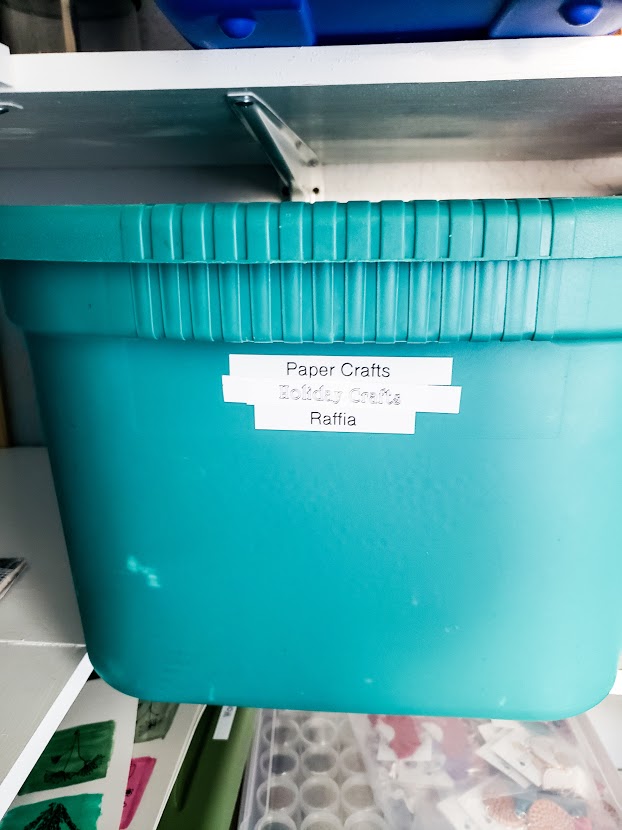
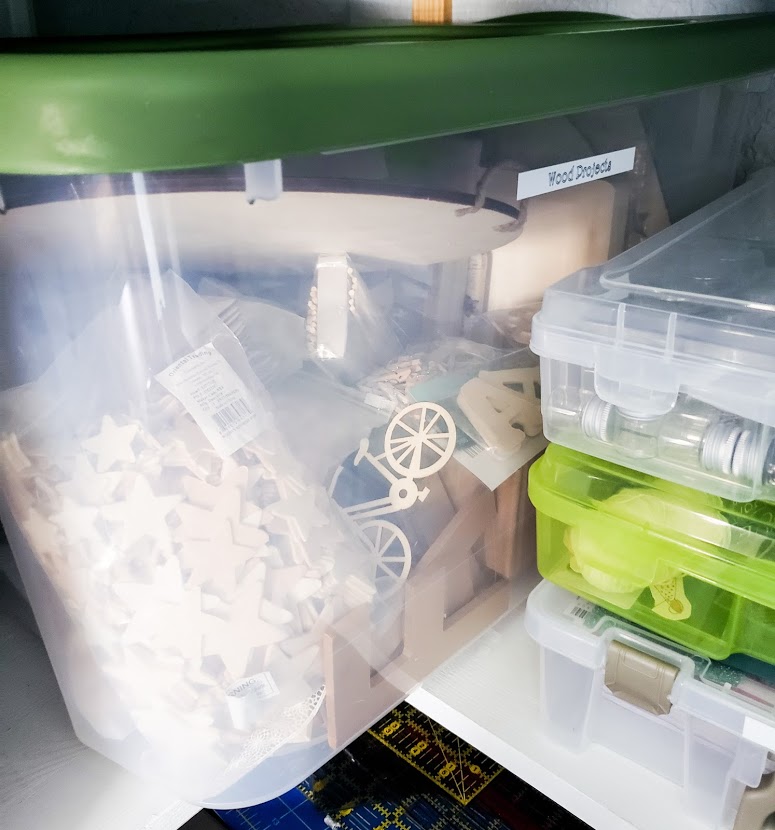
This time, after I sorted through all the things, I discovered that I needed two more medium-sized clear bins. I recently started to work with laser-cut wood pieces, and they did not have a current home in my closet. I also realized that my paper craft bin was over-flowing and required another bin. I was able to separate all my paper supplies into “Paper Crafts” and “Holiday Paper Crafts.” Sweet!!!
Holiday Paper Craft Storage
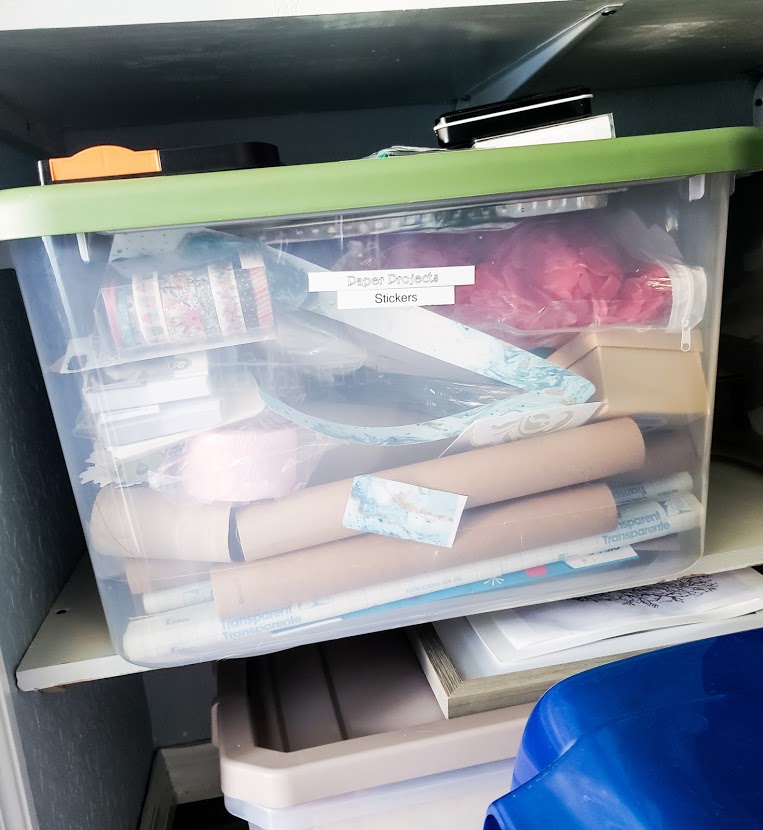
Craft Paper and Sticker Storage
Love Projects with Laser-Cut Wood Pieces
Lastly, label all your bins. Make sure to use words that will identify what you will be needing. Do not label your stuff in hopes that you will remember exactly what is in there…trust me! This is the labeler I use.
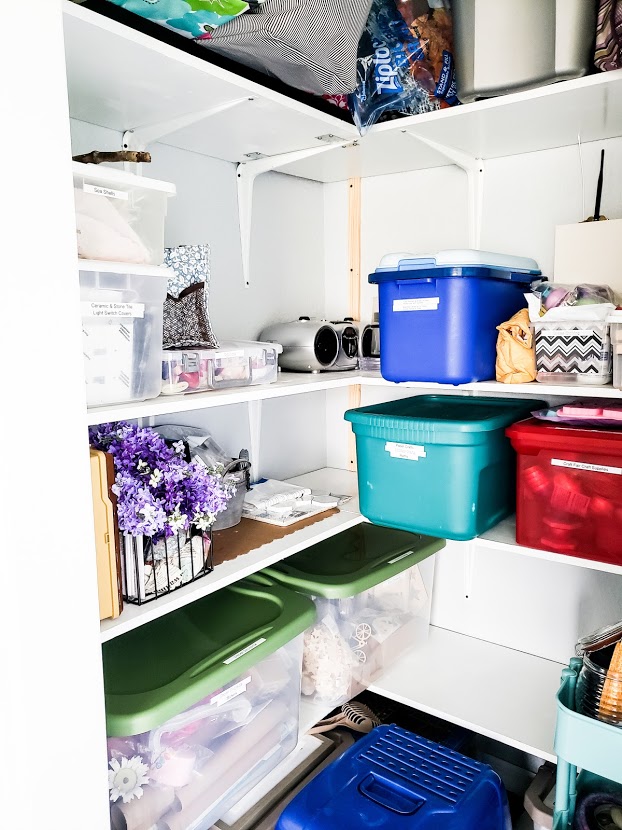
Now place all your bins back into your closet. I am blessed enough to have shelves in mine, but if you don’t, stack them with the things you use most on the top.
All Clean and Ready to Work for Me
I Think I Can Hear Angels Singing!
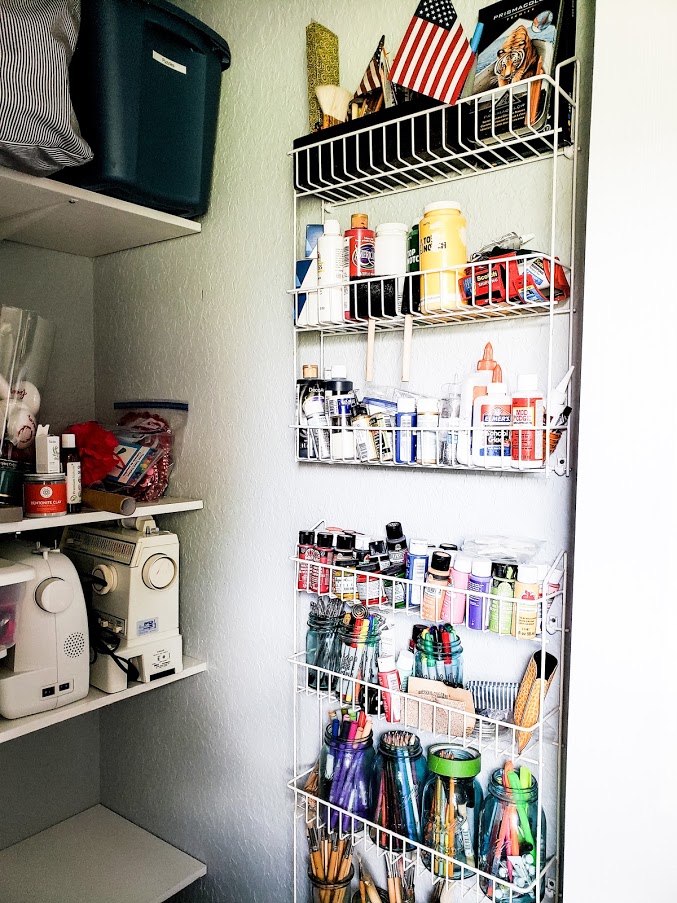
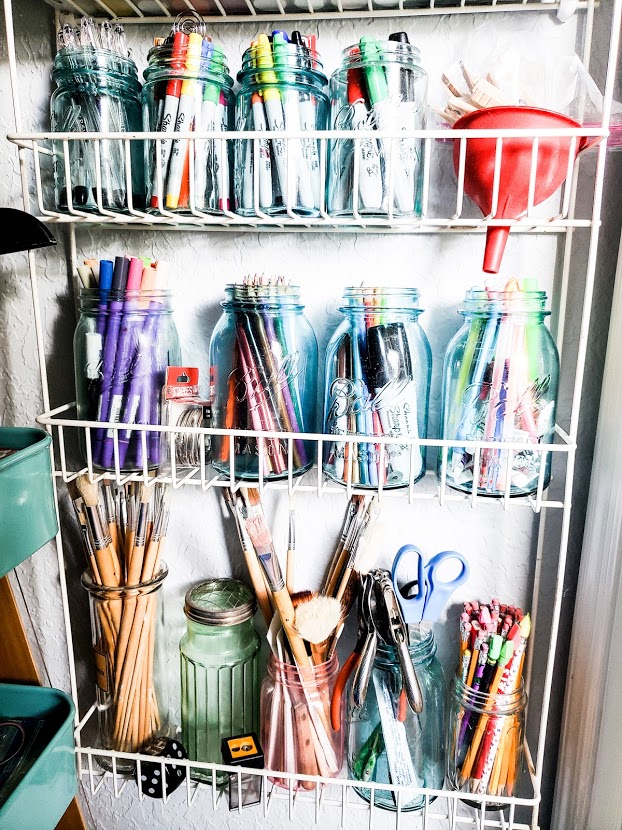
Even my little wire rack on the side wall of my closet looks so much better with the empty bottles removed!
Paint Bottle Section Organized (by color) and Ready to Go!
I Love Using Canning Jars for Storage Vessels
Now stand back and admire all your hard work…while drinking… your now cold…cup of coffee! Ha!
Please let me know in the comments below if this article was of help to you. I would love to hear your thoughts!
–Danielle
Hi, I’m Danielle!
I am the designer, writer and diy’er behind this blog. I enjoy decorating my home for practically nothing by doing most of the work myself, finding new and imaginative ways to make it beautiful and by watching for killer sales. I find humor almost anywhere and can laugh at myself through it all. I have learned that most projects don’t go exactly as intended, but can be more beautiful than the original plan.
Re-Fabbed Boutique – Beautiful, quality clothing for women of all shapes and sizes!!
We use cookies to ensure that we give you the best experience on our website. If you continue to use this site we will assume that you are happy with it.
You can revoke your consent any time using the Revoke consent button.