I love all the Christmas traditions we have made over the years as a family.
When we moved to Florida, we tried to keep as many of these traditions as possible.
With that being said, Christmas Eve dinner is one of the most important traditions my family has.
I have always tried to make this dinner THE event of the year!
The tablescape and home décor have to be on point and the food, which is my husband’s domain, has to be extra special.
Let me show you just how I created this year’s tablescape.
First up, my table runner.
My dining room table, with all the leaves in is 8 feet 8 inches long or 104 total inches.
Most table runners are 72 inches so you can see, unless I buy 2, a regular table runner will not work for my dining room table.
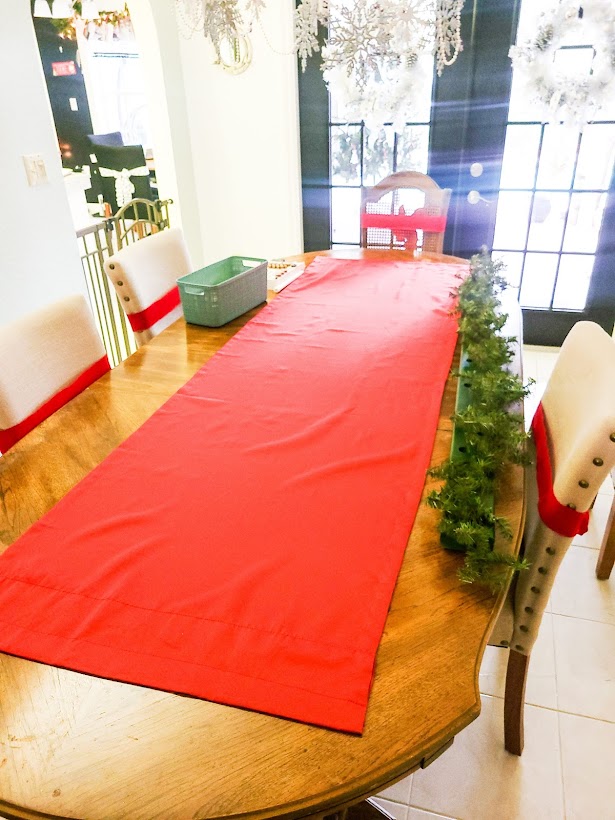
Fortunately, I did have 3 beautiful red window panels that are 84 inches long by 26 inches wide.
I originally used these in our rental as window décor.
They didn’t have to cover the windows completely because there were also rattan shades used for privacy.
These window panels are the perfect size for my table.
I like that it gave plenty of room at the ends (10 inches each end) for a place setting without being in the way. Win!
Next, I made a candle holder from a 2” x 4” pine board I had left over from a previous woodworking project.
I wish that I had taken more pictures of the process, but you can get a good idea of how this was constructed.
I measured and cut my board to a 5-foot length.
This way I still had a little of the table runner cloth sticking out on each end.
I knew that my Christmas Eve place settings were going to need more space than my everyday place settings which is 23″ wide by 10″ deep for each person (from Google – I’m not that specific).
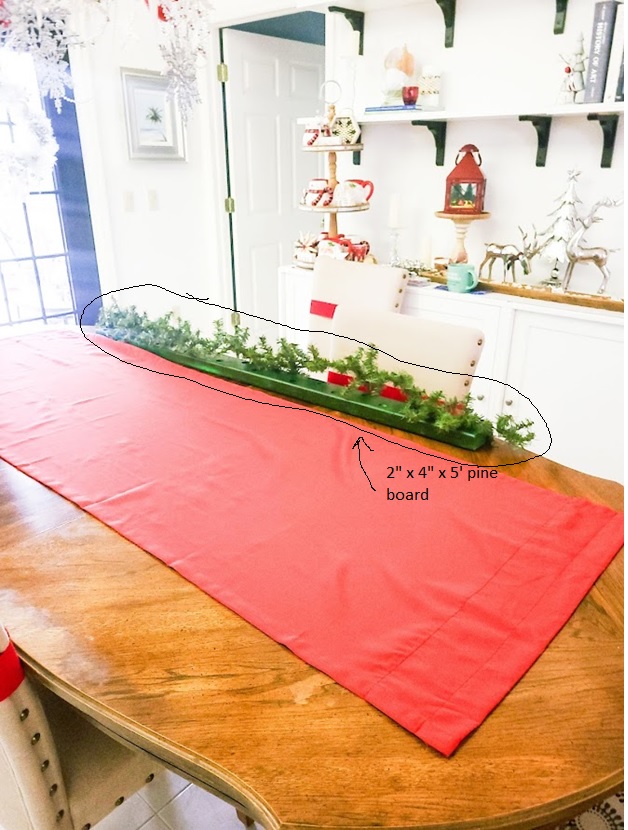
I knew that I wanted this candle holder to be very dramatic, but to also be cost-effective.
The only real expense for me, since I already had the pine board, was the candles.
I looked all over online for battery-operated taper candles.
Since I was going to need a bunch of candles (19 for this project), they had to be pretty inexpensive.
Luckily, I found these at the DollarTree™.
First, I measured the base of my tapered candles and drilled holes in my board at that measurement.
Then, I painted my board a dark green because I wanted it to blend in with the greenery that was going to cover the board.
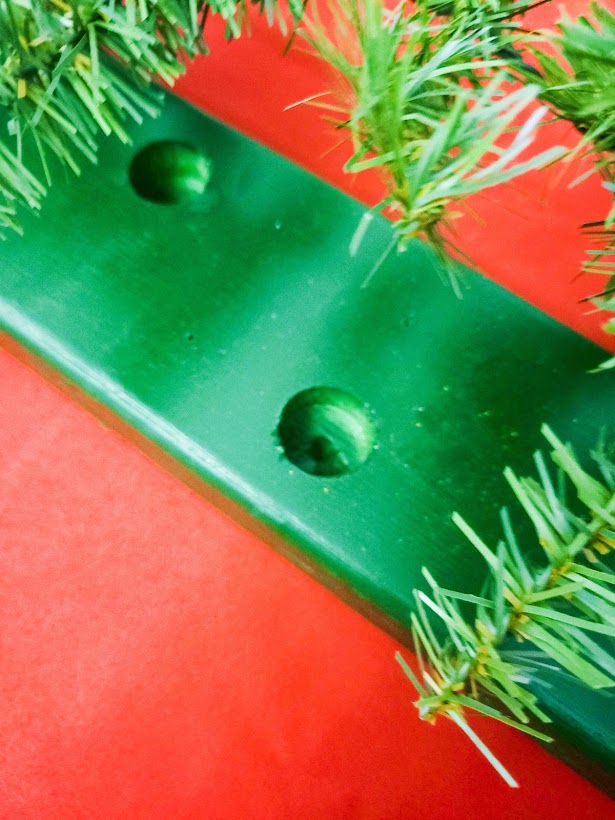
I put my candles in first before adding the decorations to the board.
Some of my candles were a little smaller than the others and I needed to wrap the bases with rubber bands so that they would fit tighter in the holes I had drilled.
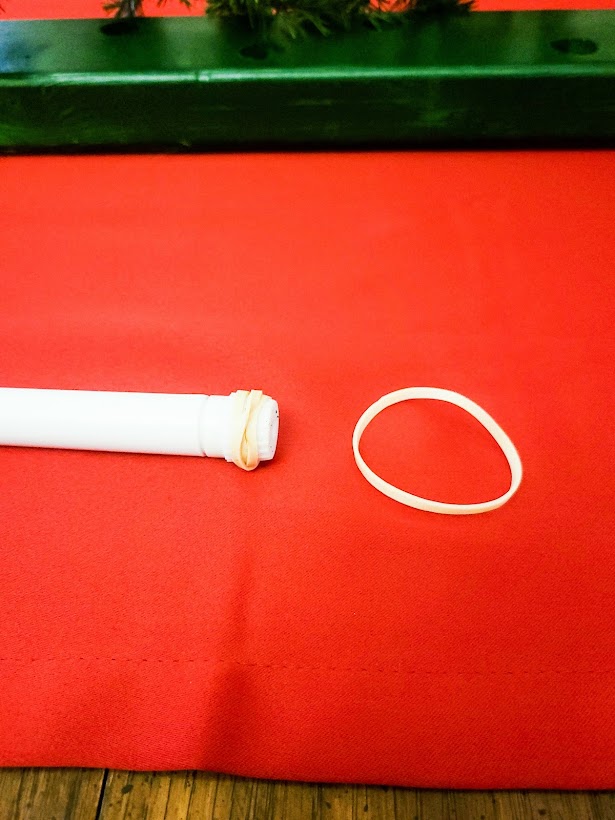
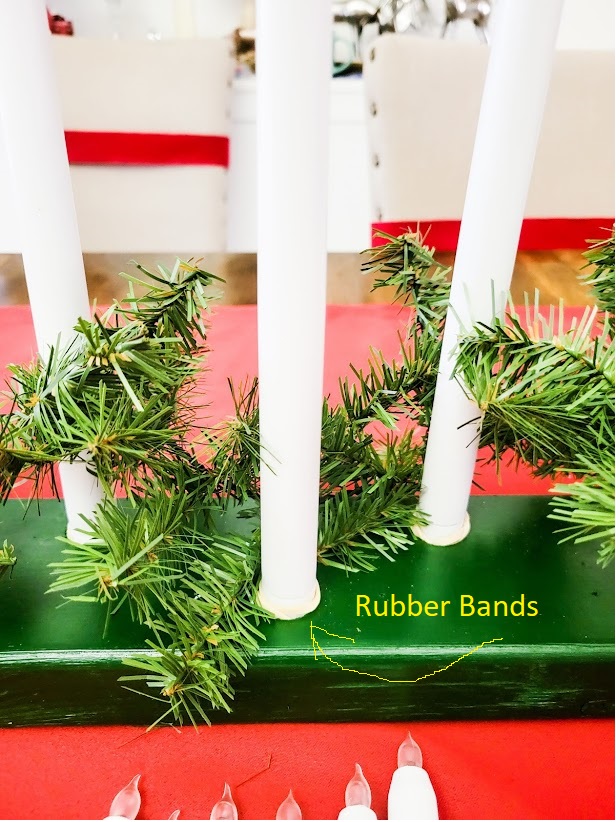
Once all of my candles were tightly in place, I started to add decorations to cover the pine board.
I like to use pine garland for most of my Christmas décor because it is pretty inexpensive and a little goes a long way.
After my pine boughs were in place, I added layers of strands of pearls and battery-operated mercury glass Christmas bulbs.
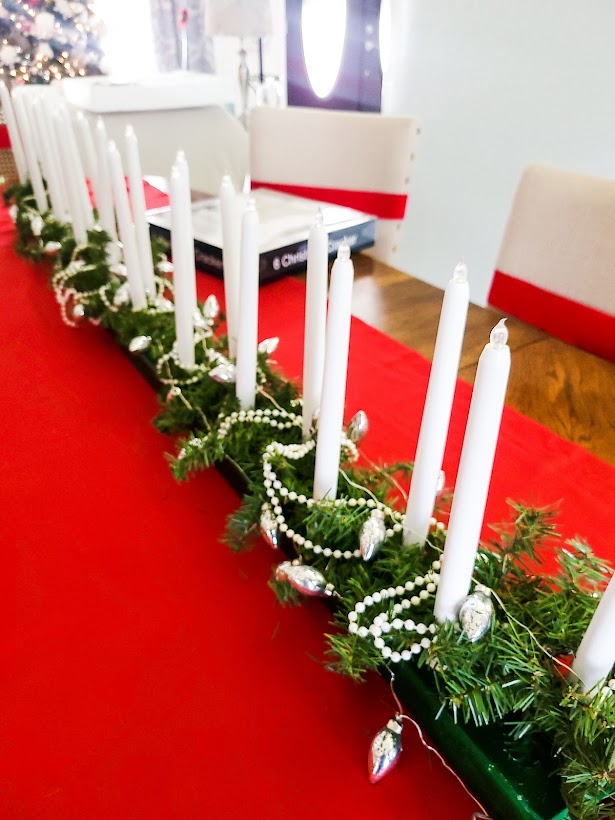
I then placed this Bee & Willow™ 31-piece LED village set around the perimeter of my candle holder.
If you like a simpler design, leave out the extra layers. But if you know me, “extra” is kind of my middle name. If you don’t believe me, look at the chandelier above my table. 😬…yeah.
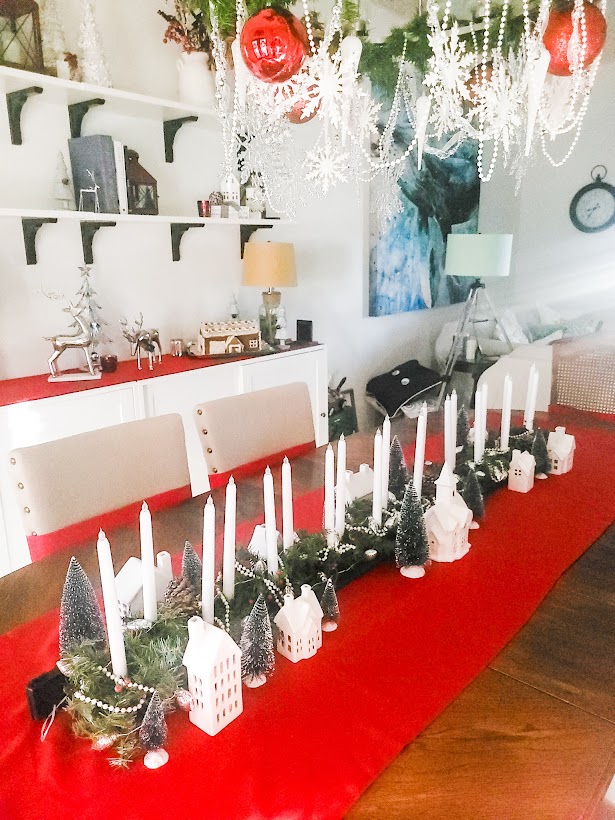
I hope you found this article on how I made my dramatic Christmas candle holder helpful and inspiring.
Let me know in the comments if you like it (or not) or just say “Hi!”
I look forward to hearing from you!
Stay inspired and Merry Christmas!

