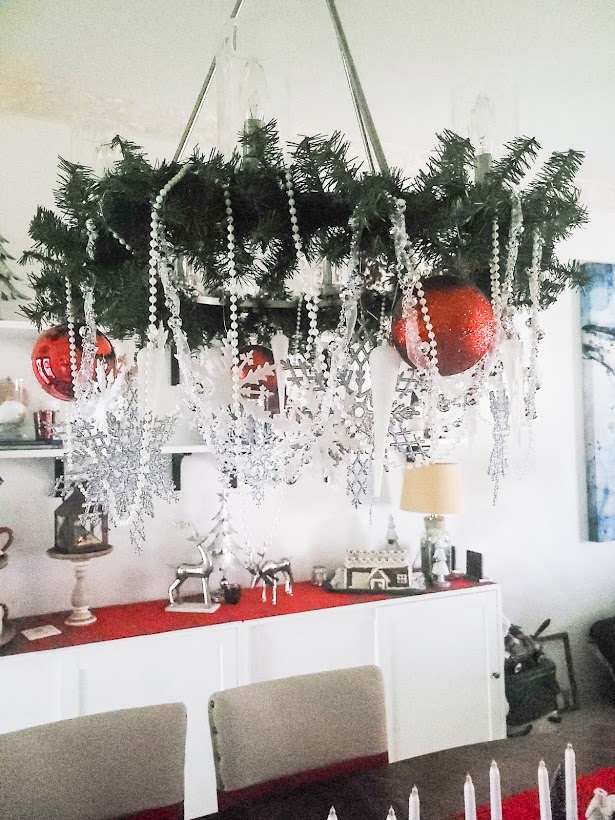
I often get asked how I decorate and style my chandelier for the Christmas season, and it’s actually a funny story.
Even before we purchased this fixture, I had a specific design in mind… something elegant with a slightly modern look.
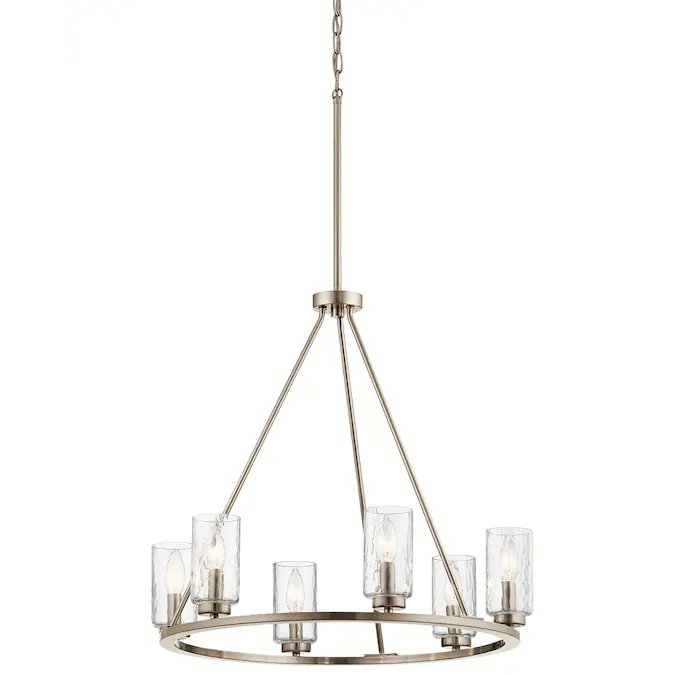
When I came across this chandelier, I knew it would be perfect for my vision.
It was simple and elegant, and its brushed nickel finish gave it a contemporary feel. Yay!
I bought several decorative Christmas ornaments that I thought would look nice on my chandelier.
Among these were silver and white glitter snowflakes, which matched the ones on the large Christmas tree in the living room.
I also had white glass icicles, silver ribbons, pearls, and large red ball ornaments. I was uncertain whether to use all of these items or just some of them on my new chandelier.
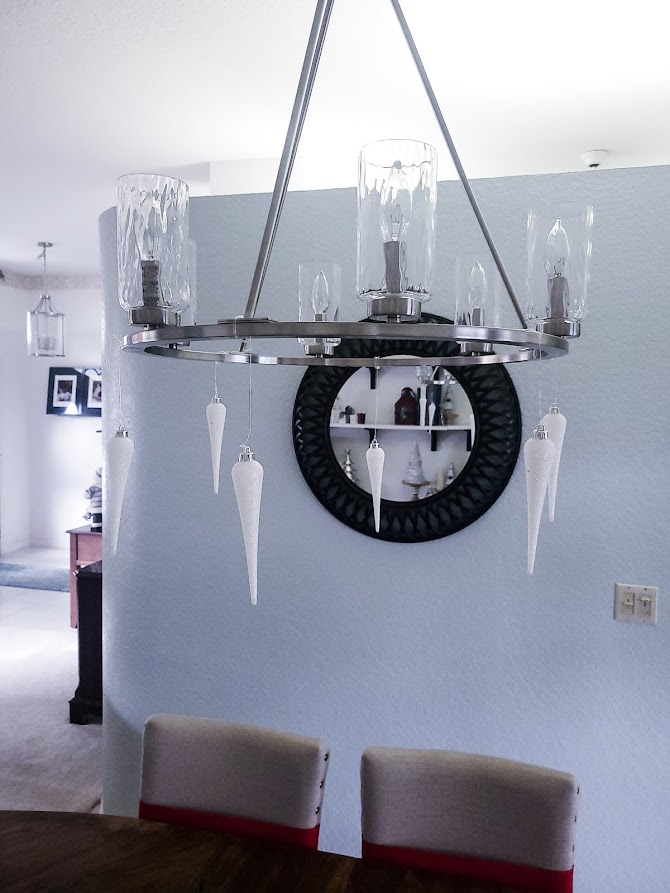
I began by attaching the glass icicles with fishing line. I secured them at varying lengths but realized I could wrap the line around the chandelier’s frame to achieve the exact length I wanted. This method was much easier!
I then started on the smaller of my two snowflakes, making sure that each type of ornament was dispersed evenly around the chandelier’s frame.
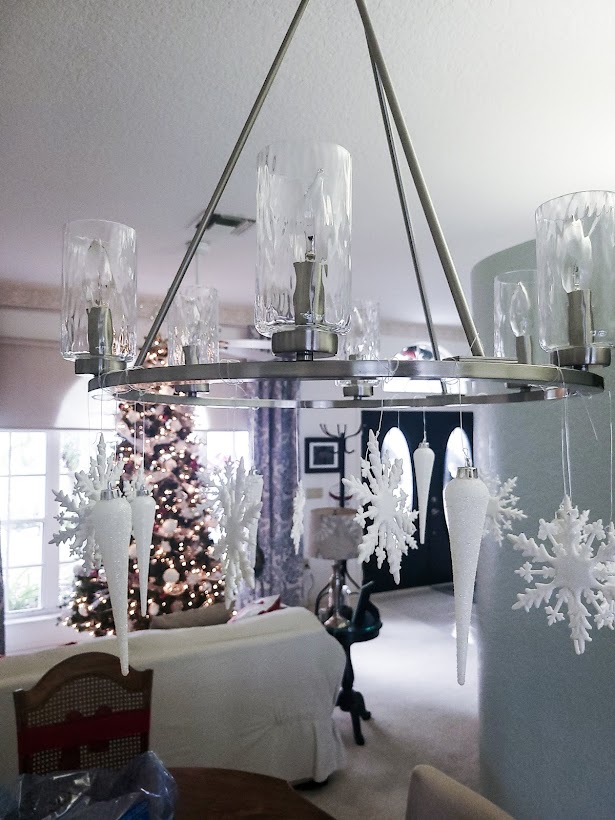
Next came the larger, silver glitter snowflakes.
This really set off the chandelier, which matches both the nickel plating of the fixture and the silver mercury glass ornaments on the Christmas tree in the living room.
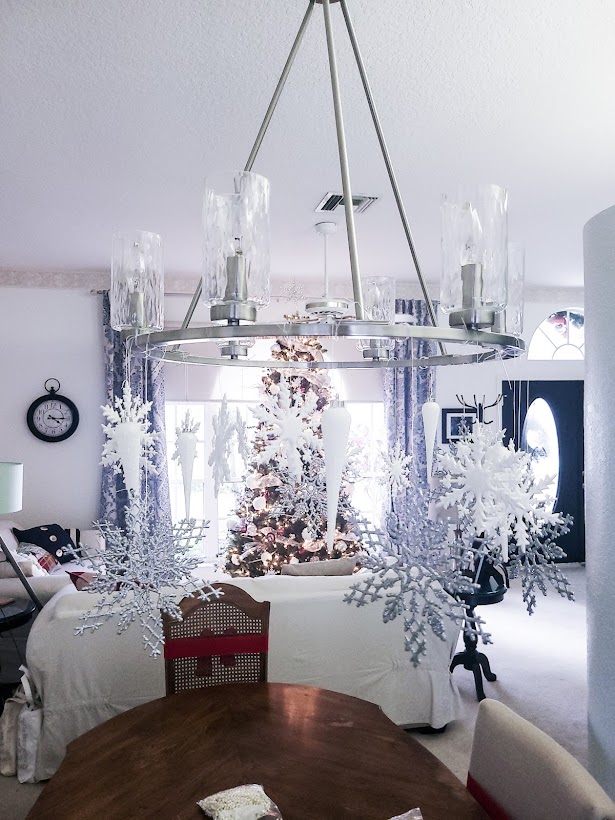
Once I had all the ornaments I wanted on my chandelier, I ensured they all hung at different lengths.
This keeps your eyes moving throughout the piece and not “stuck” at one spot (it sounds silly, but it’s true).
Next, I arranged the greenery around the top of my chandelier.
I opt for inexpensive faux greenery whenever possible, as I enjoy how it adds texture and gives a festive, “Christmassy” feel to the piece.
I secured the greenery by wrapping the branches around and tying each section to the light fixture.
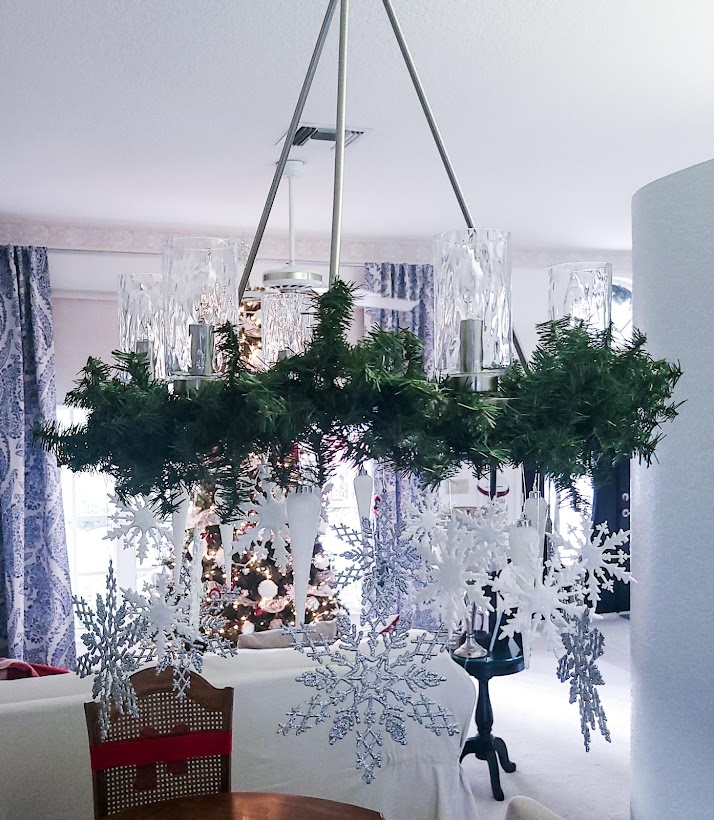
After I had the greenery in place, I wrapped silver ribbon throughout the top, draping it at different lengths.
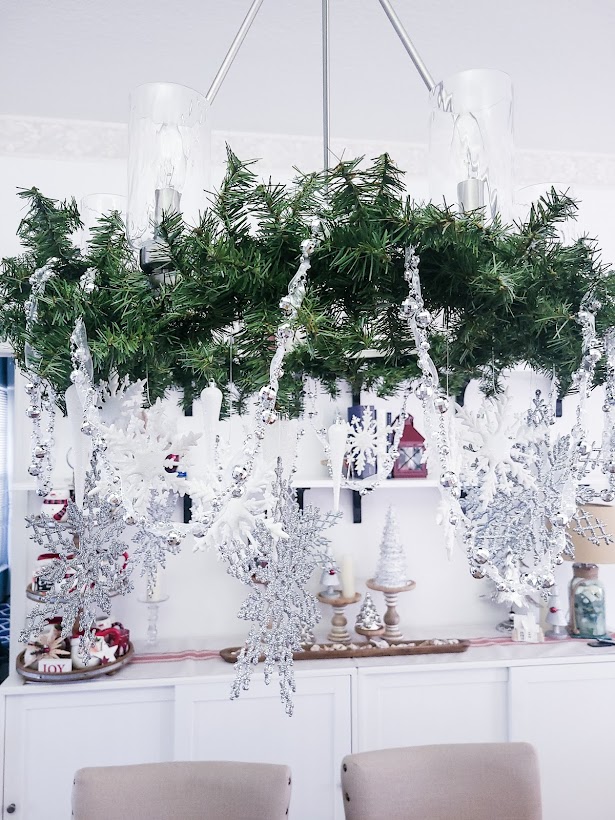
Doesn’t it look great?! Now, most people would stop there with the decorating.
You guessed it! I did not stop there. I always have to take things over the top (and not always in a good way).
What does this chandelier need to take it over the top? Did you say pearls?! Why yes! I agree! Pearls would look AMAZING!
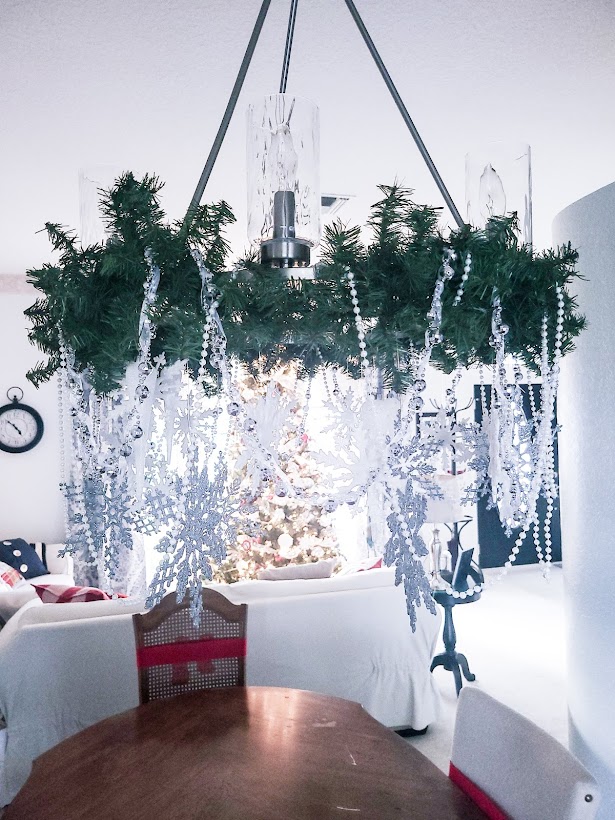
After looking at this finished chandelier, I noticed that it was looking a little…vanilla.
The silver and white were beautiful, but there was no pop of color. I pondered this dilemma for quite a while.
What could I add that would not take away from or make the chandelier too gaudy?
Well, my Christmas tree was white, silver, and red. Yep! RED! I found these red ball ornaments in a box that I had last year.
They were just the thing this light fixture needed!

This chandelier turned out way better than I had pictured it while walking down those aisles at Lowe’s so many months ago!
It was inexpensive, approximately $10, not counting the cost of the light fixture, of course.
Please leave me a comment below about this project or just to say “Hi!” I love talking to Y’all!


