When we first moved into our new home back in 2017, we were happy about all the storage this home had to offer.
You see, we came from a very small home up north with make-shift closets in each of the two bedrooms and a coat closet borrowed from the living room to serve as the master bedroom closet.
Our present home here in Florida has double the square footage of our northern home. The master bedroom has TWO walk-in closets and the other two bedrooms have large closet spaces. We also have a linen closet, broom closet and a massive closet area along one wall in the garage.
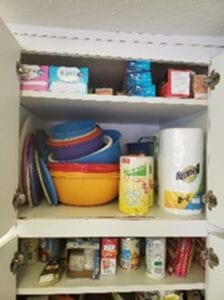
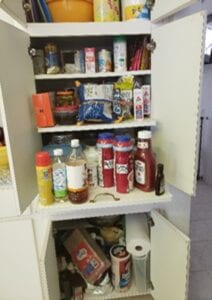
What we did not have though, was a pantry. There is a cupboard in the kitchen with pull out shelves that we presumed to be a small version of one. The pullouts do not have sides on the shelving and small things such as food color bottles and seasoning packets would fall to the floor when the shelves were pulled out. Many items would come up missing only to reappear after we bought more of the same. It was frustrating to say the least to keep clean and organized.
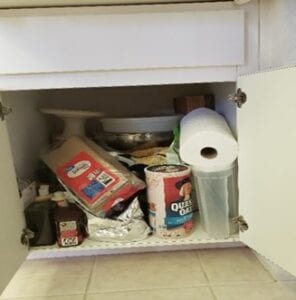
The bottom of this cupboard became a catch-all for random items. This set up became messy quickly and I felt like I was cleaning and organizing this space daily without much success.
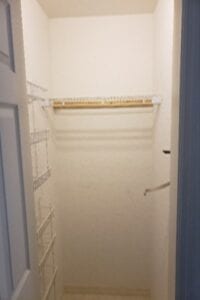
Enter…the broom closet. Why did I not think of this before?!
It is located just around the corner from this cabinet, so it would be very doable. Unfortunately, I did not take pictures of it before I removed the vacuum cleaner, carpet scrubber, brooms, mops and miscellaneous things that clean all the things (and things).
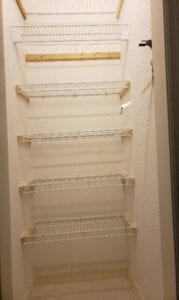
But, this is how it looked once I cleaned out all the… things. The wire rack on the left side was removed and moved to my craft closet (more on that at a later date).
My friend, Mr. “L”, had some wire shelving pieces left over from another project and was willing to part with them. They matched the shelf that was already in the closet so this was a no-brainer!
All that was needed for this project were some 1”x2” scraps of wood to brace each side of the shelf and clips made for wire shelving to support the back of the shelf (links to items are at the end of this post). Wood strips were screwed into the sides of the pantry with 2” screws.
Make sure you use a level to keep the woods strips even. You wouldn’t want soup cans to go rolling off the shelf! Ha!
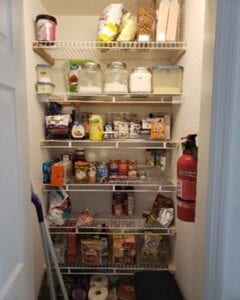
I added one shelf above and four more below the existing shelf. Each shelf was cut to length using a hacksaw with a blade used to cut metal. Three clips were used in the back of each shelf. Unfortunately, only one clip was put into a wall stud due to the way the closet was constructed.
I left ample space below the bottom shelf to put bins or baskets to hold extra supplies we will need that are too big for the shelves such as paper towels and pads for the mop. I was able to buy storage containers and organizational items to help me keep this pantry on point. See how [here]
For wire shelves and wall clips
Disclosure: As an Amazon Associate I may get a small commission, at no extra cost to you, should you make a purchase.
— Danielle
Hi, I’m Danielle!
I am the designer, writer and diy’er behind this blog. I enjoy decorating my home for practically nothing by doing most of the work myself, finding new and imaginative ways to make it beautiful and by watching for killer sales. I find humor almost anywhere and can laugh at myself through it all. I have learned that most projects don’t go exactly as intended, but can be more beautiful than the original plan.
Re-Fabbed Boutique – Beautiful, quality clothing for women of all shapes and sizes!!
We use cookies to ensure that we give you the best experience on our website. If you continue to use this site we will assume that you are happy with it.OkNoPrivacy policy
You can revoke your consent any time using the Revoke consent button.Revoke consent