I have had this Dollar Tree frame for quite awhile and for the longest time I put different scrapbook paper in it to decorate my home. This is an inexpensive way to add color and interest without a lot of money.
Today I am going to add another layer! Are you in? Yay!
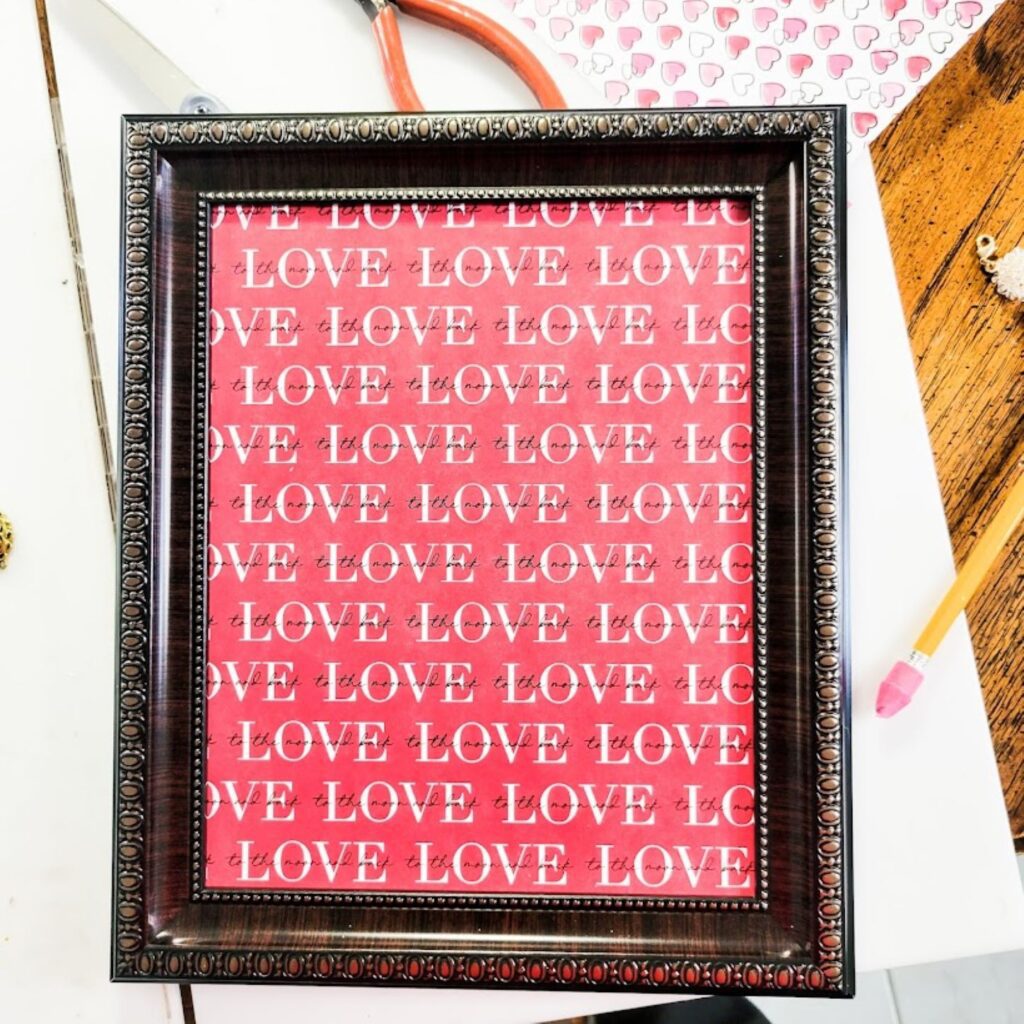
I rearranged the paper, glass and cardboard that came with the frame so that the scrapbook paper and not the glass was on top.
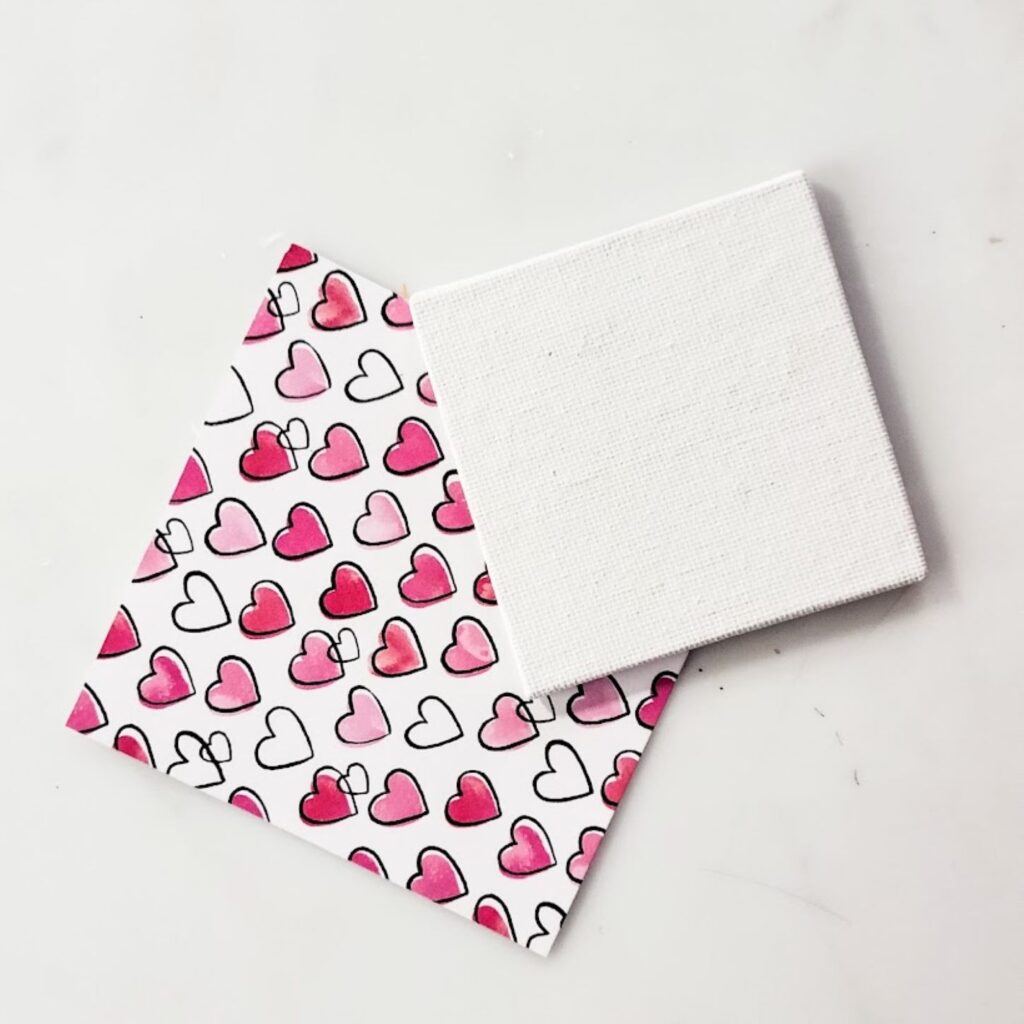
Pick out 2 coordinating scrapbook papers (one for the background and one for the top layer).
Cut a square from the coordinating scrapbook paper a little larger than the canvas (approximately 3 ¾ x 3 ¾).
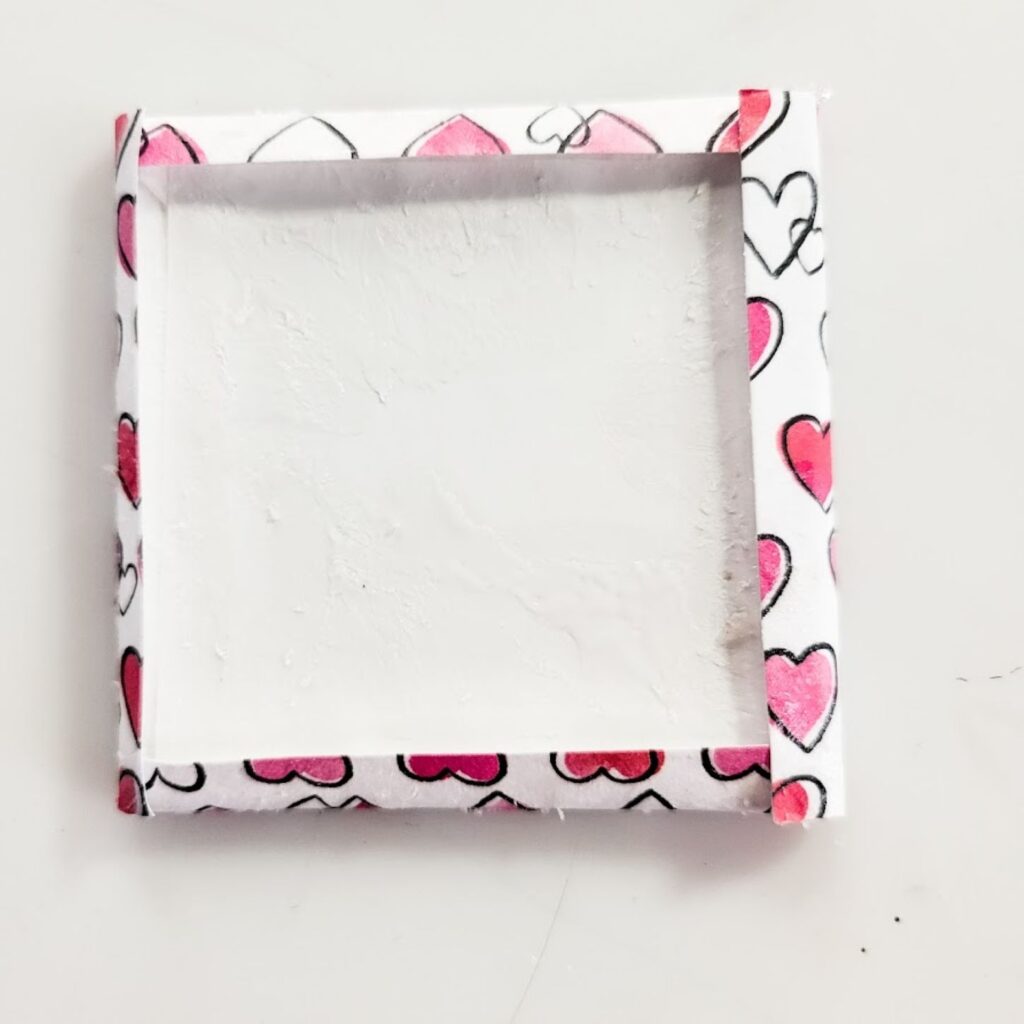
Place your mini canvas on the backside of your scrapbook paper and draw lines in the corners like the picture below.
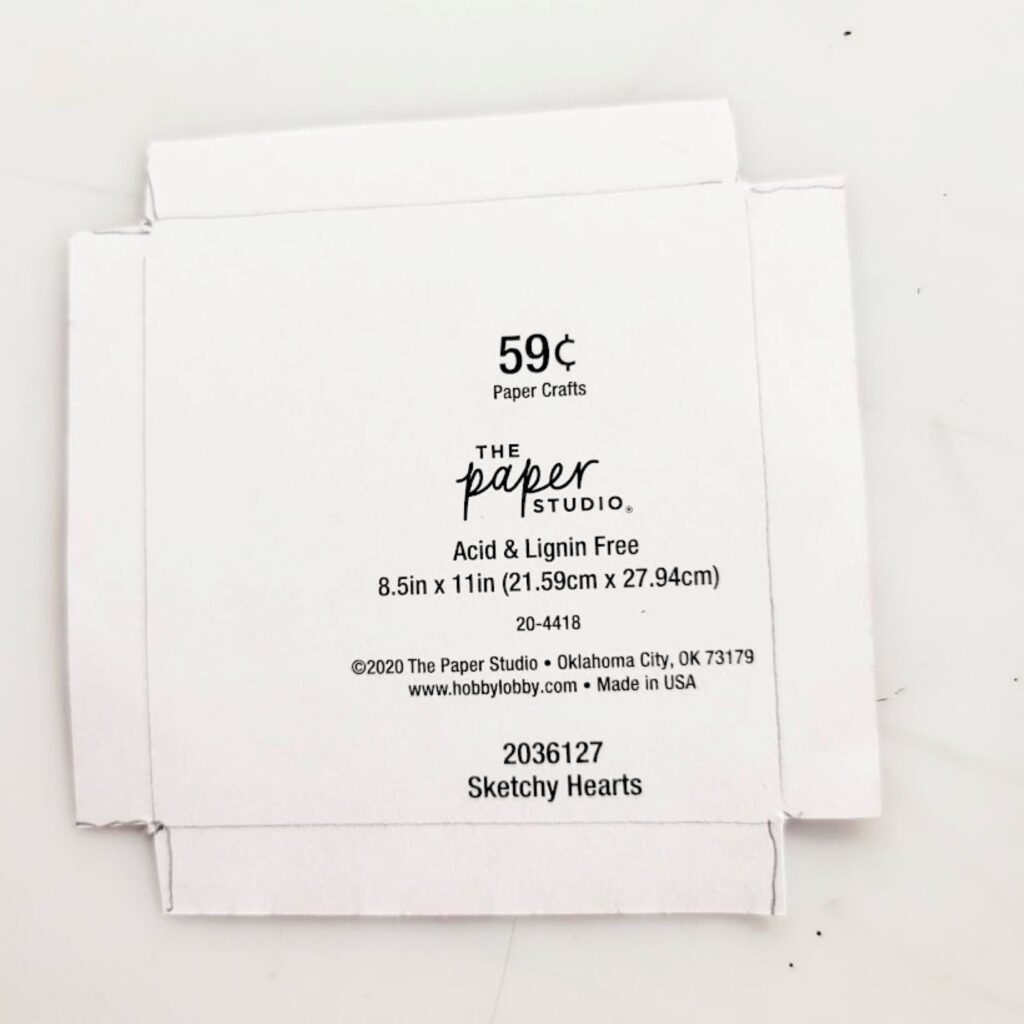
Cut out the corners of the paper. This is done to take away the bulk and for easier wrapping of the canvas. I cut out the part with the words so you could see the name of the paper I used (Sketchy Hearts). Lol
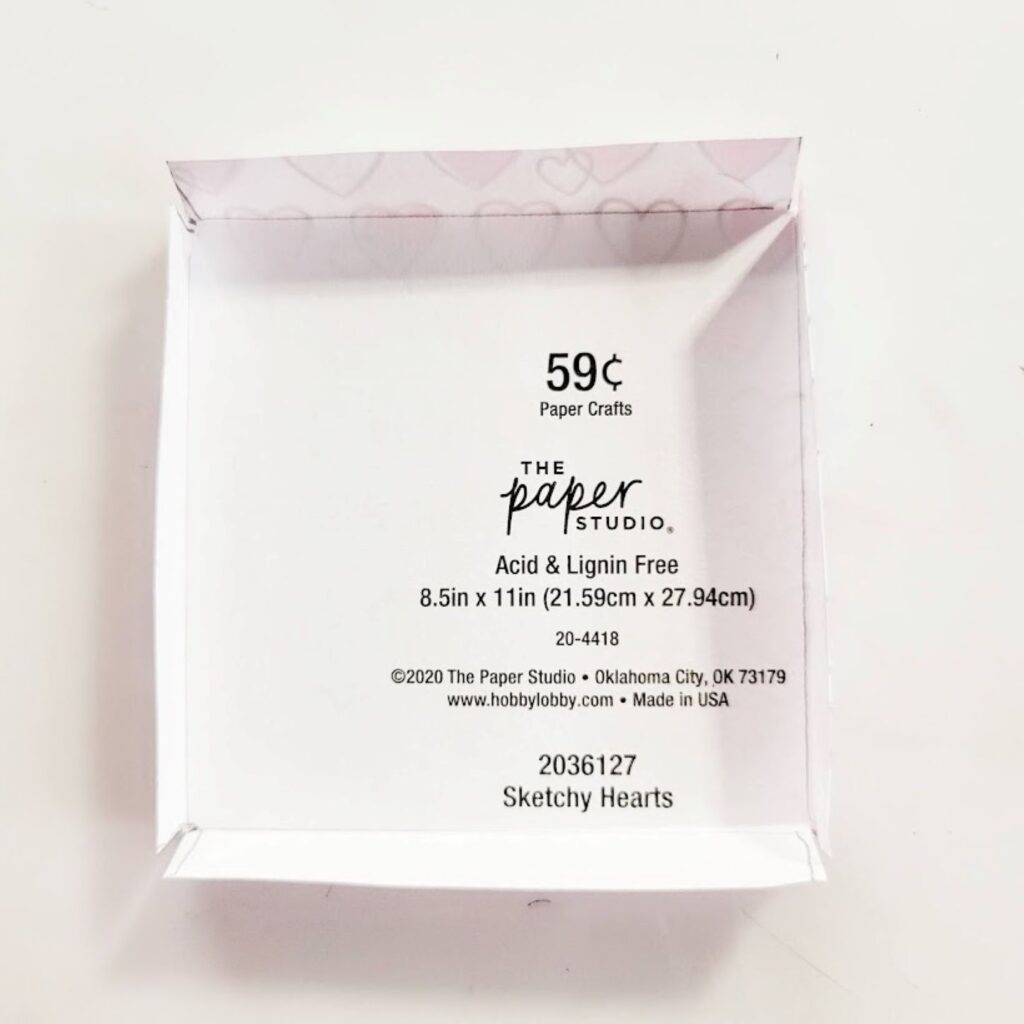
Fold all of the sides in and crease along the lines. This will help you with the gluing in the next step.
Put the canvas on the paper face down and glue all 4 sides wrapping the paper around the edges of the canvas.
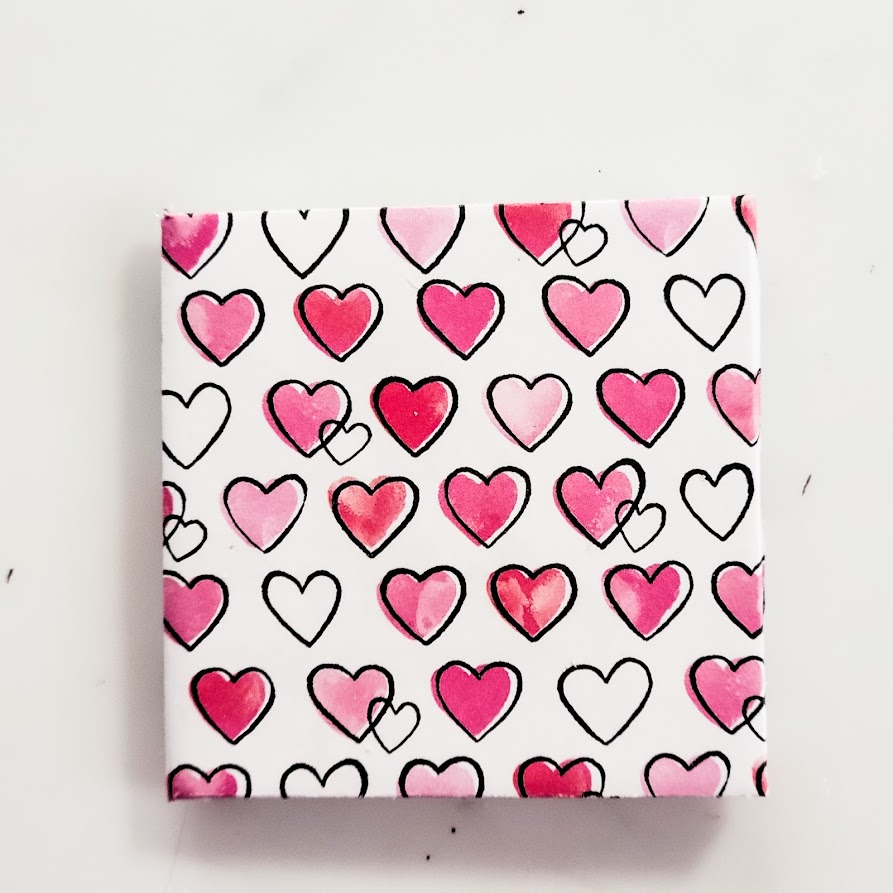
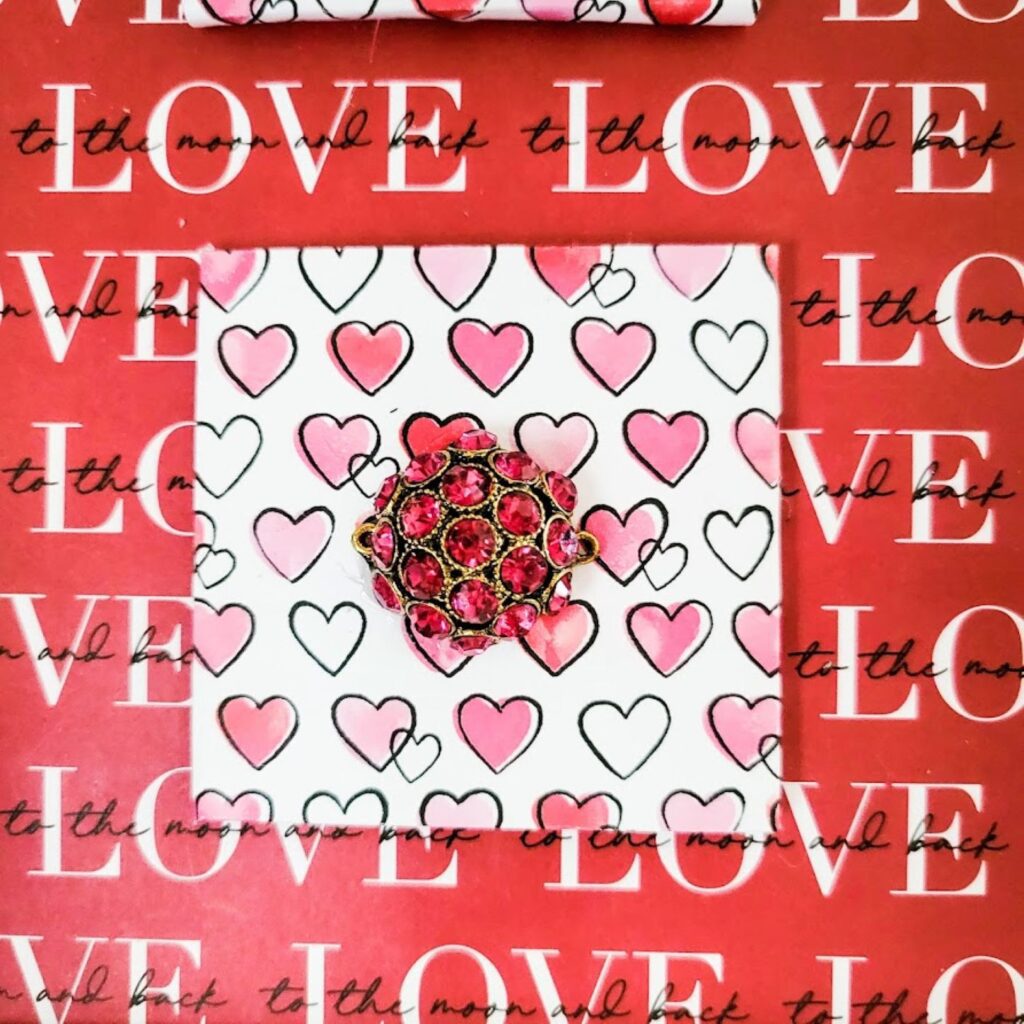
Here it is from the front. All wrapped up! Sweet! This is going to be the second layer of our third layer Valentine art piece.
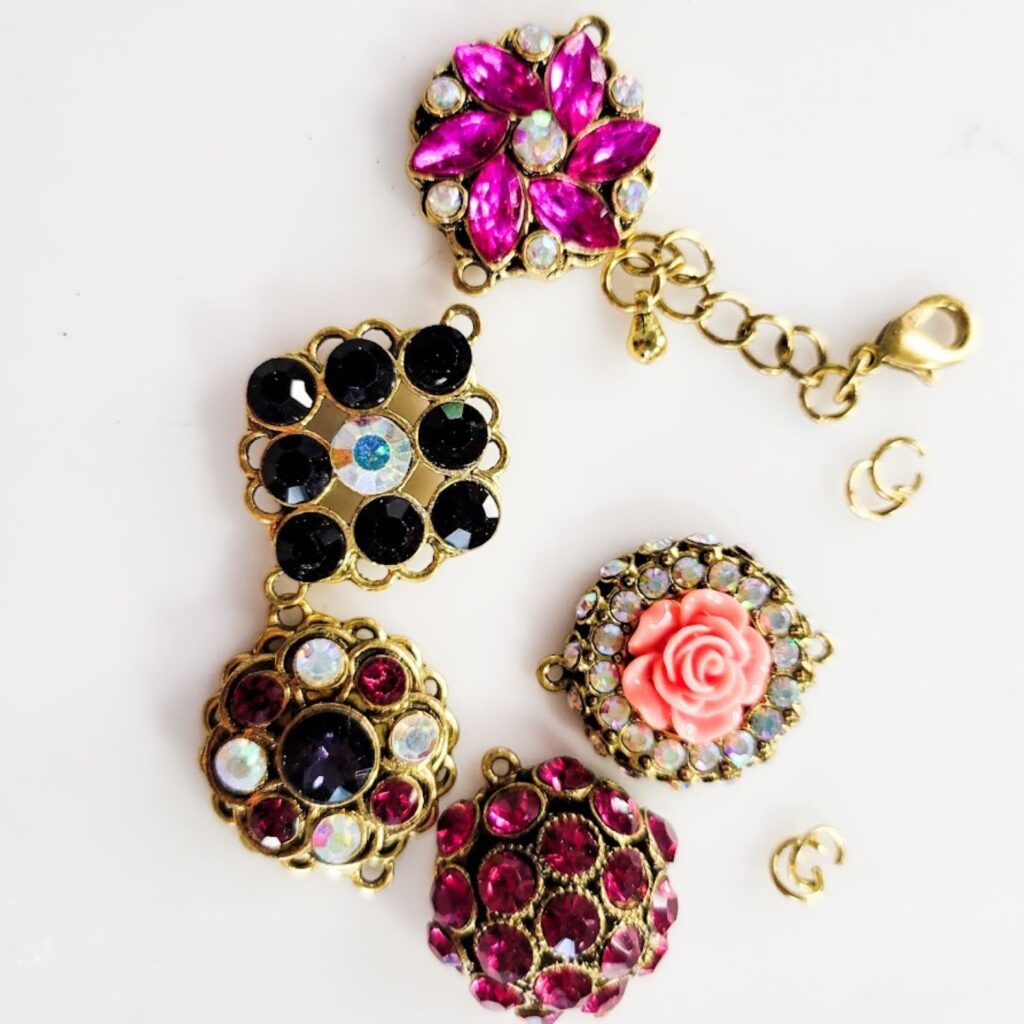
For the last layer, we are going to add a rhinestone jewel. I bought these at Hobby Lobby for 50% off. I fell in love with them on sight.
You will need to use needle-nose plyers to separate the jewels.
Out of the 5 jewels in this bracelet, I chose the 2 darker pink ones. This is solely personal preference.
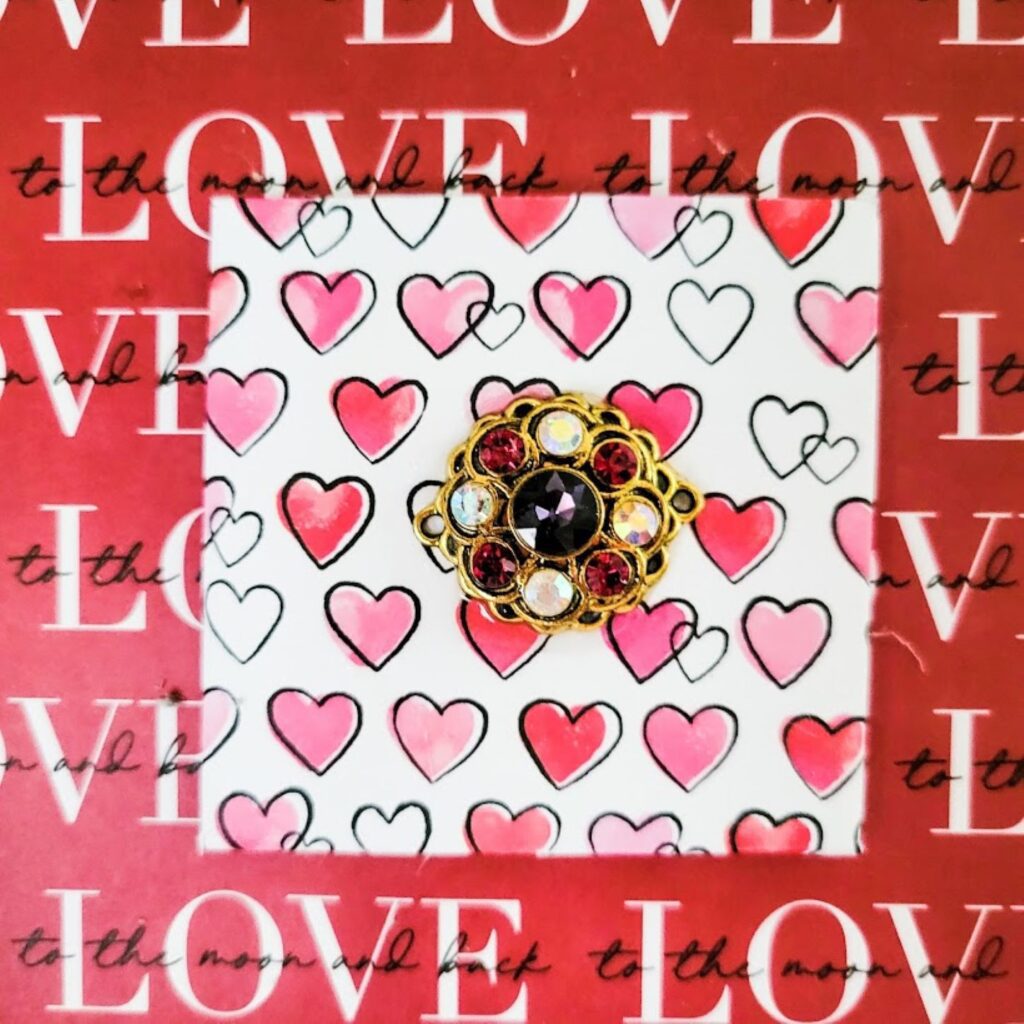
This is how these mini canvases look after my rhinestone jewels are glued in the centers using e6000 glue made for jewelry.
I love them both SO much!
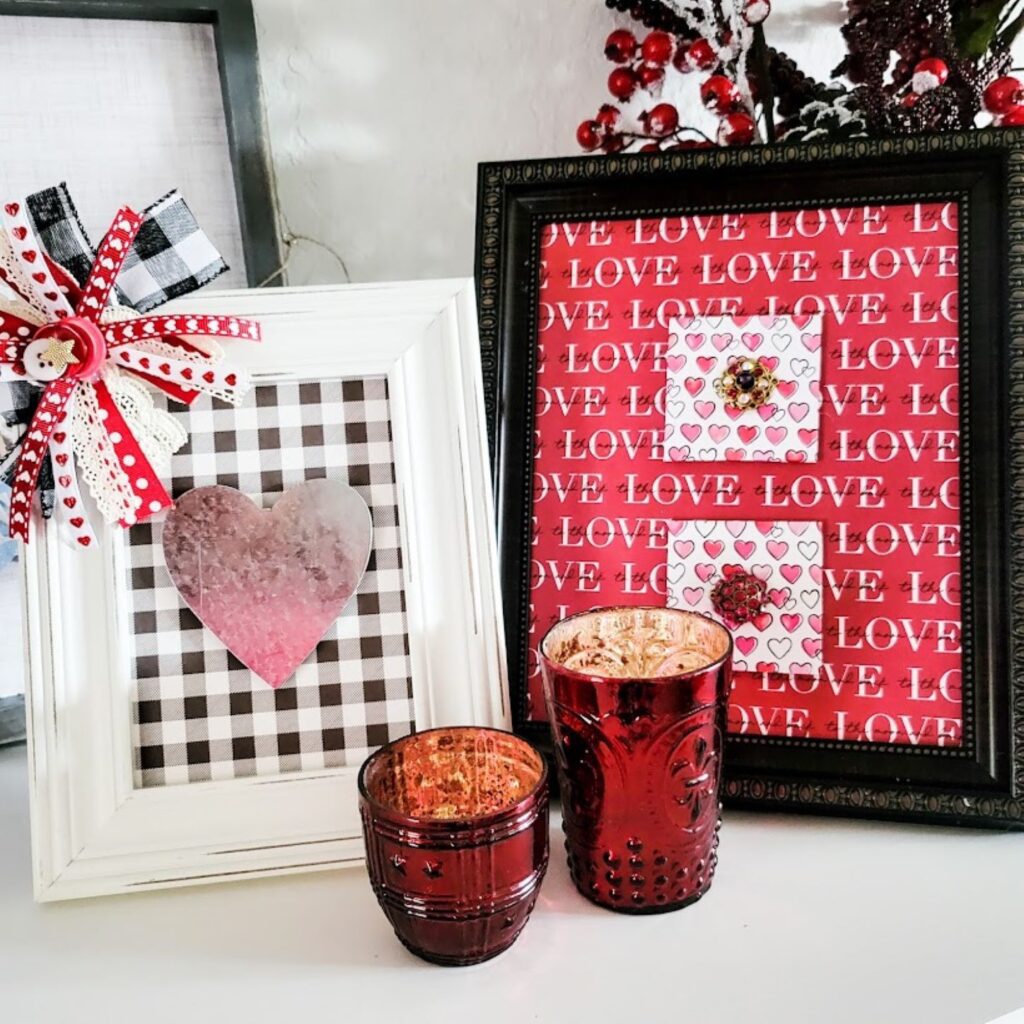
After my glue dried, I glued the canvases to the scrapbook paper in my 8 x 10 Dollar Tree frame.
Here it is all finished! Isn’t she beautiful?!
If you decide to make a framed Valentine art piece, will you please send me a picture of it displayed in your home in the comments below? I would love to see it!
-Danielle
Hi, I’m Danielle!
I am the designer, writer and diy’er behind this blog. I enjoy decorating my home for practically nothing by doing most of the work myself, finding new and imaginative ways to make it beautiful and by watching for killer sales. I find humor almost anywhere and can laugh at myself through it all. I have learned that most projects don’t go exactly as intended, but can be more beautiful than the original plan.
Re-Fabbed Boutique – Beautiful, quality clothing for women of all shapes and sizes!!
We use cookies to ensure that we give you the best experience on our website. If you continue to use this site we will assume that you are happy with it.OkNoPrivacy policy
You can revoke your consent any time using the Revoke consent button.Revoke consent