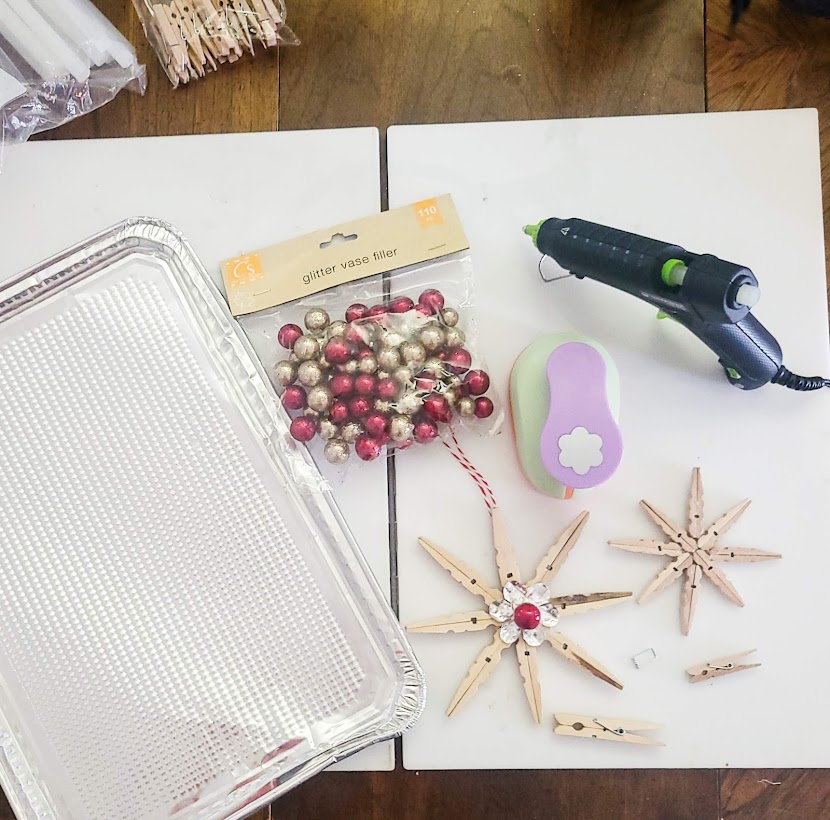
·A disposable cookie sheet or heavy tin foil – for embellishment
·Extra Embellishments – to decorate your ornament – I used small, medium and large red and gold berries, small jingle bells, mini pine garland and ribbon
Decorative paper punches – I used a 1”, 1.5” and a 2” flower shape punch
If you would rather watch the video on how to make this star ornament, click here
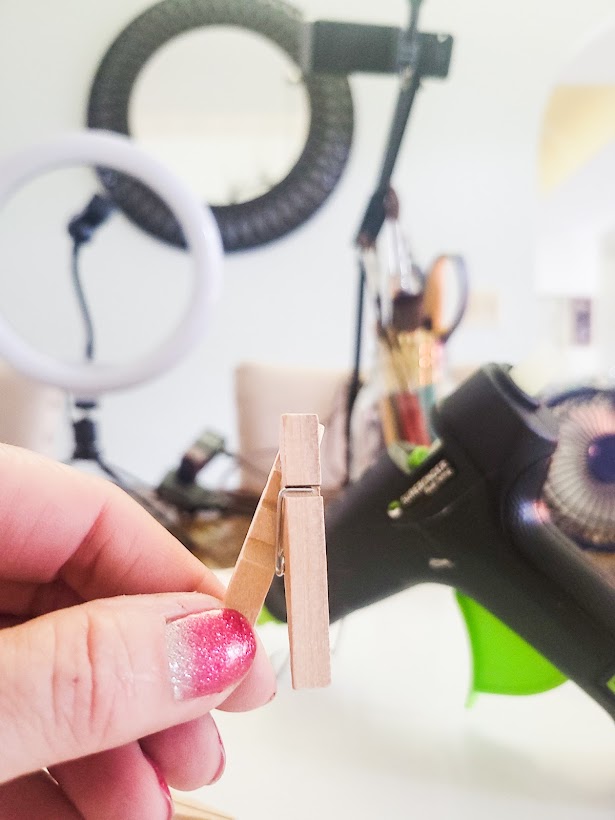
First you will need to separate your clothespins.
Pull the two ends away from each other and twist until they release from the metal spring.
Discard the spring (unless you can find a project for them – I have a whole bag I do not know what to do with! Lol).
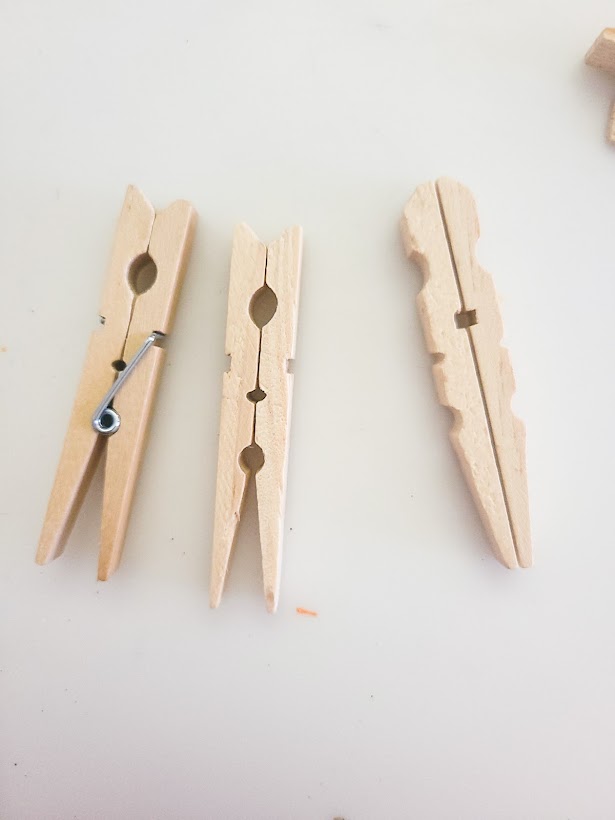
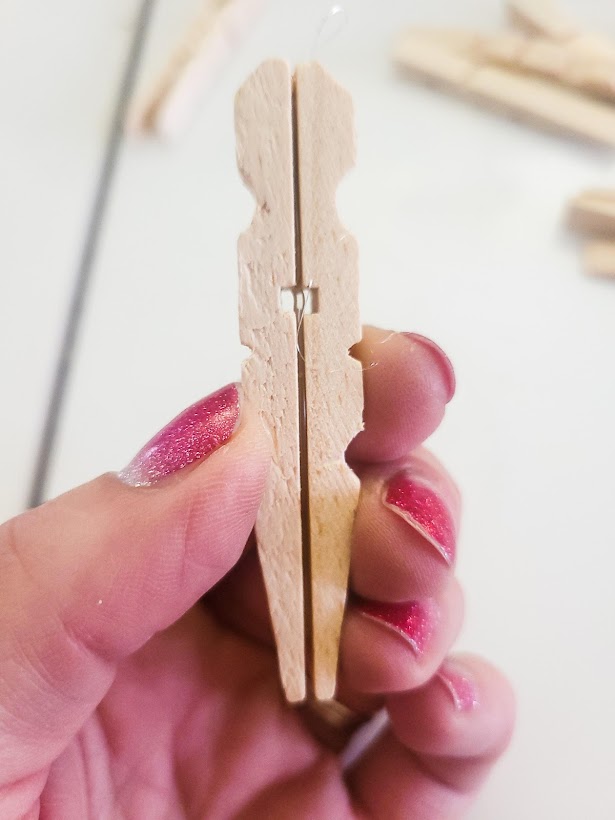
Separate your clothespins pieces into pairs and then invert the pairs lining up the hole like this:
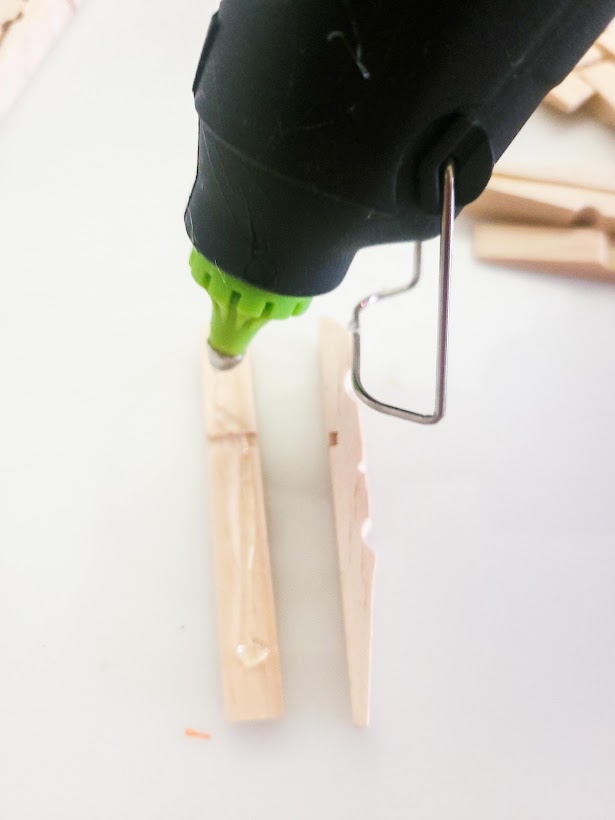
Glue the two halves together, making sure the holes line up.
You will have to be quick with this part. The hot glue sets up pretty fast and you won’t get a second chance to line it up properly.
Trust me. I have messed up a ton on this part! 🙄
This is what it should look like. Repeat with the remaining fourteen clothespin halves.
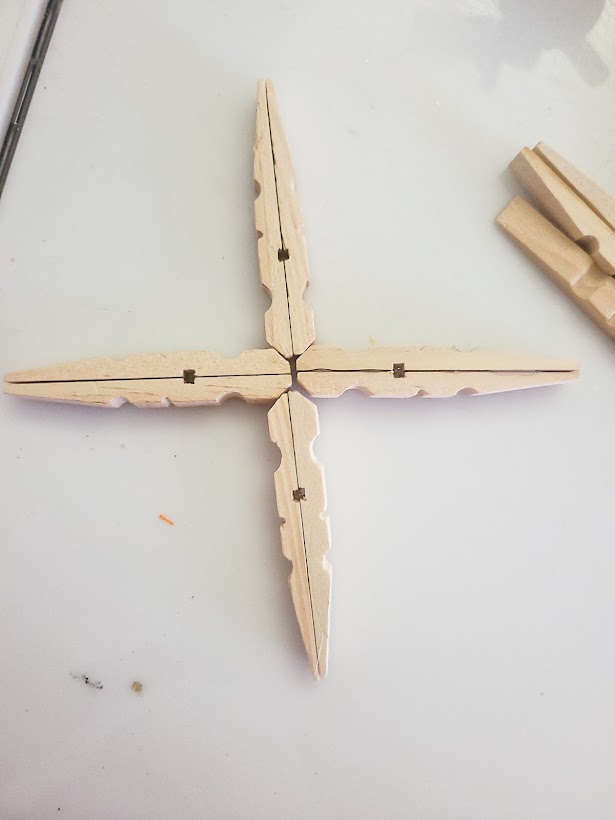
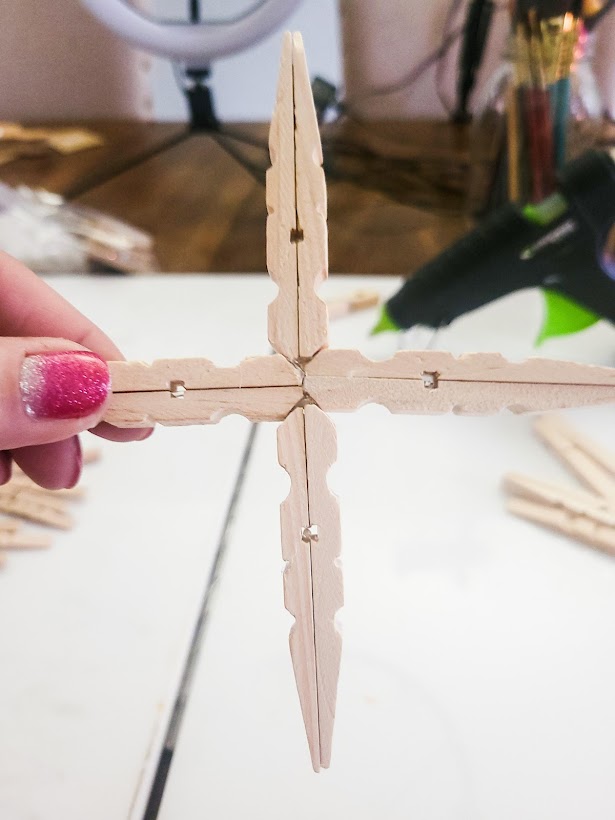
Take four of the glued pieces and arrange them like this.
Glue the left and right pieces together, and then add the top and bottom pieces.
Remember that the glue dries pretty fast. Make sure to slide the piece around so that it won’t glue itself to your work surface.
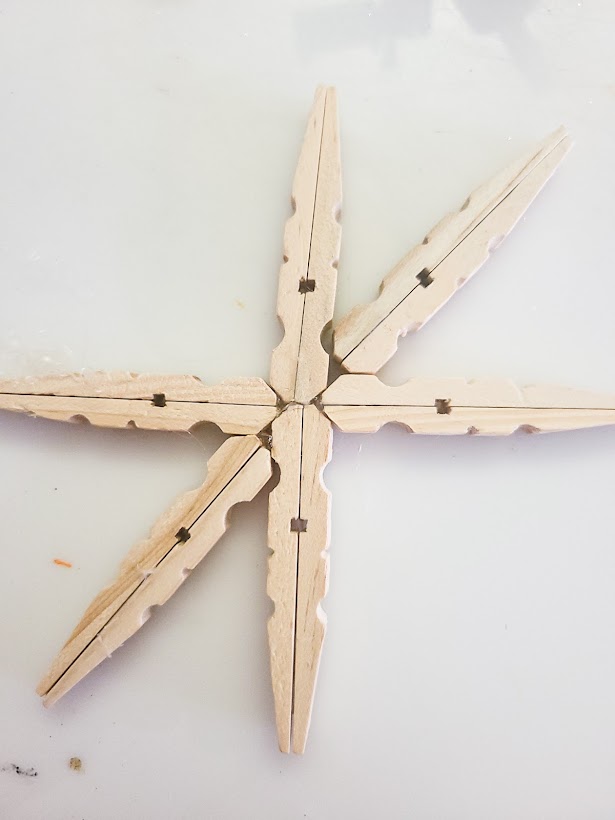
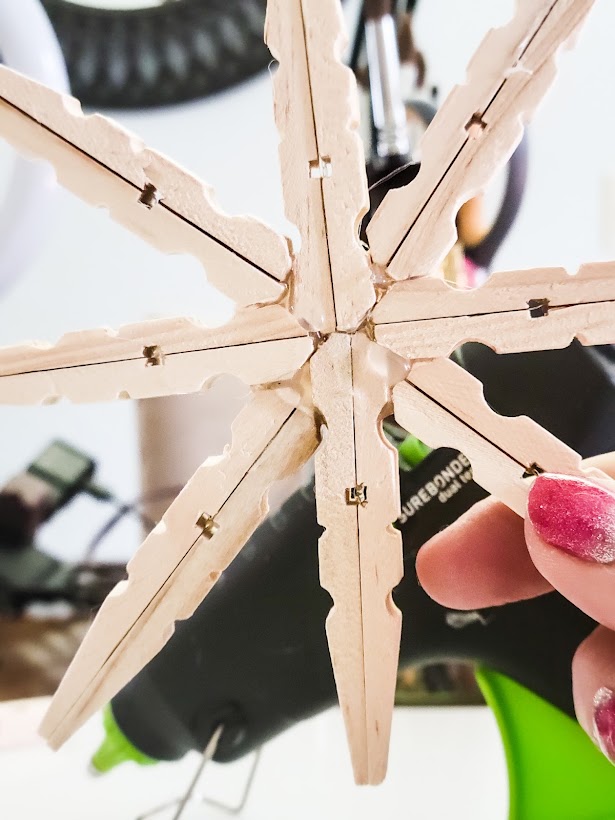
Next, lay out two sections diagonally making sure to line up the pieces as straight as possible. Glue in place.
Line up the last two pieces and glue them in place.
Don’t worry about extra glue on the front of your piece.
We will be covering that up with our embellishments. Yay!
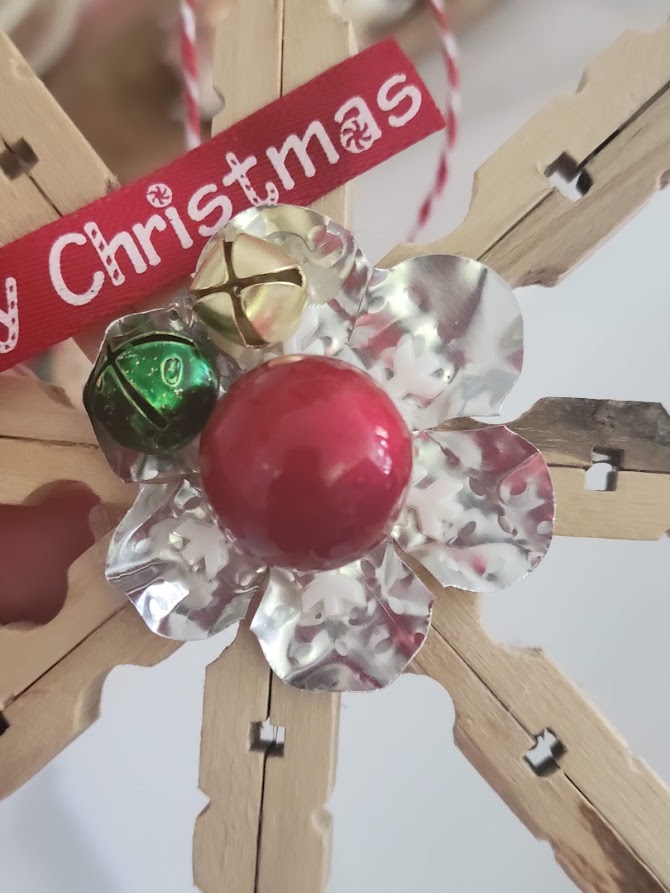
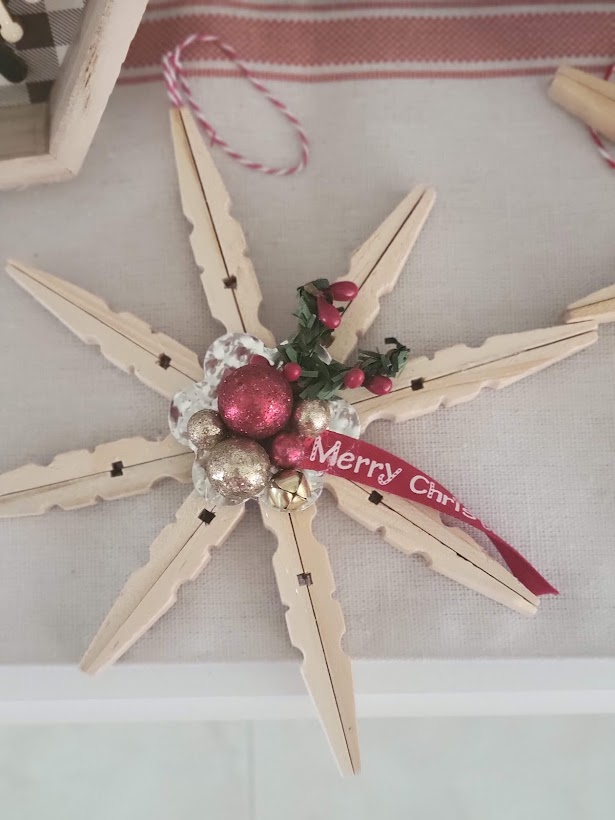
Now, the next part is totally up to you! Choose whatever you would like to embellish your star.
I made a smaller version of the star and glued it to the front of the larger one (see the feature photo).
I love how it turned out! I also like to use my flower-shaped paper punches to cut out flowers from a tin disposable cookie sheet.
This little bit of metal adds sparkle to your piece!
Cut a 10” piece of baker’s twine and knot the two ends together.
Glue the knot onto the back of your star and hang your new ornament on your Christmas tree!
Or on a package, a doorknob, a kitchen cabinet… you get the idea!
If you decide to make this sweet ornament, please send me pictures. I would LOVE to see your take on it. Enjoy your holidays!
-Danielle
Hi, I’m Danielle!
I am the designer, writer and diy’er behind this blog. I enjoy decorating my home for practically nothing by doing most of the work myself, finding new and imaginative ways to make it beautiful and by watching for killer sales. I find humor almost anywhere and can laugh at myself through it all. I have learned that most projects don’t go exactly as intended, but can be more beautiful than the original plan.
Re-Fabbed Boutique – Beautiful, quality clothing for women of all shapes and sizes!!
We use cookies to ensure that we give you the best experience on our website. If you continue to use this site we will assume that you are happy with it.OkNoPrivacy policy
You can revoke your consent any time using the Revoke consent button.Revoke consent