One of my most favorite things to do on my day off is to stop by my local Wawa gas station, get a 24-ounce hazelnut coffee with light cream, and head across the street to Hobby Lobby!
Ya’ll know what I am talking about?! I mean, I go up and down EVERY aisle! Just me and my coffee. Oh, and of course, my phone (only to take pictures of what I want to make). I turn the sound off because I don’t want to be bothered while I’m in my “happy place.” You know what else? They have their Christmas stuff up already!!! Eeeeeee!!! DOUBLE happiness!
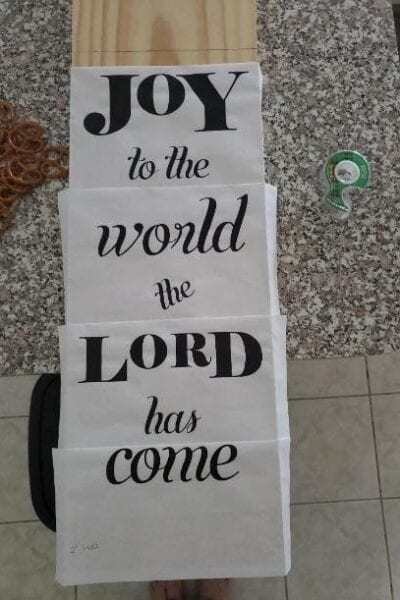
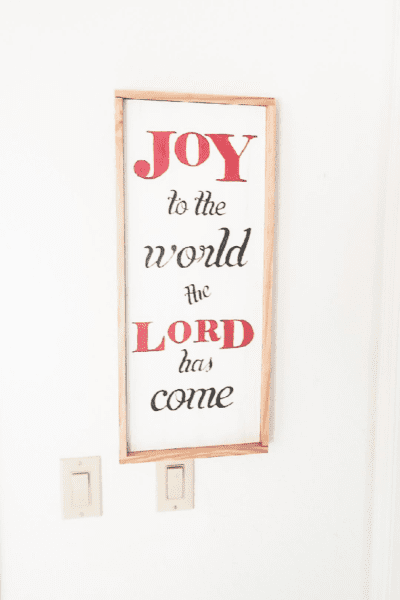
Today, I am going to show you how to make one of those fabulous Christmas signs like you would see in Hobby Lobby! This one is from one of my favorite Christmas songs, “Joy to the World.” It was a super cheap and easy project!
Supplies Needed
To complete this project, you only need a few inexpensive supplies:
Sharpie Marker – color of your choice
Printer and printer paper
Pine Boards – 1” x 10” x 4’ pine board cut in half (makes 2 – 2’ signs). I had the good people at Lowe’s cut this for me.
Plus, a 6’ ½” x 2” piece for the trim or “frame” around your sign (you will find this wood in the trim section of Lowe’s, not in the lumber area).
Stain of your color choice – I used leftover stain from another project
Paint of your color choice – again leftover stuff
Nail gun and ¾″ nails (or you could use a hammer and nails)
Step 1
Paint your 1” x 10” board the color of your choice (I used Sherwin Williams “Simply White” in an eggshell finish left over from painting our office).
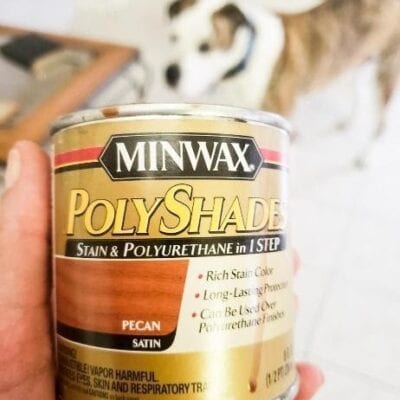
Stain your ½” x 2” board for the frame of your DIY Christmas Sign (I used Minwax Pecan left over from a sign I made earlier this year).
Step 2
Print out the quote from this printable or design your own in the fonts you like best (rule of thumb – don’t use more than 3 fonts or your sign will look too busy)
☺To do the lettering on wood, you only need a printer – No expensive Cricut or vinyl needed! YAY!
Step 3
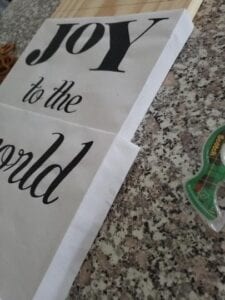
Tape the pages you printed together, spacing the lines evenly apart.
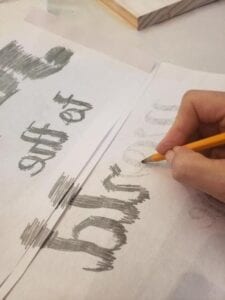
Flip the paper over and scribble with a pencil over the back side of the letters.
☺Use a pencil if you will be stenciling on a light-colored backdrop or chalk if you will be stenciling on a dark color or over stained wood.
Step 4
Position the papers, pencil scribble side down, on your wood sign where you want them.
Make sure you get your quote perfectly straight before you move on to the next step. If you’re off even a little bit, your whole sign will look wonky.
☺I used a tape measure to be sure that I placed my letters straight and even.
Step 5
Using a ball point pen, trace the outline of the letters you printed and be sure to get every last detail.
Step 6
Remove the papers from your DIY sign. You should be able to see your letters perfectly. If not, finish the letters with your pencil.
You should now have lettering on wood from your pencil marks!
☺If you chose a font with a lot of detail, a sharpie is your best tool, otherwise paint and a fine paint brush will the trick. I usually outline my letters with a sharpie and then paint the insides. It keeps the letters “crisp” that way.
Step 7
After your lettering has dried, cut your ½” x 2” wood to frame your board. I chose not to miter my corners, but instead to use a butt joint. It’s way easier and I like the more rustic look.
Fasten with the ¾ “nails.
☺I put a hanger on the back of mine, but you can do without and make yours a “leaner.”
Now that you know the secret to making these cheap and easy signs, the world is your caviar! I love mine and am planning on making many more!
Shoot me a message with your sign pics. I would LOVE to see how your turned out!
— Danielle
Hi, I’m Danielle!
I am the designer, writer and diy’er behind this blog. I enjoy decorating my home for practically nothing by doing most of the work myself, finding new and imaginative ways to make it beautiful and by watching for killer sales. I find humor almost anywhere and can laugh at myself through it all. I have learned that most projects don’t go exactly as intended, but can be more beautiful than the original plan.
Re-Fabbed Boutique – Beautiful, quality clothing for women of all shapes and sizes!!
We use cookies to ensure that we give you the best experience on our website. If you continue to use this site we will assume that you are happy with it.OkNoPrivacy policy
You can revoke your consent any time using the Revoke consent button.Revoke consent