Today I’m sharing a quick and cheerful DIY that’s perfect for adding a pop of personality to your table: adorable spring drink coasters made from terra cotta saucers!
These little cuties are fun to make, super customizable, and they make fabulous gifts for friends, neighbors, or anyone who needs a little sunshine in their life (including you!).
watch the video here
🌼 Supplies You’ll Need:
Materials:
Terra cotta saucers (the kind that catch water under flower pots)
Scrapbook paper (your choice of color & pattern)
Acrylic paint (any finish)
Mod Podge (I used matte)
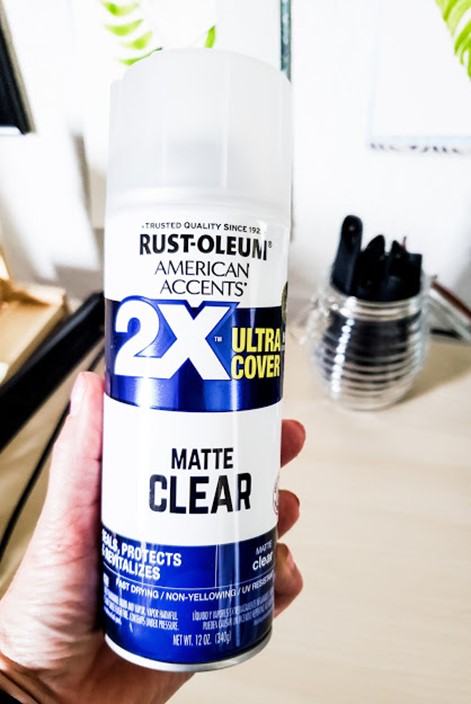
Spray sealer (I used Rust-Oleum Ultra Cover in clear matte)
Tools:
Plastic tablecloth or drop cloth
Newspaper
2 foam brushes
Scissors
Pencil
Something circular to trace (I used a drinking glass)
🖌 Step-by-Step Instructions:
how to make adorable spring coasters
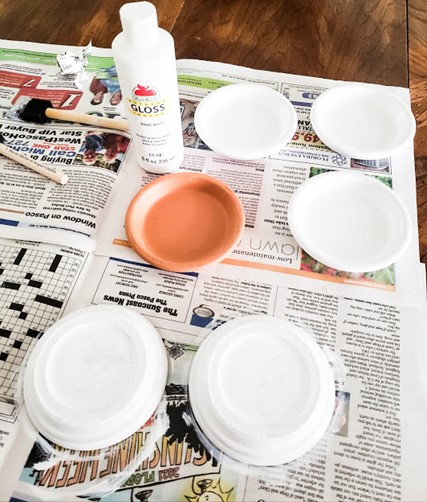
1. Prep Your Workspace
Spread out your plastic tablecloth to protect your surface. I may have skipped this step once… and my dining room table paid the price. 😅 Layer newspaper on top of the plastic for extra coverage.
2. Paint Your Saucers
Using one of your foam brushes, paint the outside and inside of your terra cotta saucers with acrylic paint. I used a glossy white for a clean look, but go wild—turquoise, coral, soft lavender… it’s spring, after all!
Apply multiple thin coats (mine took 4 for full coverage), letting each layer dry completely before adding the next.
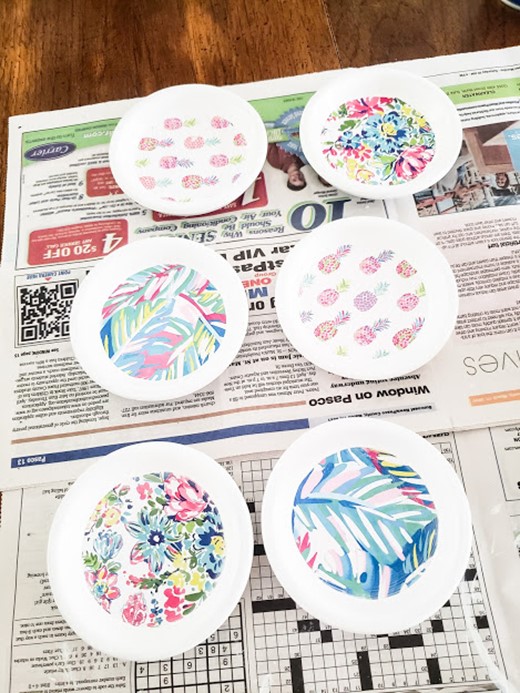
3. Choose & Cut Your Paper
Pick scrapbook paper that fits your style or the season—florals, gingham, even polka dots! Flip your paper over and trace a circle using your glass (or anything that matches the inside of your saucer). Cut it out carefully and test the fit before moving on.
Pro tip: Trace on the back of the paper so your pencil marks don’t show.
4. Mod Podge Magic
Once your paint is fully dry, use your second foam brush to apply a generous coat of Mod Podge to the inside base of the saucer.
Place your cut paper circle face-up on the Mod Podge and gently press it down.
Brush another coat of Mod Podge on top, covering the entire surface and sealing around the edges of the paper. This helps protect it from moisture—because no one likes a soggy coaster. Sad!
5. Seal It Up
Once everything’s dry and looking fabulous, spray the entire coaster—inside and out—with a clear matte spray sealer.
This step locks in the color and protects the paper from wear and tear.
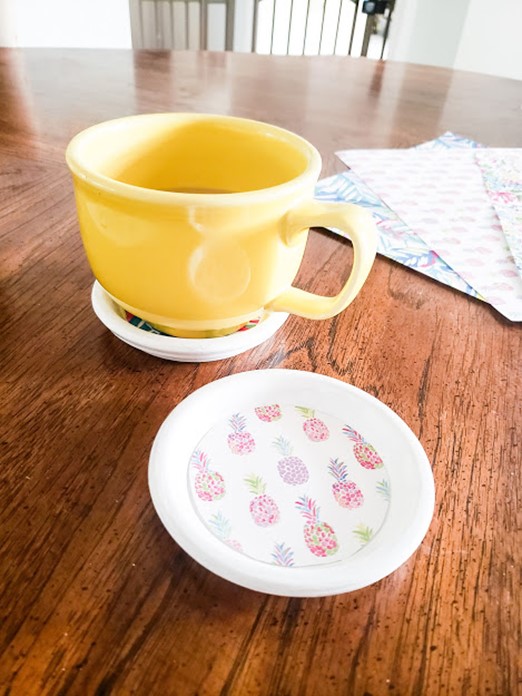
☀️ Ready to Use!
Let your coasters dry completely before using them. Then pour yourself your favorite drink and enjoy! They’re perfect for spring brunches, back porch lemonade, or just adding a touch of happy to your kitchen.
💡 Bonus Ideas:
Make a set with coordinating papers for a DIY gift!
Try holiday-themed prints for every season.
Use a matte finish for a soft, vintage vibe—or gloss for a bold, modern look.
🎁 Craft with Heart
how to make adorable spring coasters
I hope you give these sweet little coasters a try—they’re as fun to make as they are to use. If you do, I’d love to see your creations! Snap a photo and send it my way or tag me online. 💕
Happy crafting,
Hi, I’m Danielle!
I am the designer, writer and diy’er behind this blog. I enjoy decorating my home for practically nothing by doing most of the work myself, finding new and imaginative ways to make it beautiful and by watching for killer sales. I find humor almost anywhere and can laugh at myself through it all. I have learned that most projects don’t go exactly as intended, but can be more beautiful than the original plan.
Re-Fabbed Boutique – Beautiful, quality clothing for women of all shapes and sizes!!
We use cookies to ensure that we give you the best experience on our website. If you continue to use this site we will assume that you are happy with it.
You can revoke your consent any time using the Revoke consent button.