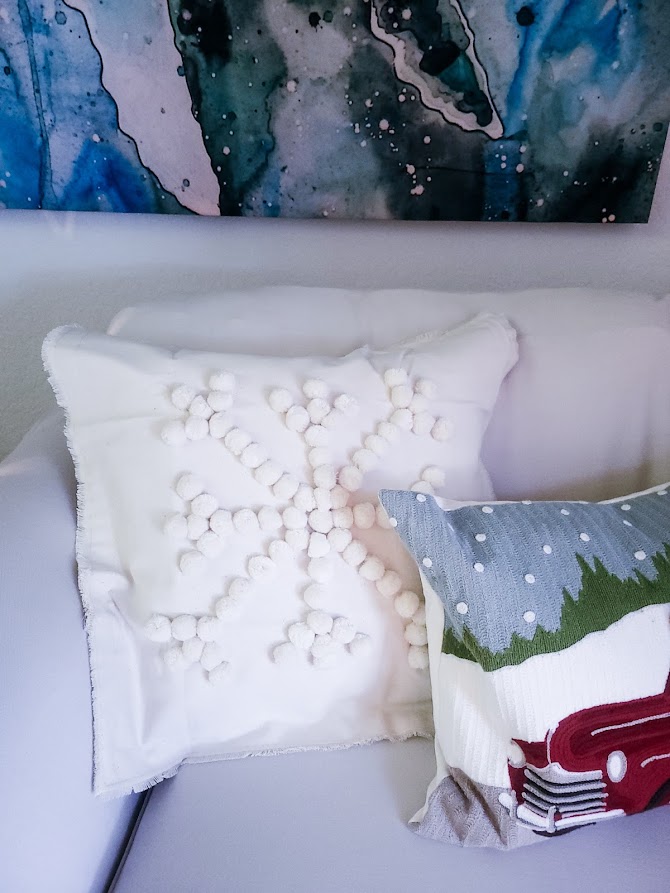
Let’s face it, making an expensive-looking snowflake pillow cover for your home is a total win when you are decorating on a tight budget. Pillows are essential for design and comfort and can cost quite a bit. This pillow cover is no exception if you buy it at Pottery Barn (where I first saw it). My heart just melted! There I stood just staring at this beauty! It was almost mine…almost. That is until I looked at the price…wait for it…$59.00!!! Are. you. kidding. me?!!!!!! That is the price for just the cover and does not include the pillow inside of the cover. UGH!
This is when it pays to be a creative and it pays to know where you can buy your materials at a discount! I was lucky and scored a great deal at JoAnn Fabrics yesterday. Their trims were all priced at $2.99 a yard. I needed 88 pom-poms which when counted out was approximately 2 ½ yards.
Now for the canvas pillow cover, IKEA has the best price on this, but it is an hour from my home, and I did not have the extra time to make the trip this weekend. I always have a big list when I travel to IKEA which usually includes many blank canvas pillow covers. 😉
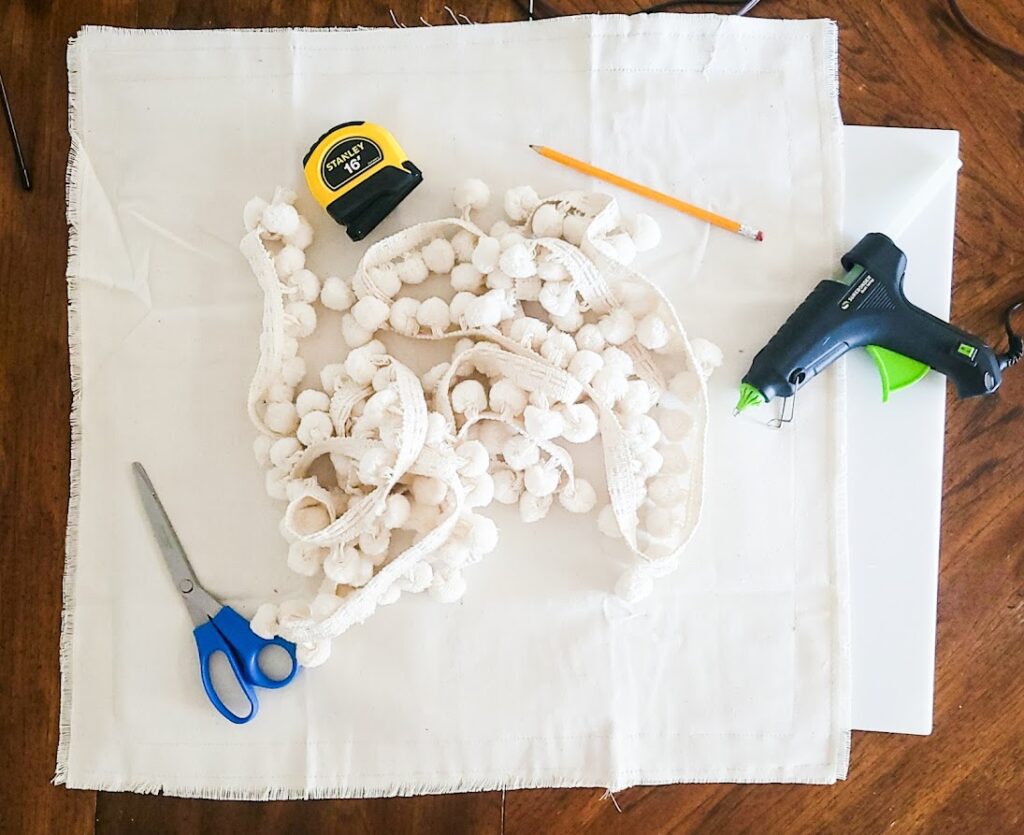
Materials you will need:
1 Canvas Pillow Cover I used one , but I like this one also
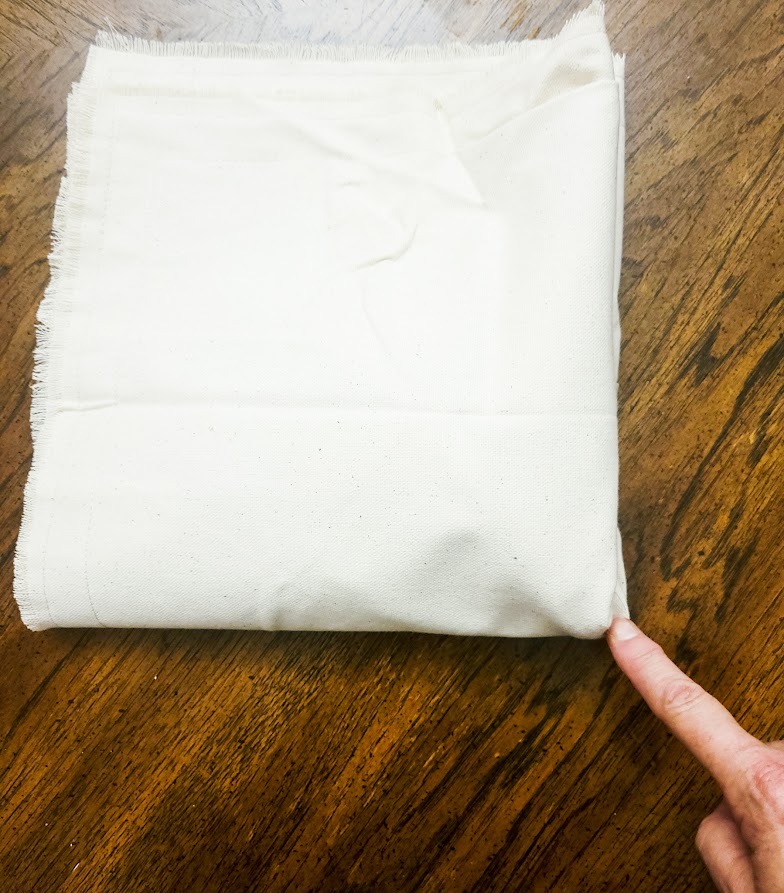
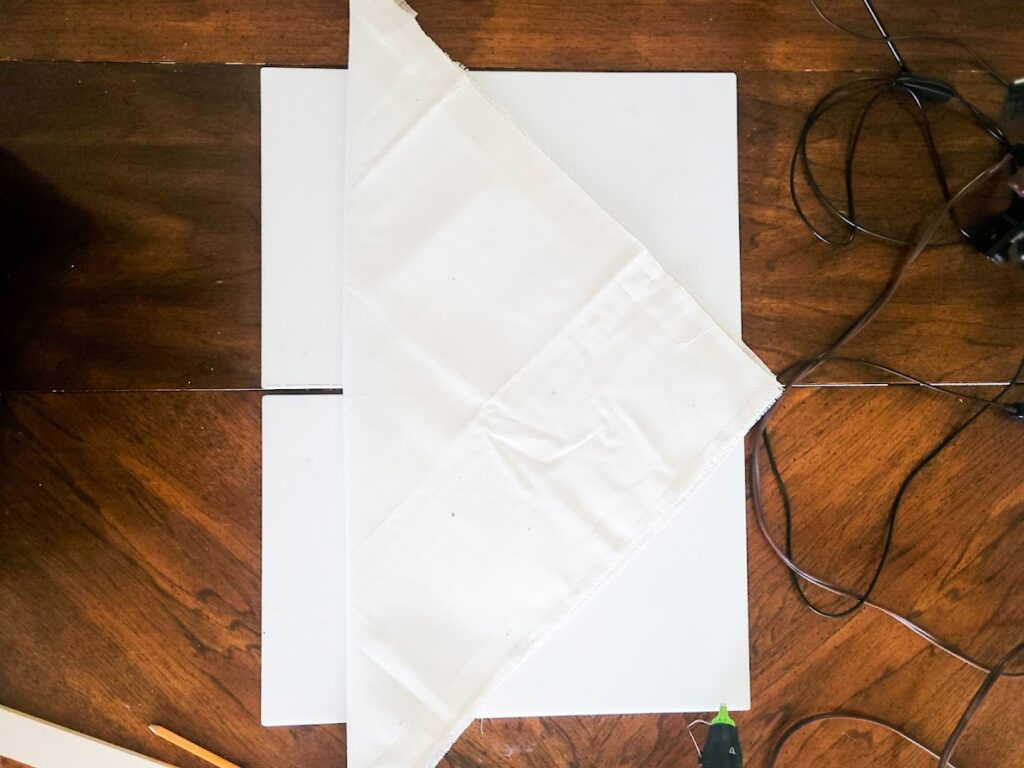
Take your pillow cover and fold it in half and then fold it in half again to find the center of your cover.
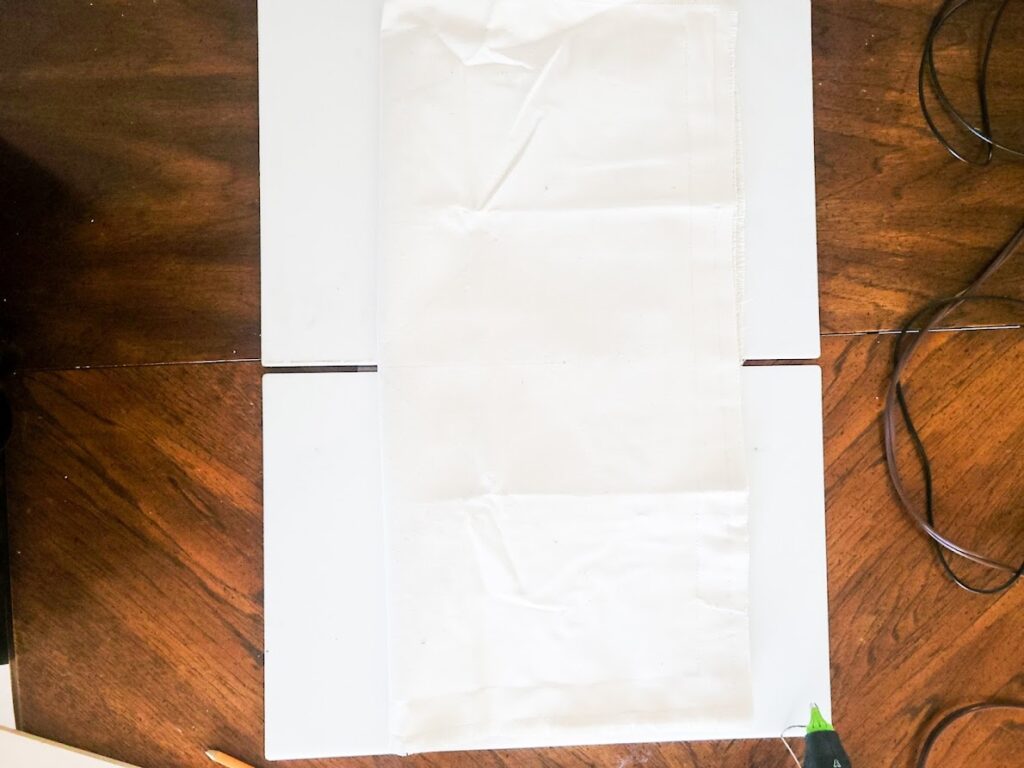
Mark the center with a pencil. Unfold the first half fold of your cover. With your tape measure, place the center mark on the 6” mark of your tape measure. Make a mark at the beginning of the tape measure and the 12” mark. Unfold and refold in the opposite direction. Repeat marking at the beginning of the tape measure and at the 12” mark.
Next, fold the pillow cover diagonally. With your tape measure, place the center mark on the 8” mark of your tape measure. Make a mark at the beginning of the tape measure and the 16” mark.
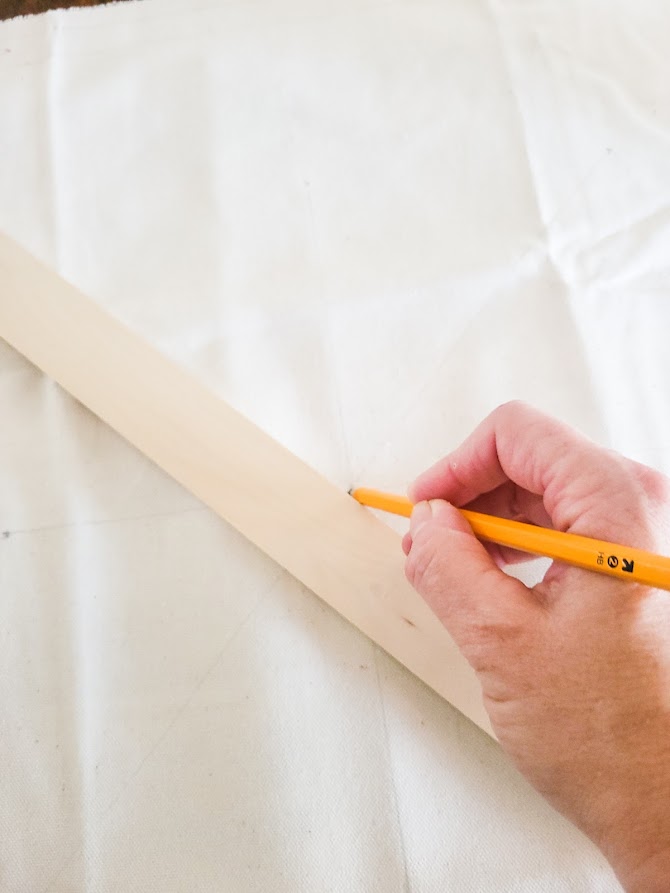
Use a straight edge to connect your marks. I used a straight piece of wood because I did not have a 16” ruler.
Lay out your pom-poms along the pencil lines. First, put a pom-pom in the center. Place 6 pom-poms on either side of the center one along the 2 – 12” lines and 8 pom-poms on either side of the center one along the 2 – 16” lines (56 pom-poms). Look at the finished pillow cover picture for reference.
Take the remaining 32 pom-poms and add “legs” at the end of each 12” and 16” line. Again, look at the finished pillow cover picture for reference.
Once you have a layout that you are pleased with, use your glue gun, and run a line of glue along ½ of each line (ex: 6” of the 12” line or 8” of the 16” line). If you put glue along the whole line, your glue will dry before you can get all your pom-poms down.
This project was so fast and easy, I might make more than one! I might even make these as gifts! Shhh…don’t tell. 😉
Hi, I’m Danielle!
I am the designer, writer and diy’er behind this blog. I enjoy decorating my home for practically nothing by doing most of the work myself, finding new and imaginative ways to make it beautiful and by watching for killer sales. I find humor almost anywhere and can laugh at myself through it all. I have learned that most projects don’t go exactly as intended, but can be more beautiful than the original plan.
Re-Fabbed Boutique – Beautiful, quality clothing for women of all shapes and sizes!!
We use cookies to ensure that we give you the best experience on our website. If you continue to use this site we will assume that you are happy with it.
You can revoke your consent any time using the Revoke consent button.