Hey, everybody! Would you like to know how to make easy but elegant pumpkins for your Thanksgiving table? I mean, a jaw-dropping Thanksgiving table your guests will talk about all year! It is full on fall over here. In fact, I am planning my Thanksgiving tablescape as we speak. Every year I try to change up my décor slightly. Enough to look different, but not so different that I have to buy everything new. Although appealing, I unfortunately am not a millionaire…bummer.
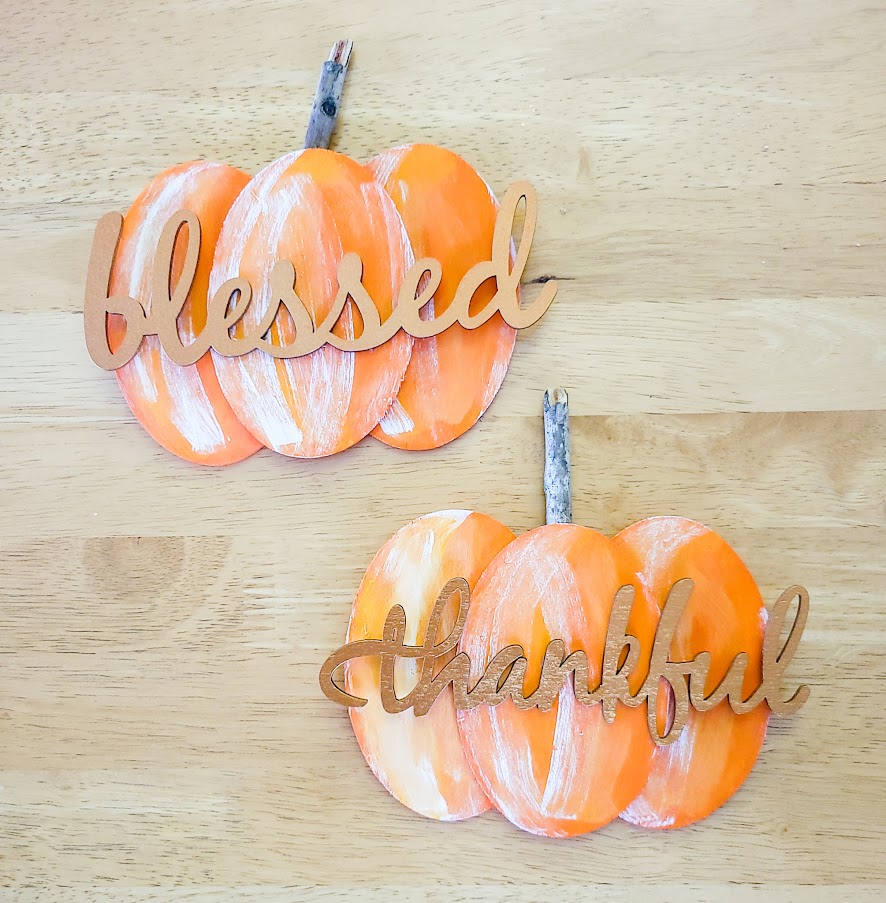
This year, as part of my new décor, I am making these sweet wooden pumpkin place settings. I have not figured out how I am going to put my guest’s names on each one yet. I might just put a place card next to their plate and not put it on the pumpkin at all. We’ll see.
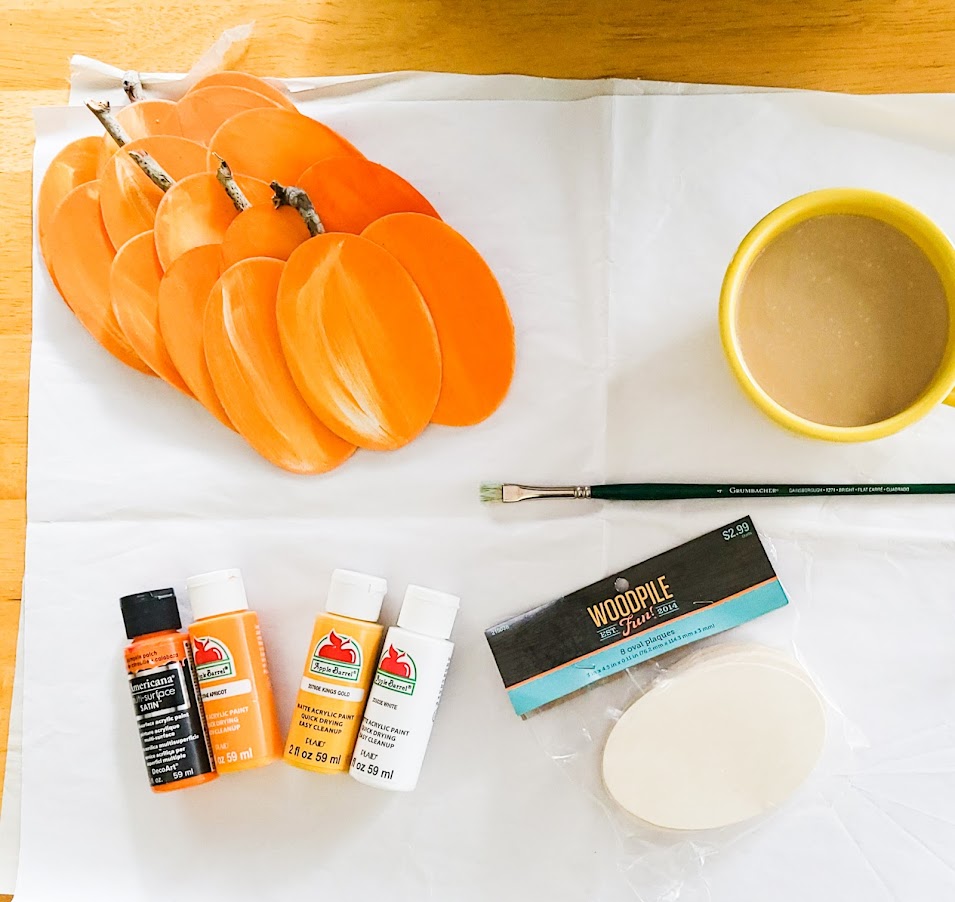
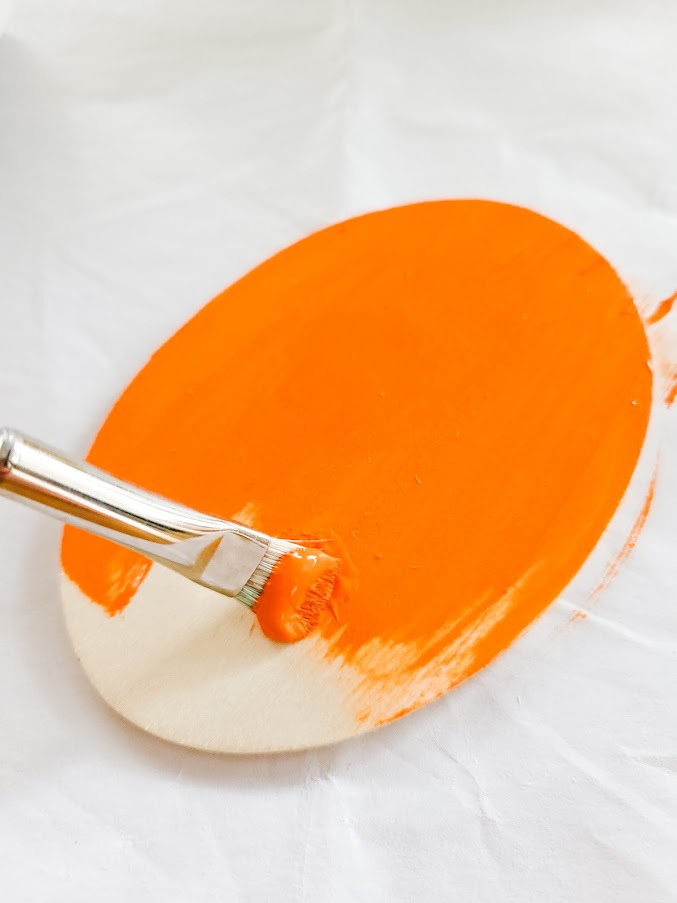
Start by painting your ovals with the darkest orange you have. I used Americana Pumpkin Patch.
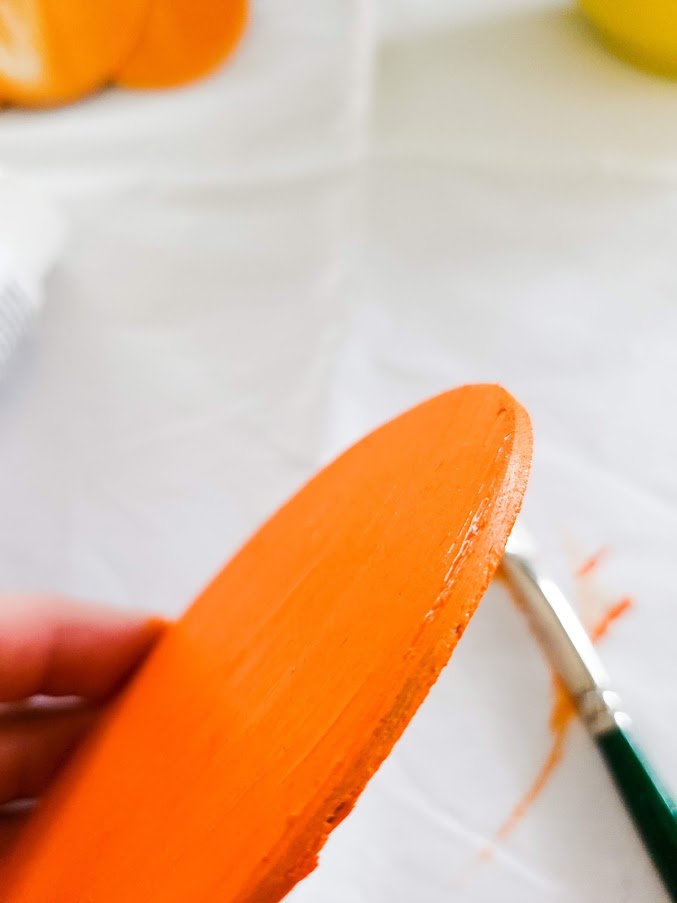
Make sure to paint all the edges of your ovals. They will be seen when done. I painted the back of my ovals also. This is not necessary, but I like a more “finished” look.
You might need to give your ovals a second coat due to the dry nature of the wood. Once you get all surfaces painted, let dry.
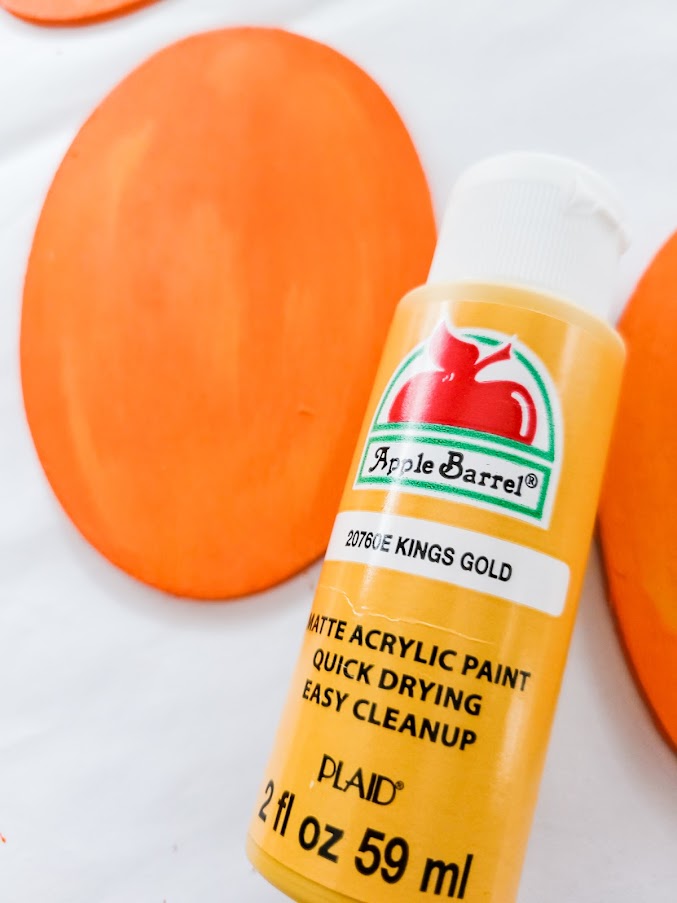
After your ovals are dry, paint “highlights” using your next two orange shades darkest to lightest. My next lightest is Apple Barrel’s Kings Gold. I like Apple Barrel brand paints due to their high quality and low price (around 50 cents a bottle). I put just a small amount on my brush, wiped off most of it and painted the left half of my oval using a curved sweep to follow the edge of the oval. Let dry.
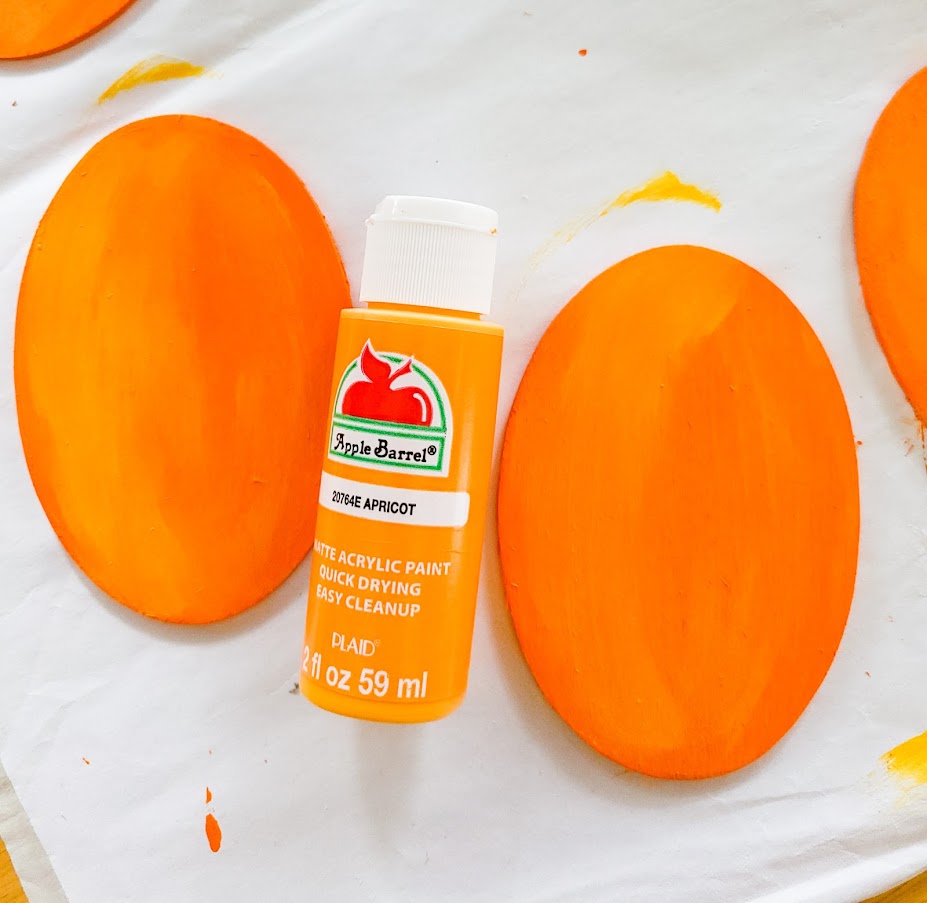
Next I used Apple Barrel’s Apricot and followed with the same painting technique using curved edges following the edge of the oval.
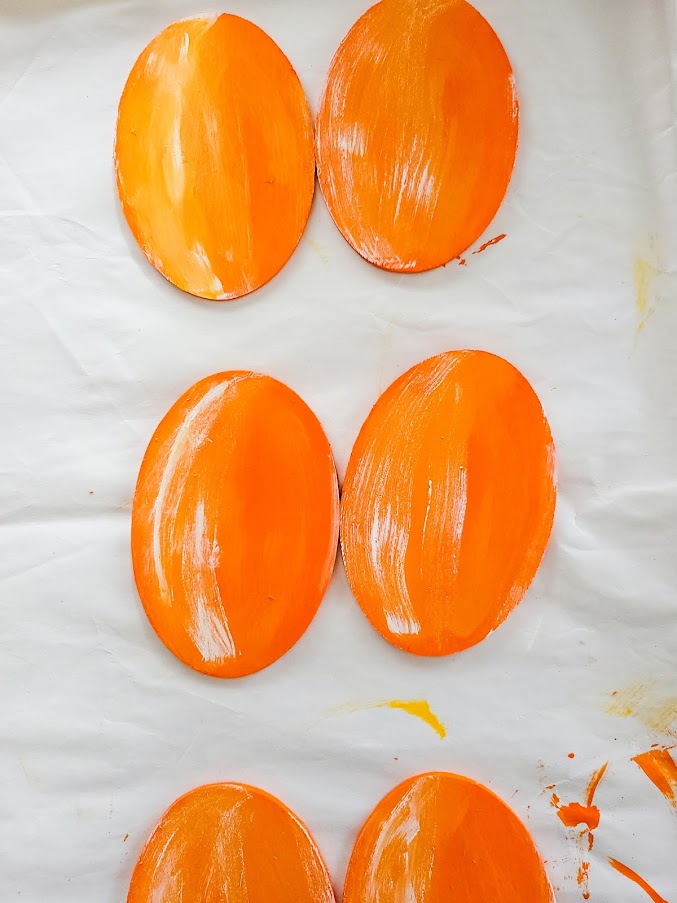
Lastly, I used my Apple Barrel White to put on the top highlights. If you get too much white on your oval, blend it in with a touch of your darkest orange. Trust me, I have had to do this more than once! As you can see, no two are alike. 😊
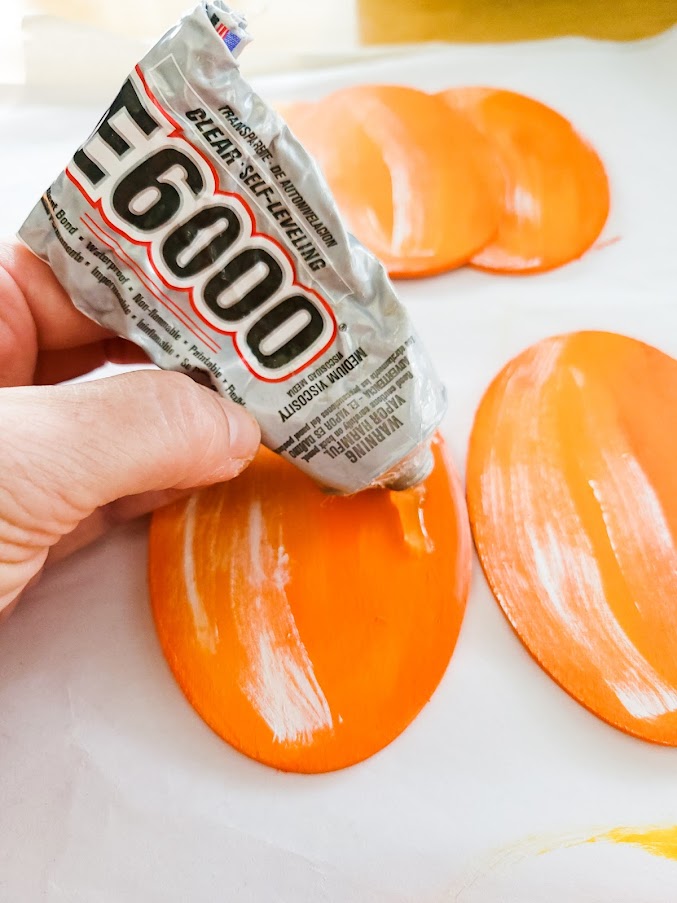
Place two of your ovals next to each other just touching. Put some of you E6000 glue on the back of your third oval. I used E6000 and not hot glue. My hot glue did not want to stick the painted wood. ☹
Make sure to put your painted highlights all going the same way (i.e., lighter shades all to the left).
Let them sit undisturbed until dry, approximately 30 minutes.
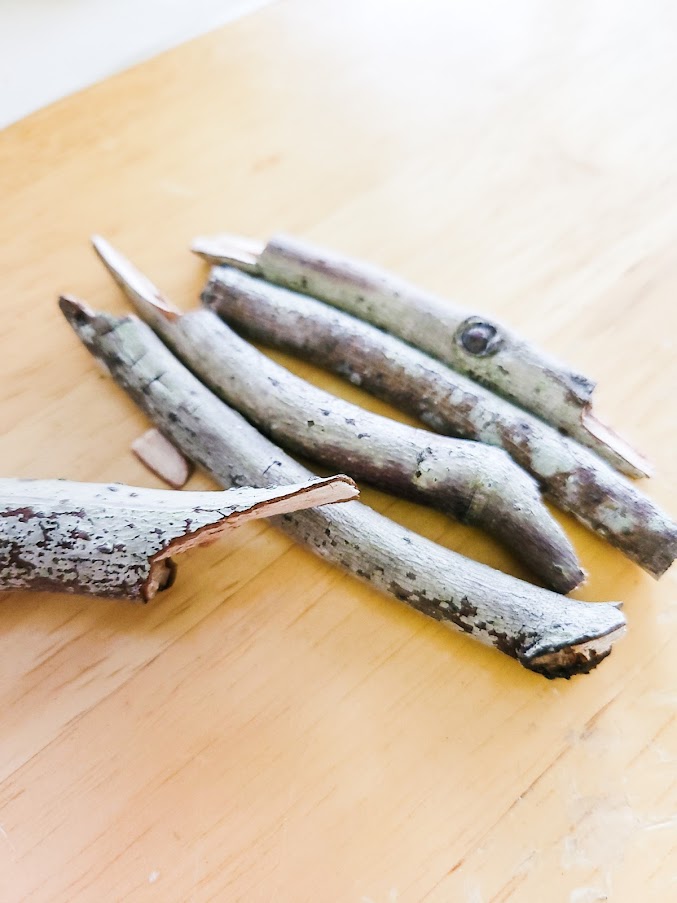
Take your tree sticks, I found mine in the back yard after our last thunderstorm. Break them into 3–4-inch pieces. These will be your pumpkin stems.
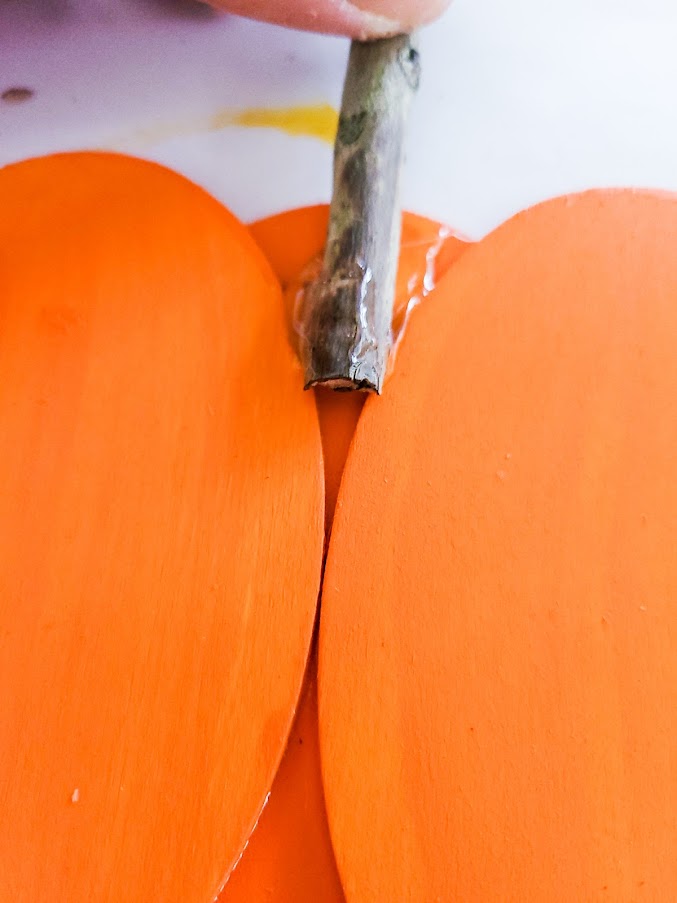
Flip your pumpkins over and glue your stem on the back of your pumpkin. Let dry until your stem is no longer moveable, about an hour.
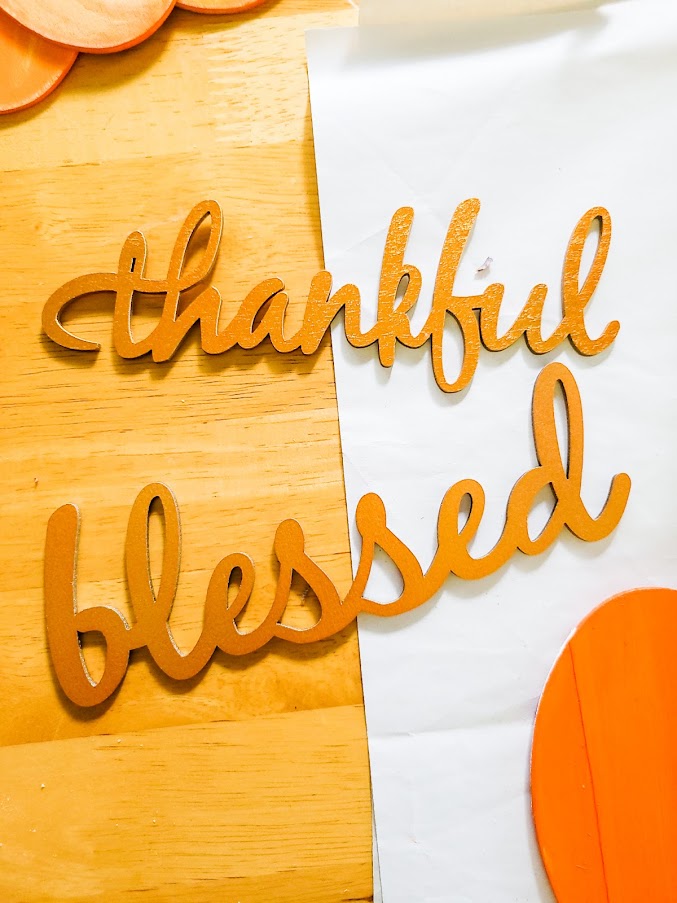
I found these sweet little wooden words at Hobby Lobby, but was not able to find a link for them on their website. They came in a package of 5 “blessed” and 5 “thankful” and were labeled “Place Setting Décor.”
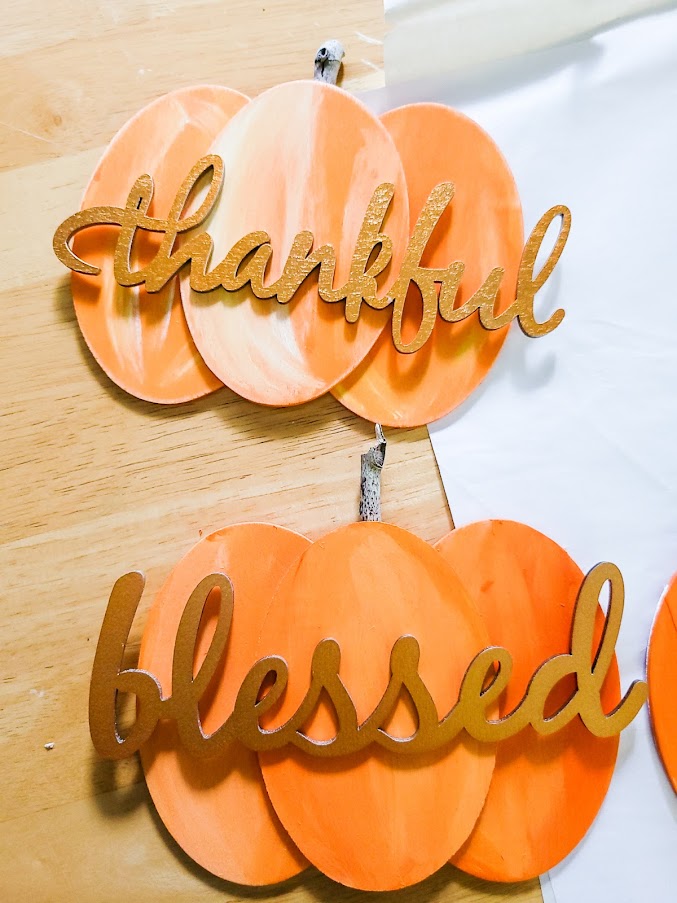
I glued the words to the front of my pumpkins. I like the glitziness of the gold painted words along with the rustic-ness (is that a word?) of the tree sticks. These turned out so cute! I will post pictures of my Thanksgiving table with these little beauties on each guest’s plate as soon as I finally get it pulled all together. Yay! 😊
Let me know what you think of this project. If you plan on making this for your table, please send me pictures! I would love to see how you make yours! Until next time,
-Danielle
Hi, I’m Danielle!
I am the designer, writer and diy’er behind this blog. I enjoy decorating my home for practically nothing by doing most of the work myself, finding new and imaginative ways to make it beautiful and by watching for killer sales. I find humor almost anywhere and can laugh at myself through it all. I have learned that most projects don’t go exactly as intended, but can be more beautiful than the original plan.
Re-Fabbed Boutique – Beautiful, quality clothing for women of all shapes and sizes!!
We use cookies to ensure that we give you the best experience on our website. If you continue to use this site we will assume that you are happy with it.OkNoPrivacy policy
You can revoke your consent any time using the Revoke consent button.Revoke consent