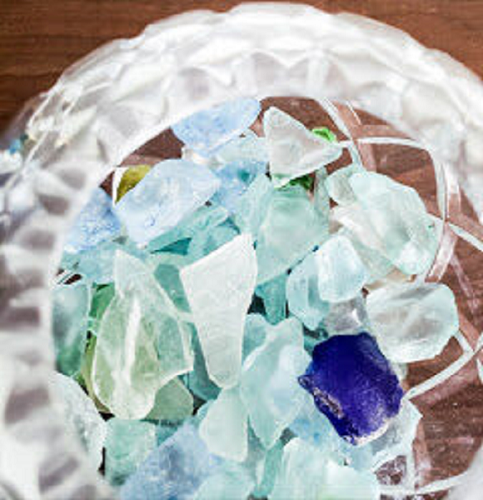
I am a water girl. The one thing I miss the most about my hometown is that you could always go to the north shore of Lake Erie and find beach glass. My girlfriend, Lori and I had a “secret” beach lol. I laugh because this beach was right out in the open on a busy street so, it’s as far away from “secret” as you can get. Yet it usually had the best and most abundant beach glass that most locals didn’t even know about!
Beach or sea glass, depending on where you find it, comes in many colors. The rarest is red and the most prevalent is brown (from beer bottles tossed over the edge of a boat). The water wears away the rough, broken edges of the glass leaving it a beautiful, smooth, opaque and almost stone-like piece. 🥰
I have found sea glass on the Atlantic coast of Florida, but unfortunately, I have not found a single piece on the Gulf of Mexico…sad. ☹
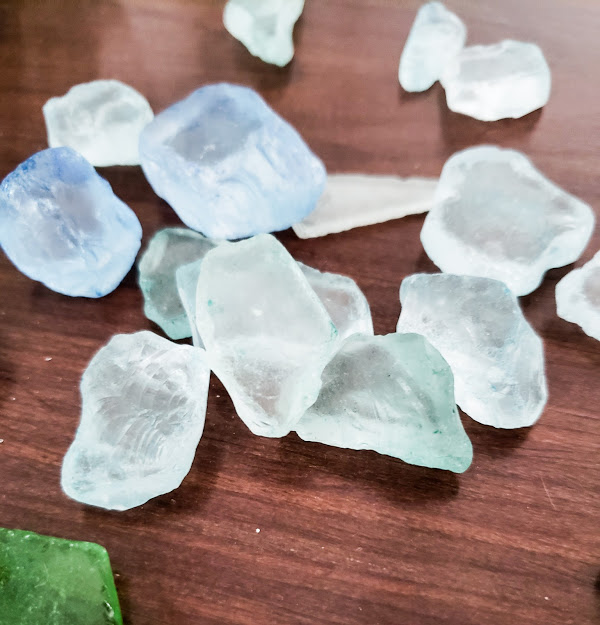
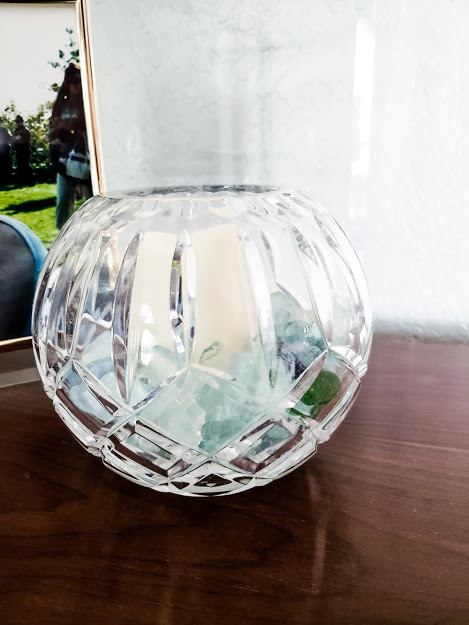
Out of all the beach glass colors, my favorite is the light blueish-green color. You may have noticed my beach glass collection in my home. I filled my apothecary lamp and a cut-glass vase with these beautiful little gems.
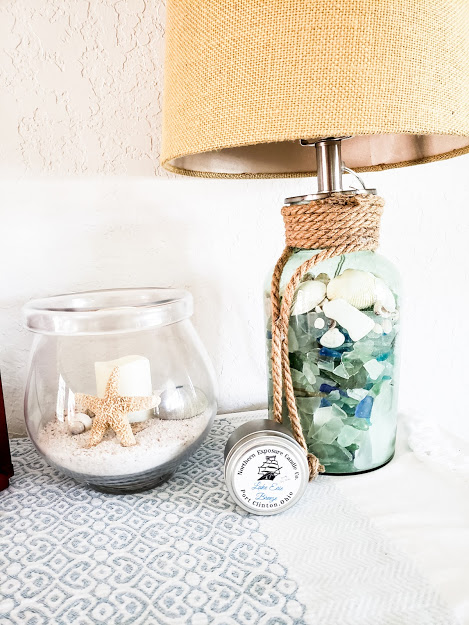
I had to show you my “Lake Erie Breeze” candle from the Northern Exposure Candle Company. It smells heavenly!
I put a remote-controlled candle in the middle of this vase. The light with the beach glass is pretty spectacular at night!
I was so inspired by how beach glass, or maybe just by its color, enhanced my already coastal-themed home!
So, I went searching around my house for glass that I can transform. Unfortunately, the only thing I could come up with was this canning jar. If this project goes well, I might just have to make a trip to the Dollar Tree to get more glass items! 😉
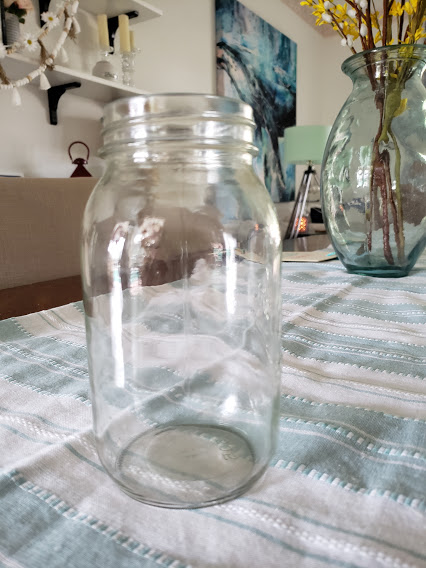
Here is what I used:
Mod Podge – in Matte Finish
Food Coloring – 4 drops blue and 4 drops green
1 inch Foam Paint Brush
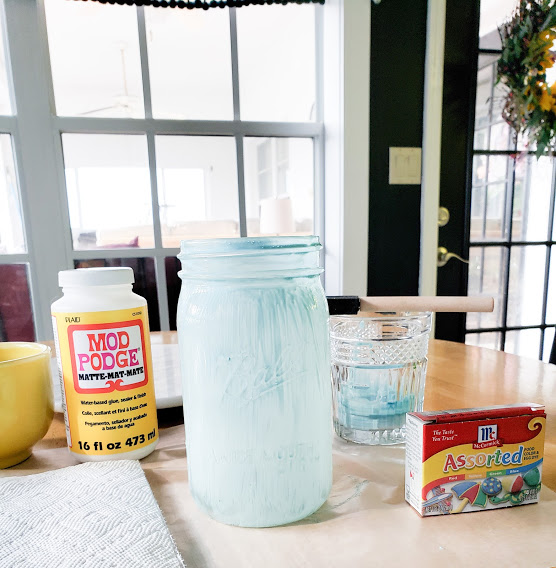
Pour about ¼ cup of Mod Podge in a glass container. Mix in the food coloring. With your foam brush, paint your glass piece using downward strokes. Try not to overwork the paint. It will look streaky, but dries even. Let dry on wax paper. Disclaimer – I gave mine 2 coats where I should not have because mine did streak a bit. I still love it though! So, here she is!
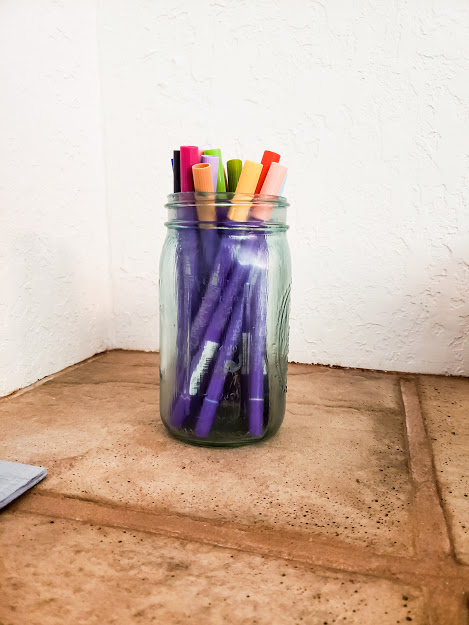
This project turned out SO cute! I guess I’m off to Dollar Tree to get more glass things to paint!
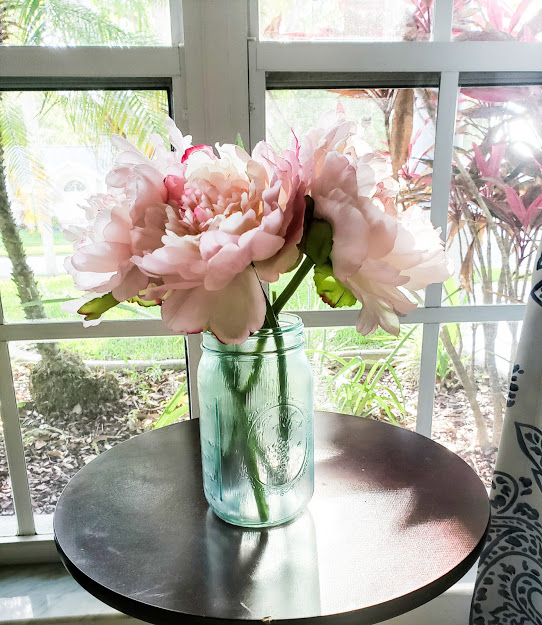
If you decide to try this project, please send me a picture. I would love to see it!
–Danielle

