So today I have a really fun project to show you! I’m so stinkin’ excited because this is something I have been wanting for approximately 2 years!
Whoever said, “Good things come to those who wait” really knew what they were talking about! I normally have little to no patience when it comes to things I want, but when the things you see that make your heart happy are way over your head too expensive, you have no choice but to look for less expensive similar options. Well… I almost nearly forgot this little project until it fell right in my lap! I mean I was casually minding my own business walking down the aisles of Hobby Lobby (yes – I am THAT girl! You know, the one who has to go up and down EVERY STINKIN’ AISLE of Hobby Lobby! Ha) My mind dances for joy just looking at every.little.thing.
Let me back up the train here for a minute.
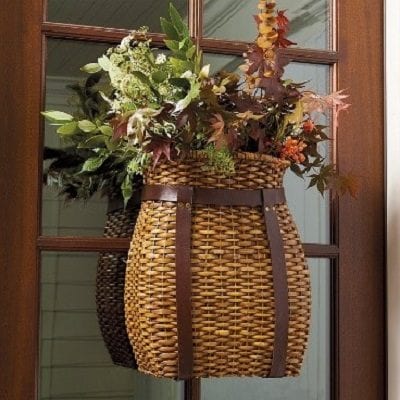
Approximately 2 years ago, I was walking through a Ballard Design store in our mall. Well, hanging on the wall in the back of the store was this gorgeous Adirondack hanging basket! I swear I heard angels singing as my eyes laid upon its beautiful “hand woven rattan with antique gold grommets and dark stained leather straps.” I almost started crying as I made my way across the store to get a closer look (insert husband rolling his eyes at me). As I picked up the price tag all my hopes and dreams sank like a stone…$79…sniff.
Okay, I know I know lots of drama, but haven’t you ever gotten just a little irritated over stores pricing?!
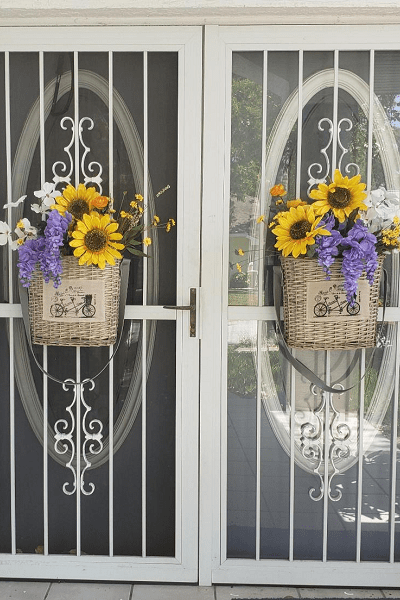
The front door to my home are double doors so it would have cost me $148 plus tax… and that is without the flowers.
Well, as I was saying, “Good things come to those who wait.”
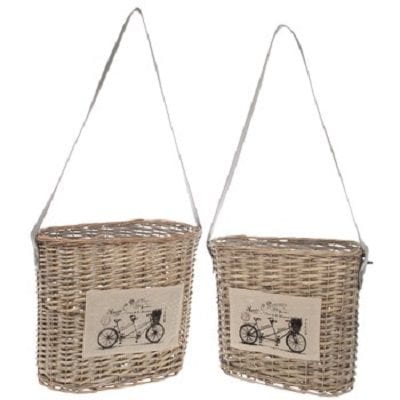
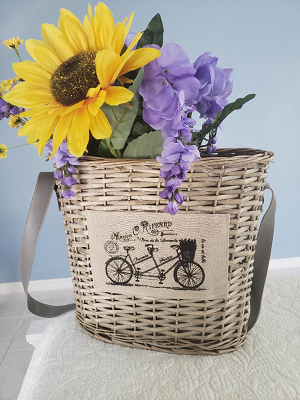
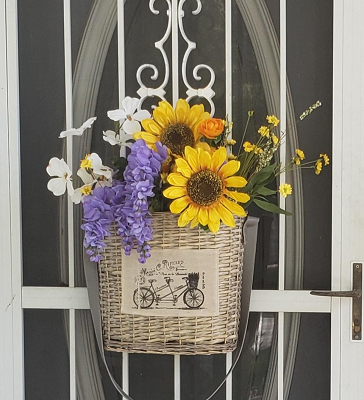
I was walking through Hobby Lobby when my eyes fell upon these beautiful baskets. The price for these beauties was marked at $19.99 each, which I thought was an AMAZING price!! But, wait, It gets better! They were on sale for 50% off!!!! I kid you not! Now online the product sells as a set of two, but different sizes. In the store I was able to find two of the larger ones. They didn’t have the smaller size so maybe that is why these two were on sale. 😊
I grabbed them up and put them in my cart like I had gotten away with doing something wicked!
I was considering putting the “antique gold grommets and dark stained leather straps” on it myself and taking off the bicycle patches, but I really like the patches. It goes well with the white-washed stain on the baskets.
Now, to find the perfect flowers to put in them. Depending on where you buy them, flowers can get pretty expensive and I like to change out my flowers ever so often to coincide with the season or holiday. Besides, my front doors are far enough away from the street that less expensive flowers would look just fine.
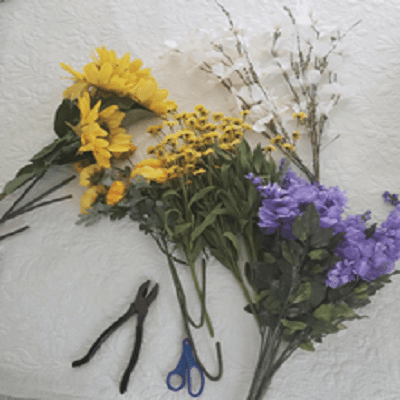
So, on the hunt I go… looking for a deal. Sometimes the research is just as fun as the find! And boy did I ever find! After looking through daily ads, phone apps and emails, I was able to score a 25% off total order at Joann Fabrics PLUS they were having a buy 1 get 2 free sale in their floral department…oh yeah!!!
I purchased flowers for both baskets totaling $119.84 and after the sale price plus my app coupon was figured in…drumroll please…I paid $38.46 with tax! Complete score ha!
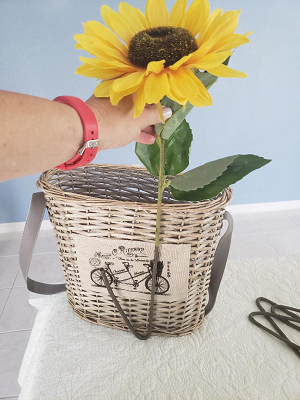
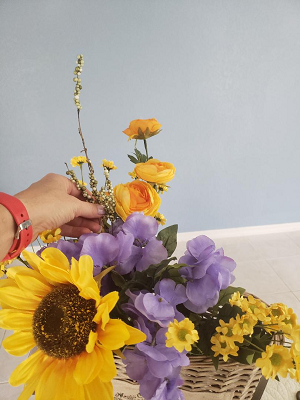
Arrange them in the basket to suit your liking. Now, you can use a Styrofoam block in the bottom of your basket to secure the flowers. I did not want to spend the extra money on this. Besides, I had enough flowers to fill the basket so my arrangement stayed pretty much in place once I arranged them the way I liked.
So, there you have it! A little talent and a lot of patience (waiting for sales). Mine might not look exactly like the Ballard Home version, but I think it’s a great compromise!
What do you think? I would love to hear from you! Maybe you have a similar story of how you were able to recreate your dream décor piece!
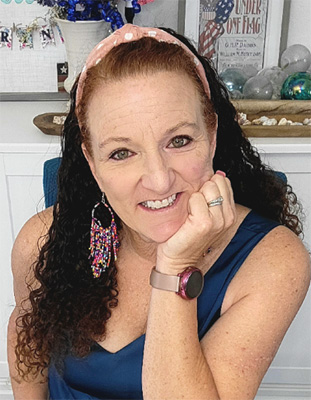
— Danielle

