To be honest, I have never decorated my home for Valentine’s Day before. It wasn’t until I began writing my blog and turning my attention to this side of the business that I realized it really makes my home less blah when the Christmas decorations came down and were packed away. Not to mention that it is pretty easy to transition between the holidays because of all the red I use in my Christmas décor.
Say “I love you” to your friends this year with this easy Valentine’s Day craft that doubles as affordable gifts as well as home décor.
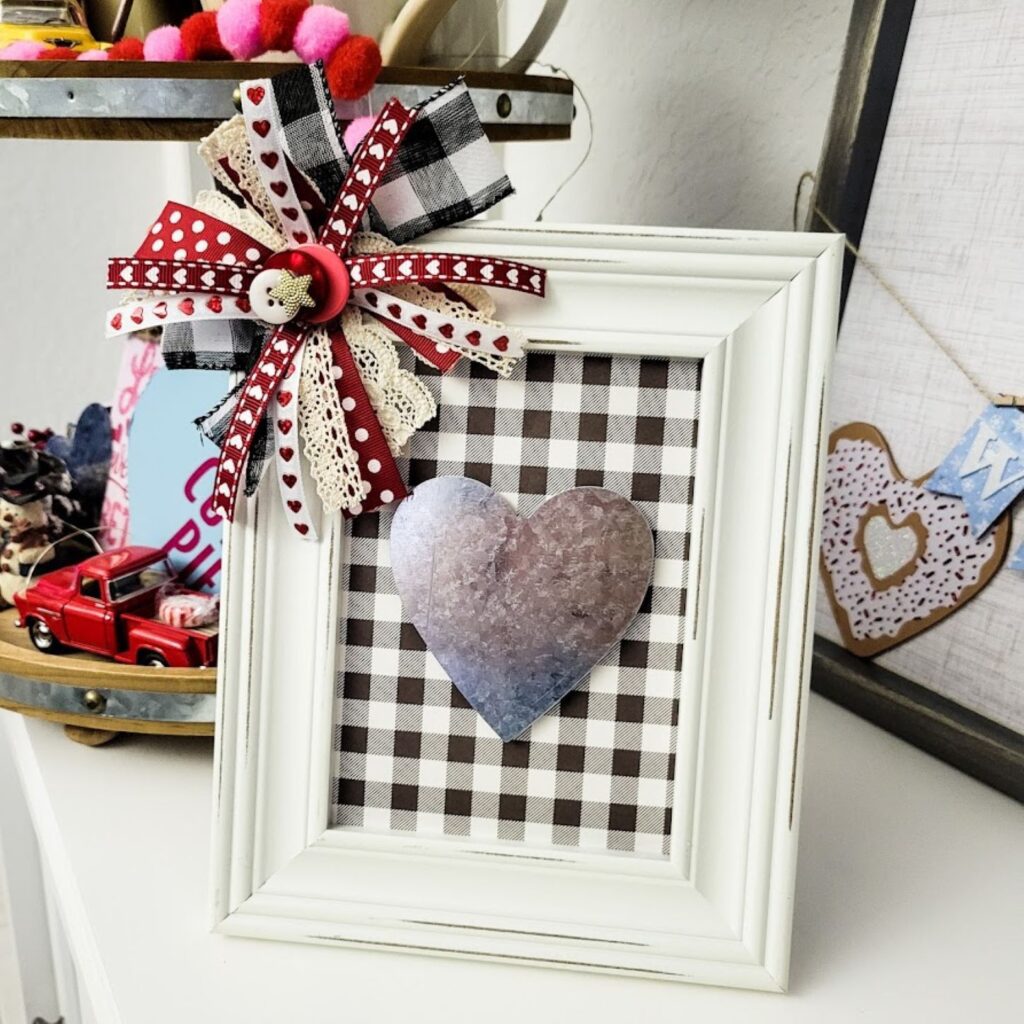
I truly love this cute tabletop Valentine frame I made this week, and the red bow goes really well with the rest of my holiday décor!
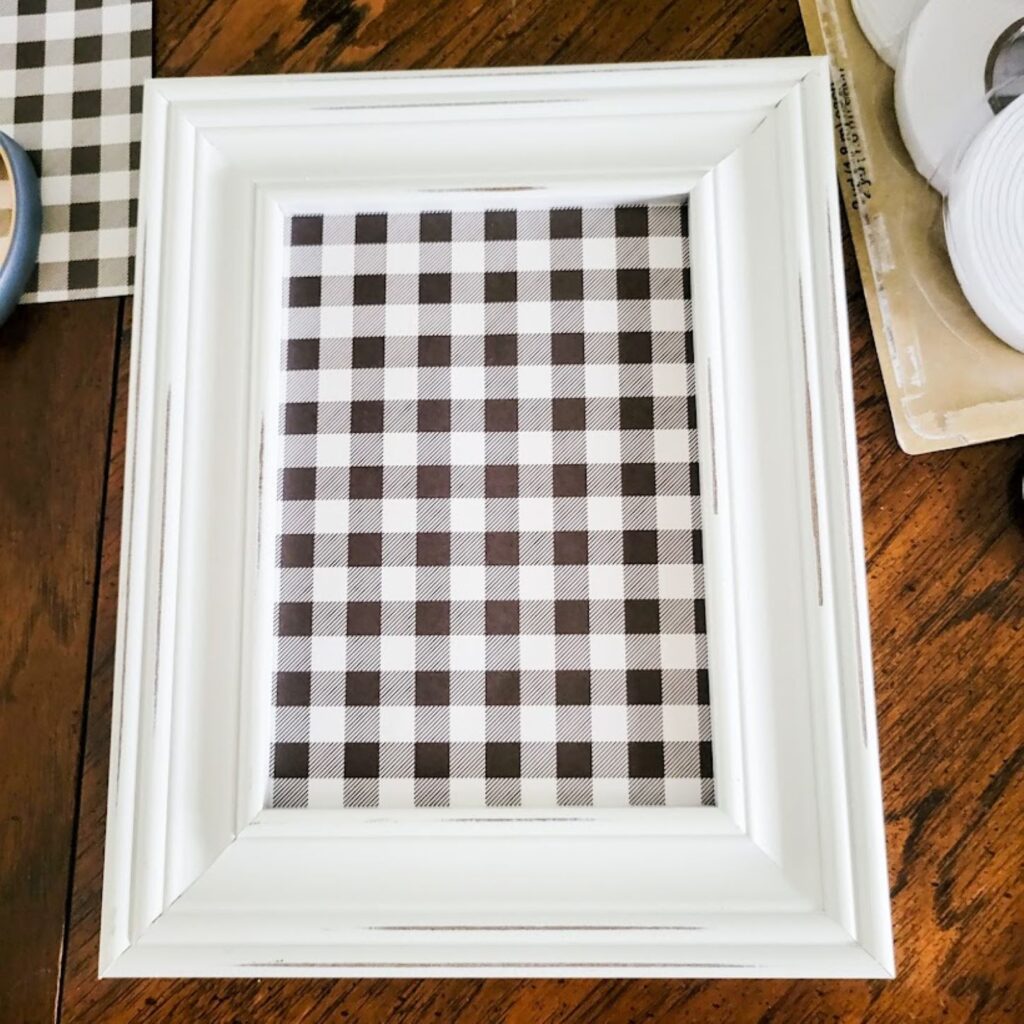
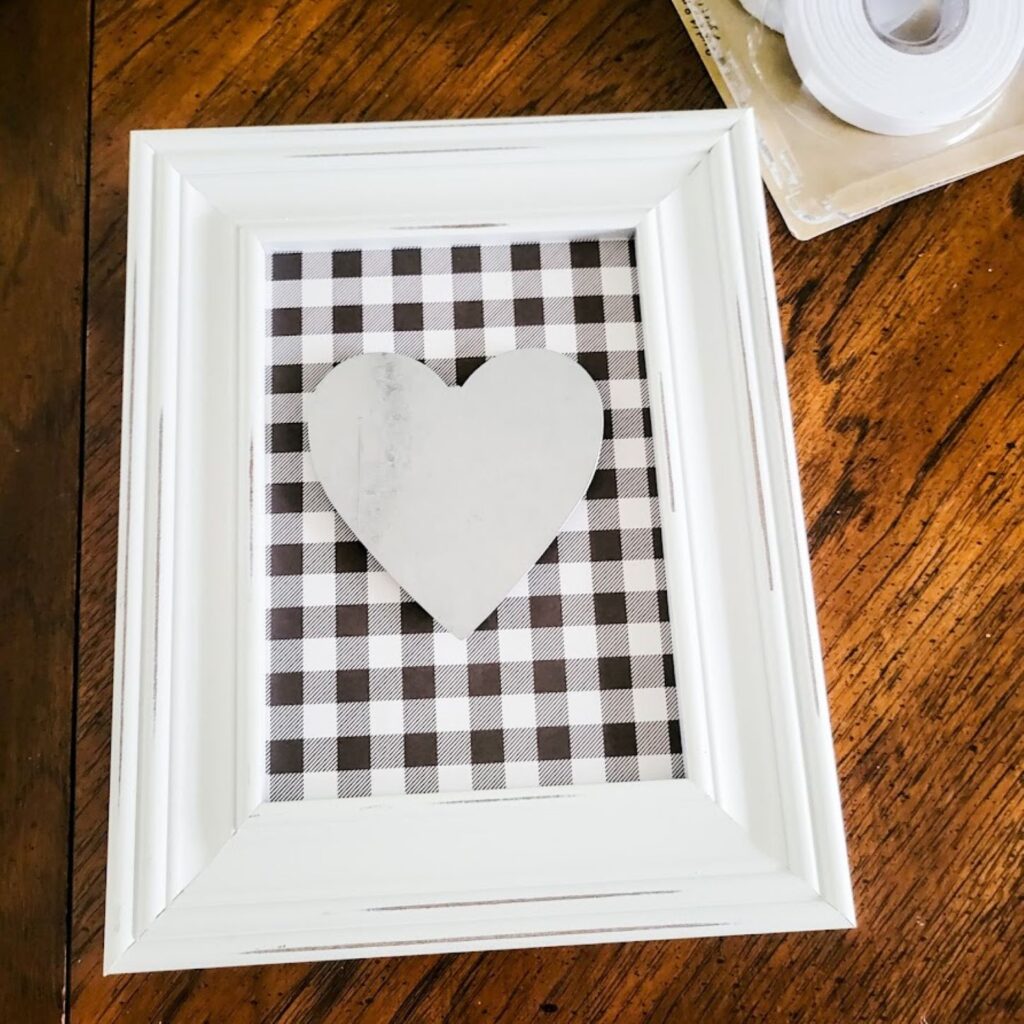
To start out, I bought this 5 x 7 picture frame from Walmart for $8.44. I then cut a piece of scrapbook paper to fit inside the frame. I put it in first and then placed the glass and the cardboard that comes with the frame behind the Buffalo check paper. The glass won’t fit if it is on top because of the heart is going to stand up and away from the frame.
I bought my galvanized metal hearts from Dollar Tree, but you could use wooden or even paper hearts for this project.
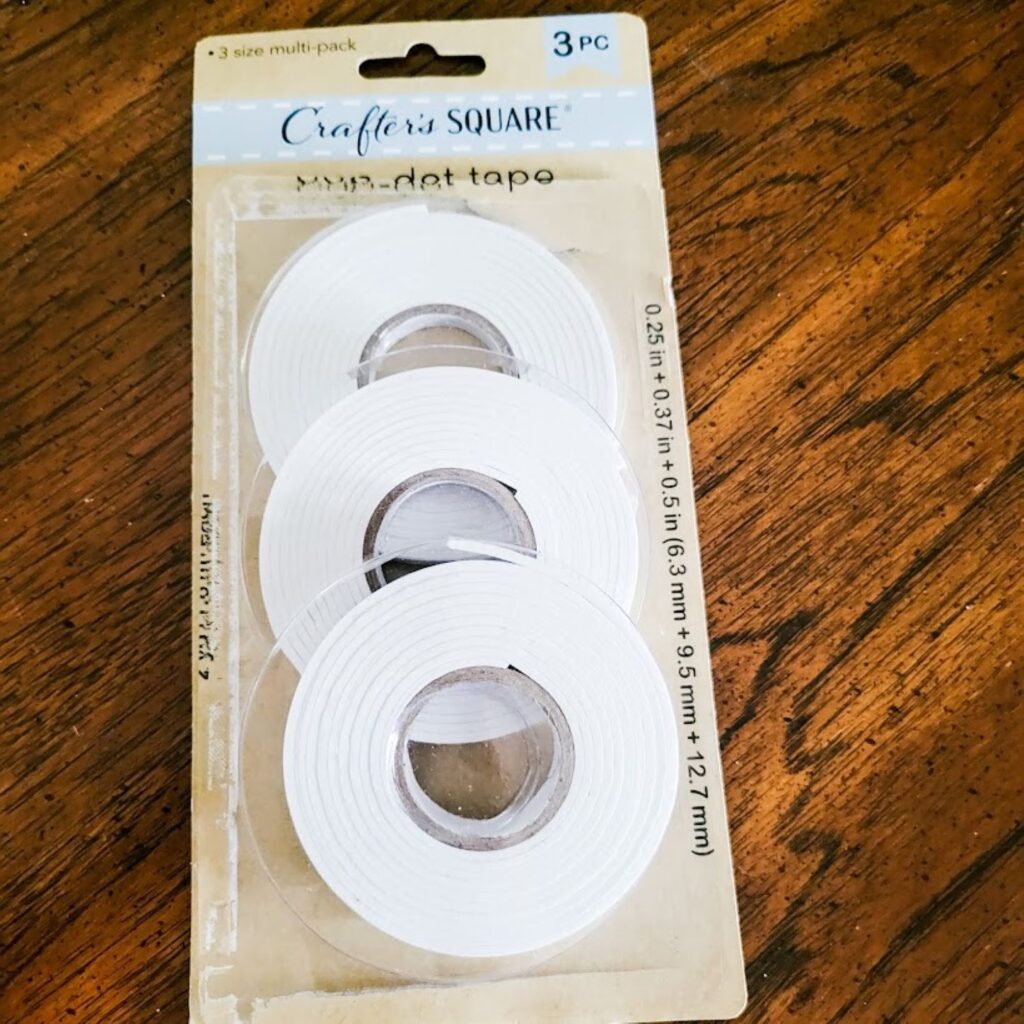
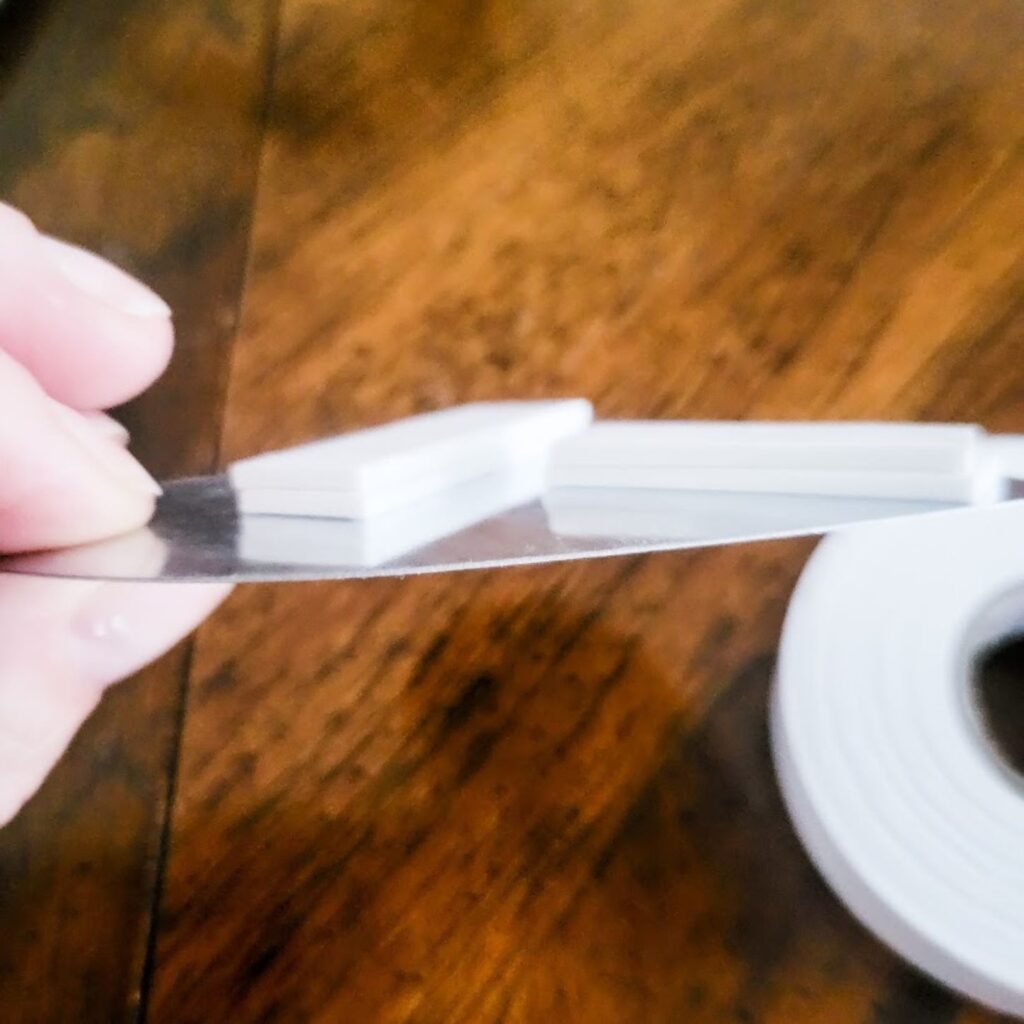
On the back side of your heart, you are going to attach a spacer so that your heart stands up and away from the backing paper. I used this pop dot tape from Dollar Tree. It comes in 3 thicknesses. I used 2 layers of the thickest tape. I have also used thicknesses of cardboard for this, but it is hard to get the glue to stick to the metal.
Here it is on the back of my galvanized heart. This tape is sticky on both sides, so no glue or adhesive is needed for this part. Yay!
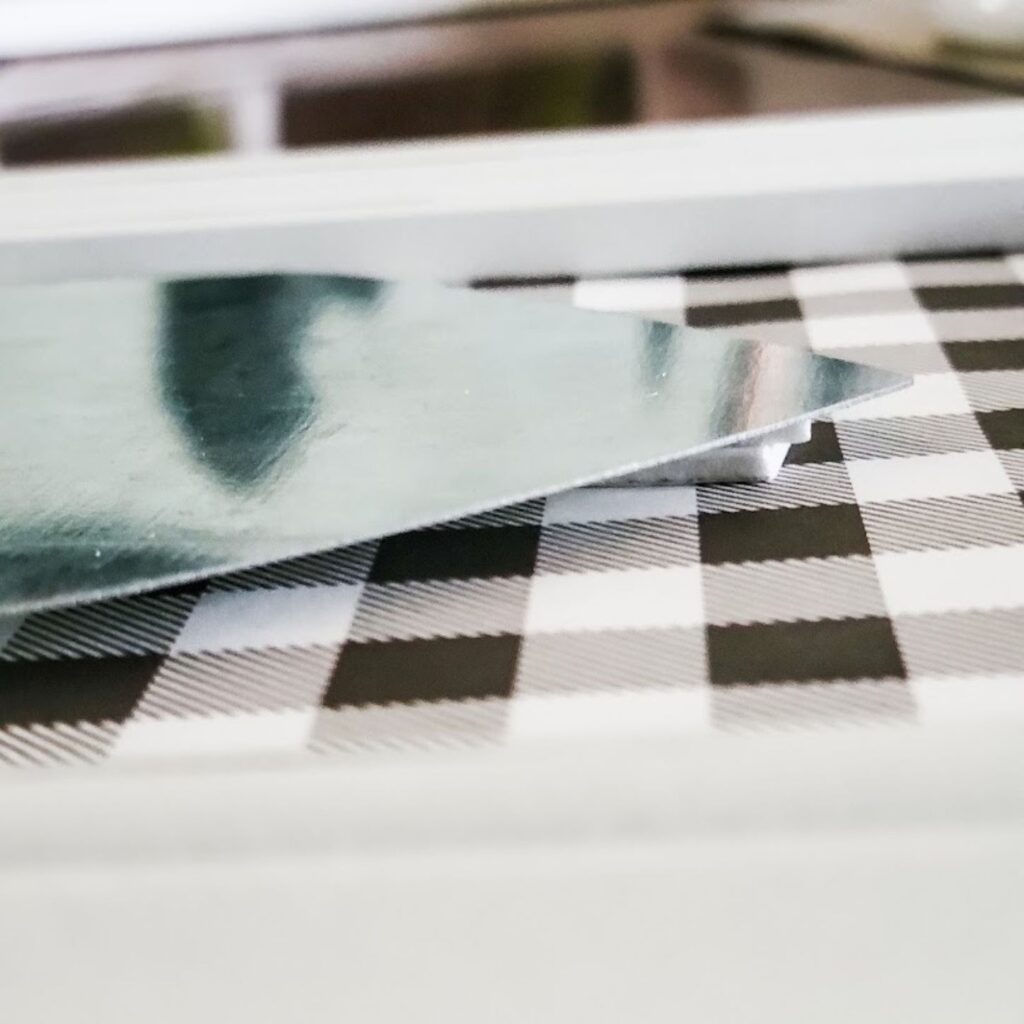
Peel off the paper on the tape and center your heart onto the scrapbook paper.
You can see that the tape has done a great job holding the heart up and away from the paper. I also love using this tape when making 3D photos. I will be doing a project on that later. 😉
Now I already LOVE the way this looks, but it needs a little “something.” This is where the red part of my décor comes in. We are going to make a bow to attach to this “beautiful, but a little plain” picture frame.
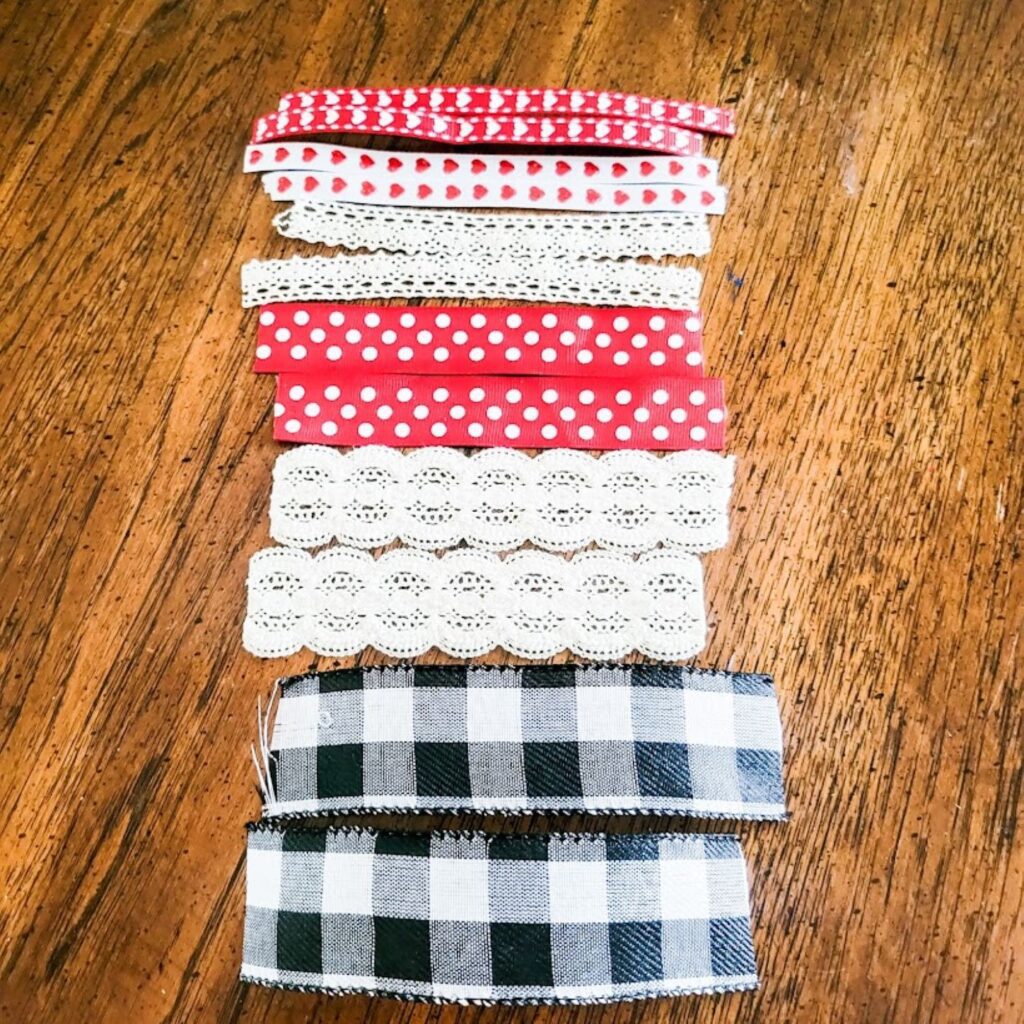
I pulled a few choices from my stash of ribbon. I like to buy ribbon throughout the year because I know that I will use it sometime in the future. Buying a little at a time is easier on my budget also.
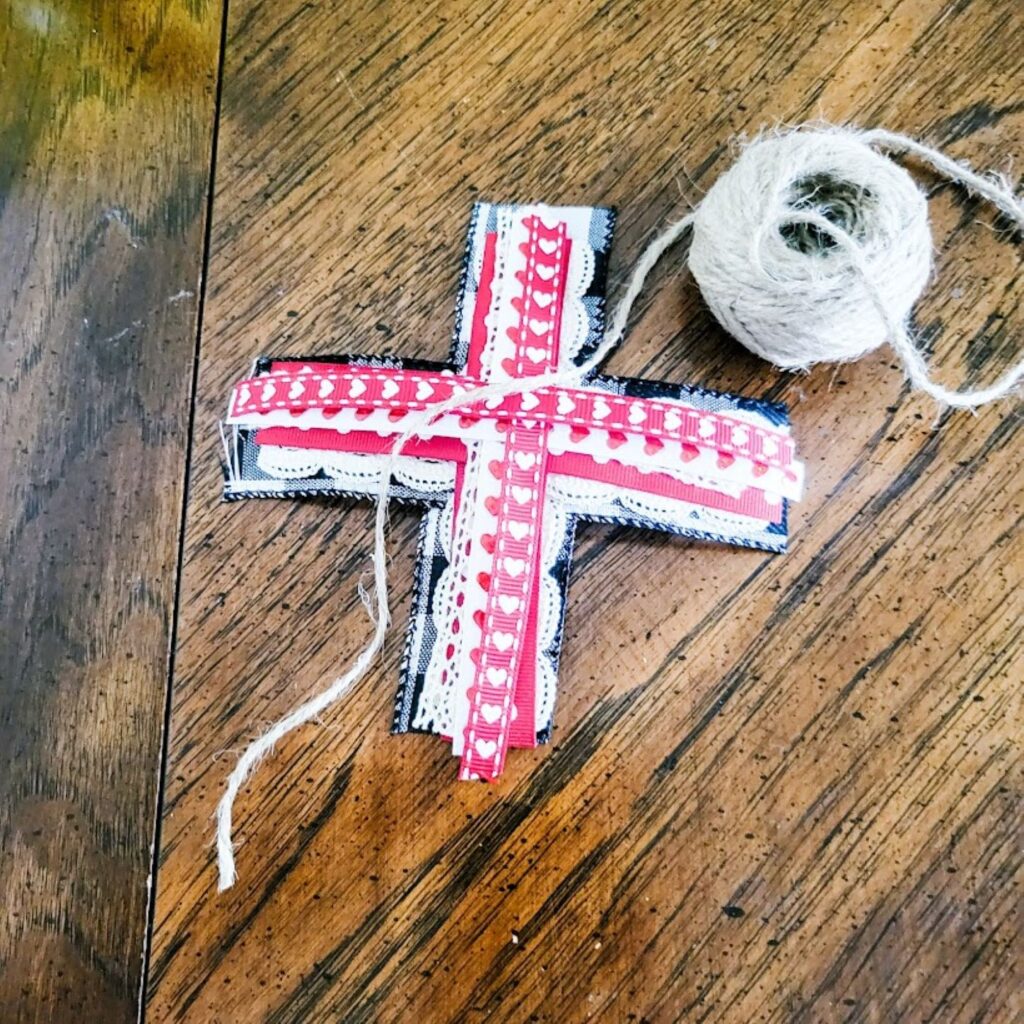
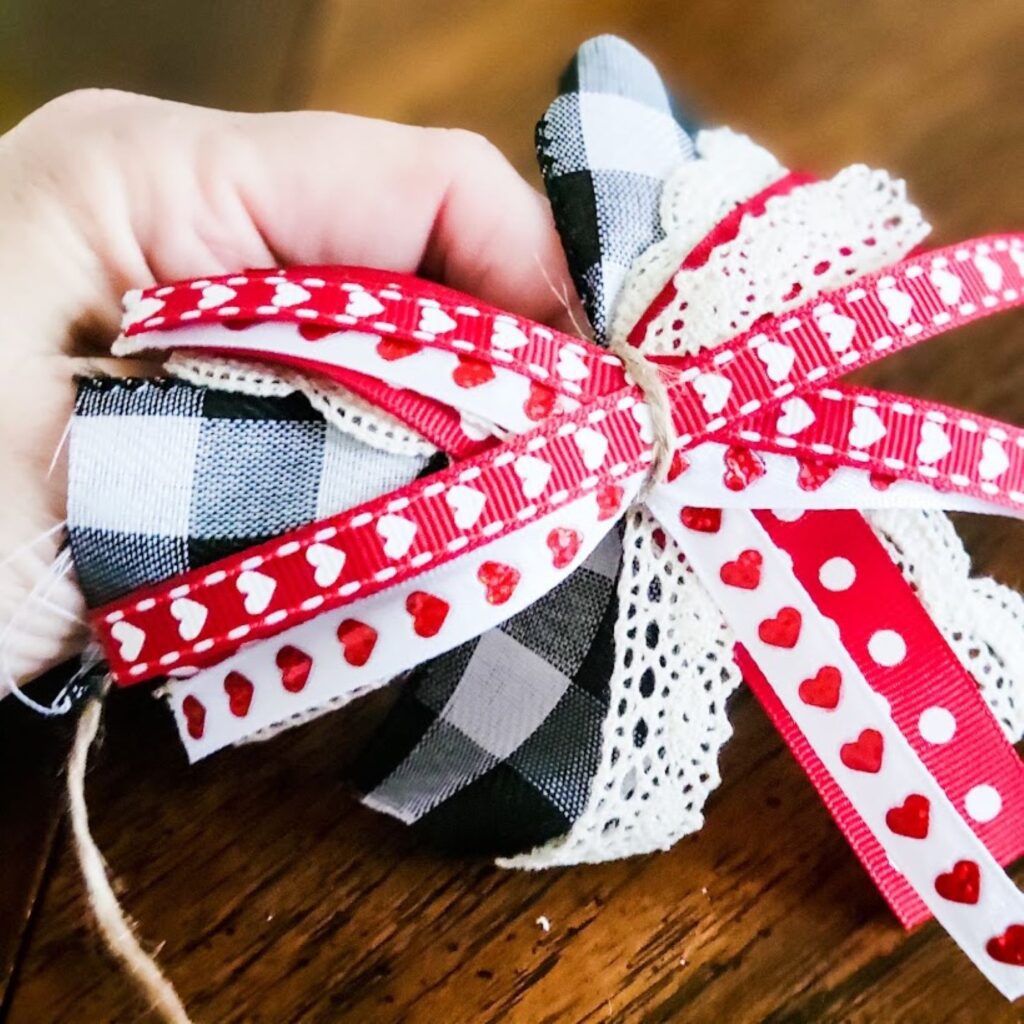
Along with my reds and black and white Buffalo check, I chose a few different widths of lace to add texture to my bow. Place your ribbons on top of each other in a criss-cross pattern placing the widest ribbon on the bottom and working up to the narrowest ribbon.
Use a narrow ribbon or a piece of twine to tie them all together with a knot in the back of the bow.
Cut the ends of the twine close to where you tied your knot in the back.
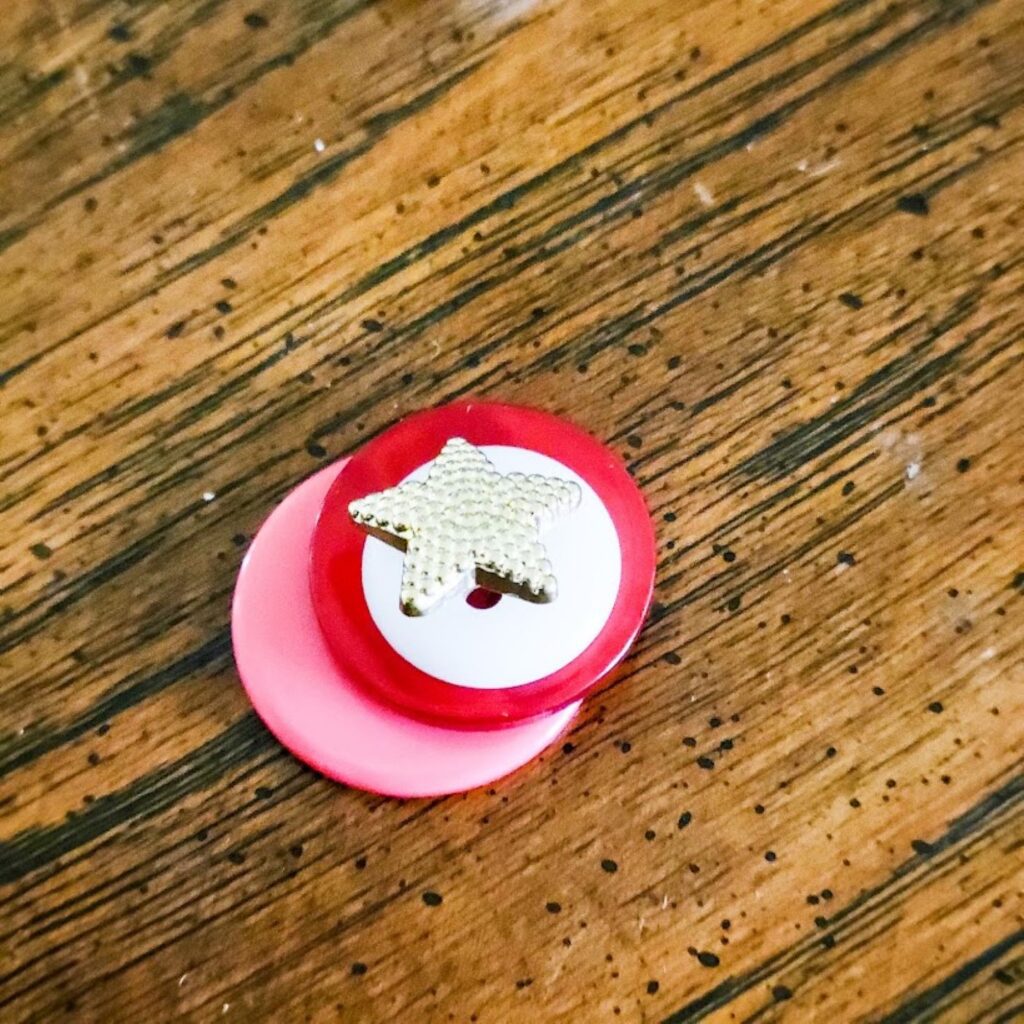
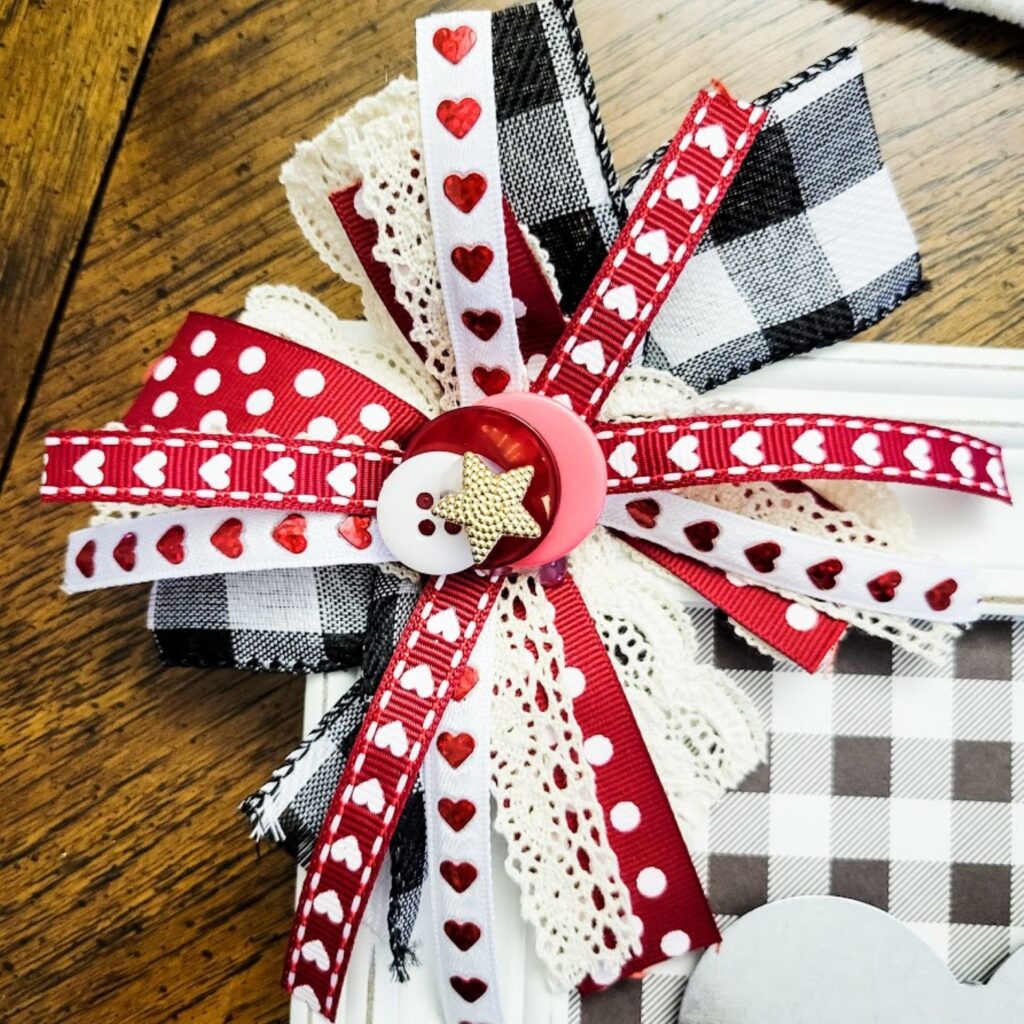
Put a good amount of hot glue on the back of the bow and place it on your frame (I chose to put my bow in the left top corner). I also hot glued a stack of buttons together and then attached them to the center of my bow. I like the layering look of this.
And here it is attached to the center of my bow! LOVE this!
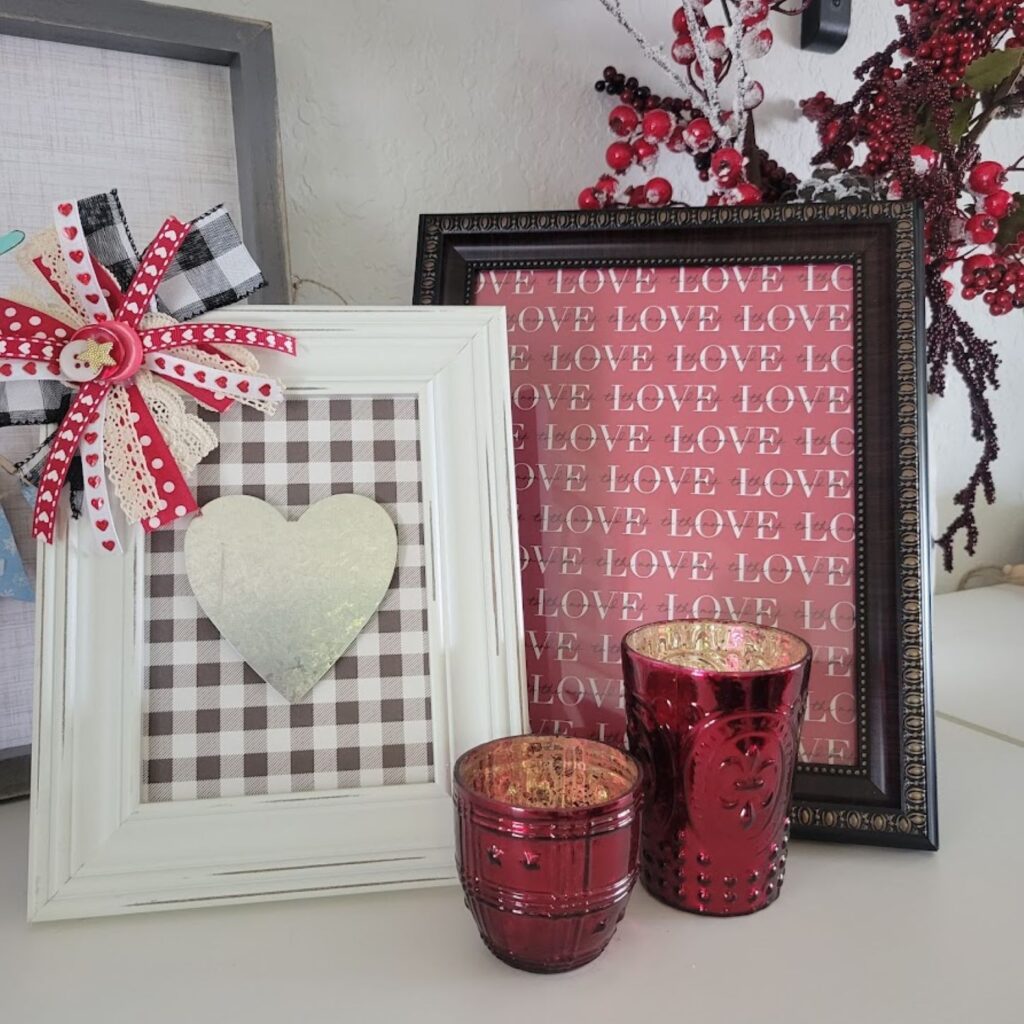
Here she is all finished! I grouped it with another framed piece of Valentine scrapbook paper and a couple of red mercury glass candle holders (left over from my Christmas decor). 😉
Your home should be as beautiful as you are and should always be your happy place no matter your budget! Together we can make our world a better place to live and grow. Until next time.
-Danielle
Hi, I’m Danielle!
I am the designer, writer and diy’er behind this blog. I enjoy decorating my home for practically nothing by doing most of the work myself, finding new and imaginative ways to make it beautiful and by watching for killer sales. I find humor almost anywhere and can laugh at myself through it all. I have learned that most projects don’t go exactly as intended, but can be more beautiful than the original plan.
Re-Fabbed Boutique – Beautiful, quality clothing for women of all shapes and sizes!!
We use cookies to ensure that we give you the best experience on our website. If you continue to use this site we will assume that you are happy with it.
You can revoke your consent any time using the Revoke consent button.