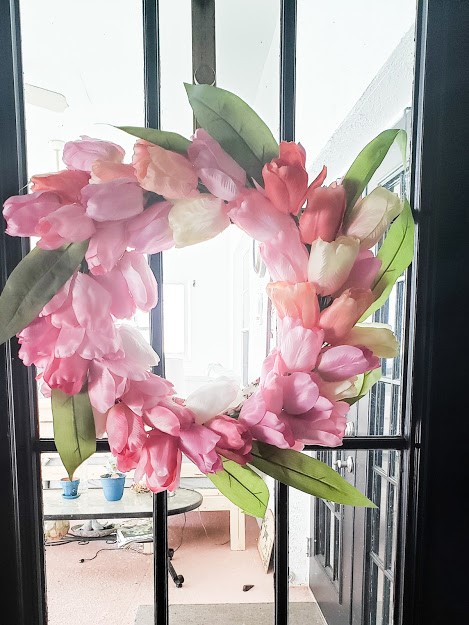
Today I would like to show you how I made this amazing tulip wreath for my back door. Isn’t it pretty?! It all started when I found this wire wreath ring at the Dollar Tree (I feel many of my stories start this way…Once upon a time, at the Dollar Tree…). 😉 Ha!
Materials:
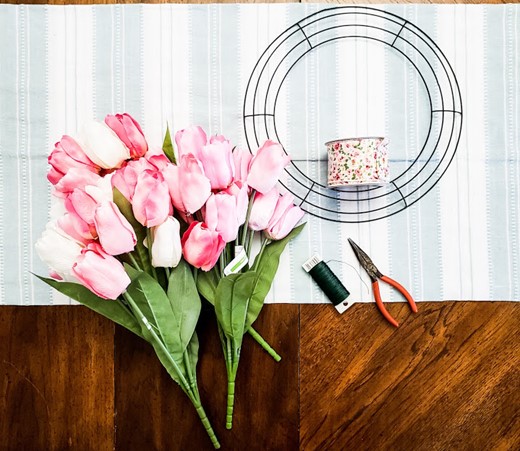
- 3 tulip bushes
1 Floral wire
1 wire wreath frame
1 spool ribbon
Tools:
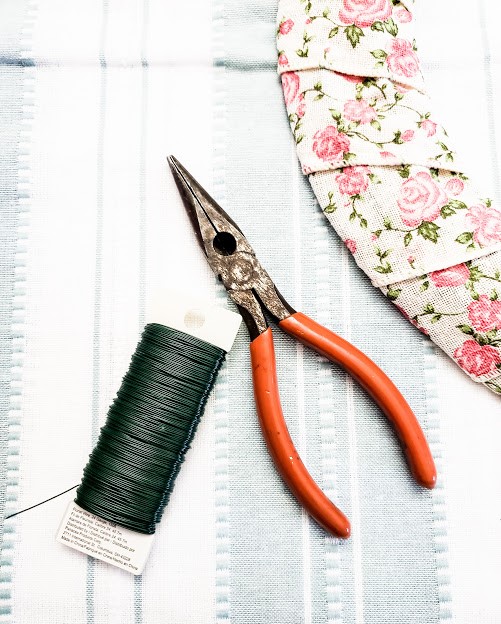
- Wire cutters
- scissors
I bought three tulip bushes, ribbon and floral wire at Michaels. You will also need wire cutters and scissors. The whole cost for this project is around $20.
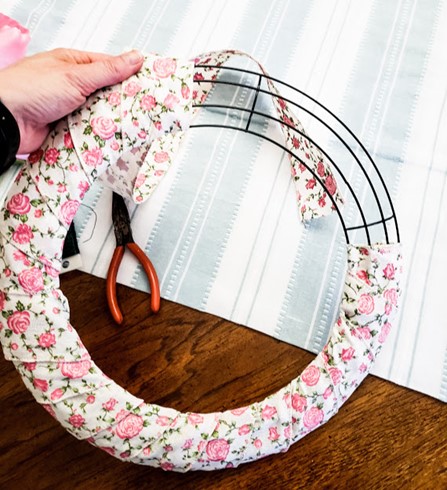
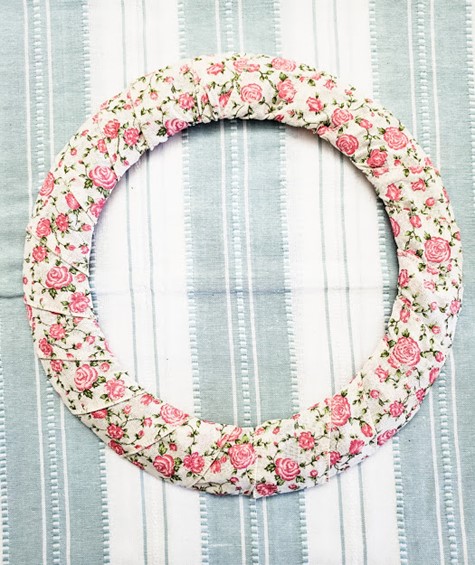
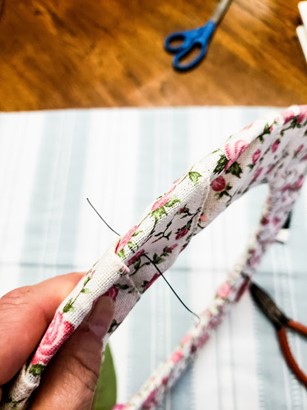
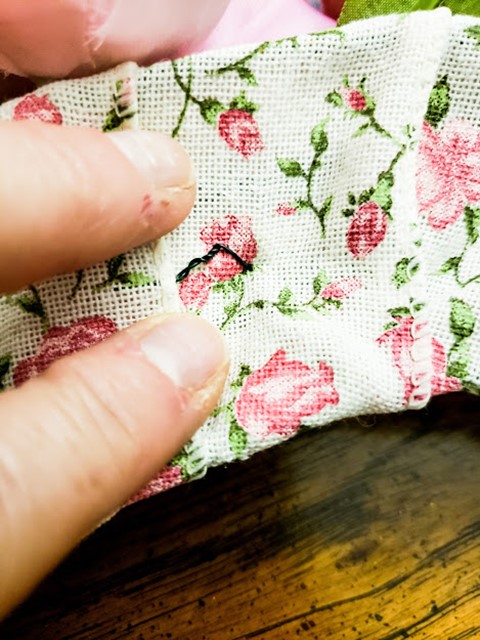
I first wrapped my wire wreath frame with my ribbon. I used ribbon with wire edging so it stayed wrapped around my frame without hot glue. This way, the wreath will look good from the back side if you decide to hang it up over a window.
It’s kinda pretty just like this! 😊
Putting tulips on this is going to be stunning!
Next, you are going to want to pull your tulips and their leaves off the bush. If you accidentally pull the flower off the stem you can hot glue it back on with no problem.
This is how my flowers looked once I pulled them apart. I threw what was left of the wire bush away. You can choose to use as many leaves as you wish. I only used a few because I wanted the tulips to be the star of the show.
Next, I had to cut the base of my leaves with my scissors because they were too small to fit around the stem of my tulips. Depending on what tulips you buy, this step might not be necessary.
Next, cut your wire approximately 6 inches long. My wire cutters have seen better days. These are my favorite for making jewelry. I have had them forever and it shows!
Take three of your tulips and lay them on your wreath frame. Grouping your tulips in three’s helps to fill in both inner and outer edges of the frame. I used one leaf on every other group of three, so one leaf for every six tulips. This is just my preference. Feel free to put in as many leaves as you like.
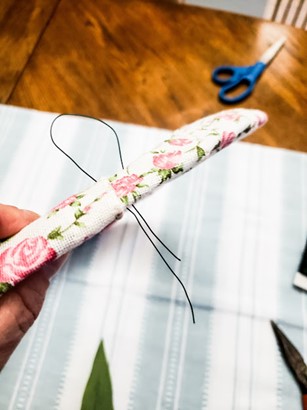
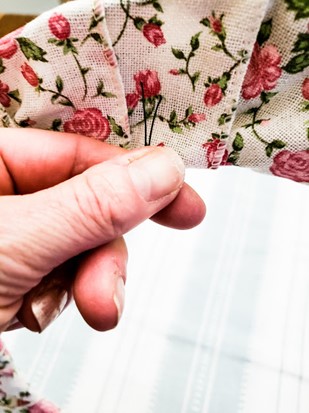
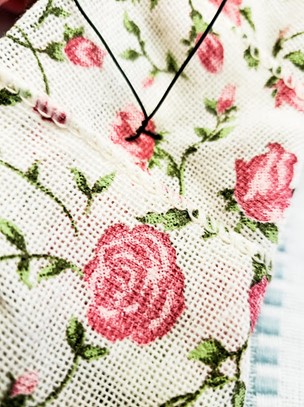
Push your wire through the ribbon from the back and make a loop by pushing the same end to the back.
Put your three tulip stems in the loop and pull both ends of the wire tight in the back. Twist the wire to hold the stems.
Take three more tulip stems and place them just under your first bunch of flowers.
Secure this set of three with another piece of wire repeating what you did for the first three flowers except this time secure all six stems (three from the first set of tulips plus the three from the second set of tulips). As you can see, my wires are approximately three inches apart.
Continue this around until you have covered about half of the wire frame catching the extra stems as you go along.
At this point, you can see how it is going to look and make adjustments as needed. For example, maybe your flowers are too close together or too far apart. It is better to fix this now then to have to take the entire wreath apart!
I really like the way mine is turning out! I only had to shift a couple of flowers around.
After I had everything placed where I wanted it, I securely tucked in the wires in the back so they were not as noticeable.
There you have it! Isn’t it beautiful?!
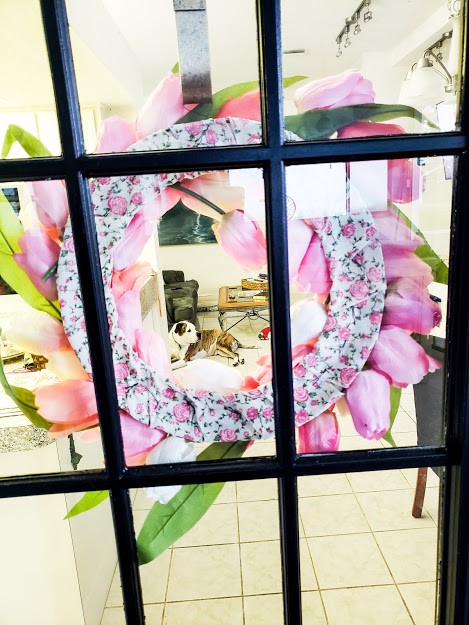
Here is the back side of this wreath. I love how the ribbon looks!
And, of course, no post is complete without Karl. 😊
I would love to know if you tried this tutorial and if so, how did it turn out? Please drop me a comment below and maybe a picture of your finished wreath! I can’t wait to see how they turned out!
— Danielle


