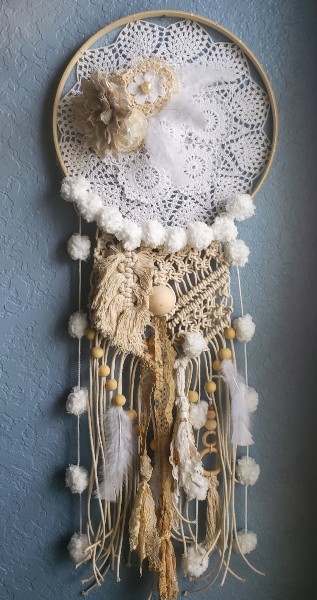
Today I am very excited to share with you my first macramé dream catcher!
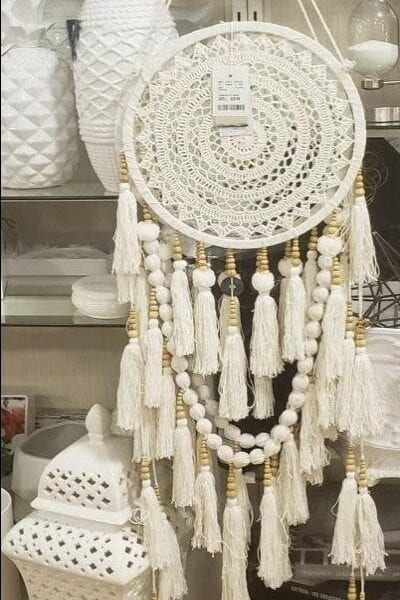
The other day I was strolling through HomeGoods with my coffee in tow when I spotted a gorgeous macramé wall hanging.
You see, I am the type to take pictures of things I think I can make while in the store. I then use these pictures as an inspiration.
I have tons of inspiration photos on my phone… 4823 pictures to be exact.
I should probably delete some of those photos before I take more. I think I’m a photo hoarder!
These photos actually come in handy when I get the “I want to make something big” look in my eye! 😉
Although mine doesn’t look exactly like this one, I think it still looks pretty awesome since it was my first attempt. I remember macramé was pretty big in the 70’s, but I don’t remember being very good at it. I seem to be very attracted to the boho vibe that is so prevalent now. Pompoms, tassels and the wooden bead obsession that is all the rage!
Below are a list of materials that I used to make my wall hanging.
Materials
1 – 15” wooden embroidery hoop (inside piece only)
1 – 15” round crocheted doily
1 – 6” round doily
1 – 2” wooden bead
16 – ¾” wooden beads
Pomp-a-doodle yarn (white)
3mm macramé cord
3 craft flowers (Michaels)
White feathers (Michaels)
Lace odds and ends (to make tassels)
glue gun and glue sticks
Take the embroidery hoop apart and use the inner ring only.
I assembled my wall hanging by using cream colored embroidery floss to tie the edges of the doily to the ring, you can also use thread for this step.
Leave spaces in between for the macramé cord to slip through.
I then glued the smaller doily to the larger one. I centered mine, but you can place it off center for a different effect.
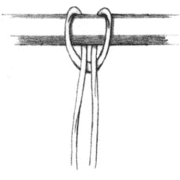
I then cut 15 cords at about 8’ each and attached them to the bottom of the hoop by folding the cord in half and using a larkshead knot to attach them to the hoop.
- I then used a series of square knots and diagonal half hitches to get my desired effect.
- Since I am just learning this myself, I thought it better to direct you to Pinterest for proper directions. Trust me, I tore out my knots A LOT before getting it how I wanted it.
- Use wooden beads and feathers however you want.
- I also used Pomp-A-Doodle yarn by Red Heart™. I love the way the white pompoms look with the white doilies and natural color of the wooden hoop.
- I also attempted to make a macramé feather. Kinda sad lookin’, but I’ll get better! I might try a smaller macramé cord next time. Again, check Pinterest for directions on this.
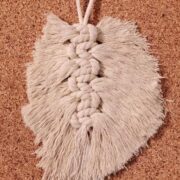
- I tied this feather on, but used my glue gun to attach the white feathers and the burlap and lace craft flowers.
I know these directions are not exact, but no two dreamcatchers should look alike.
On a side note, I also attached an essential oil diffuser that I made a while back. Directions here. This way your dreamcatcher smells great too!
I can’t wait to see your finished pieces if you decide to make one! Please send me your pictures with your remarks in the comments below.
I hope you enjoyed reading how I made my first macramé dream catcher.
Until we meet up next time, have an AMAZING day!!!
— Danielle

