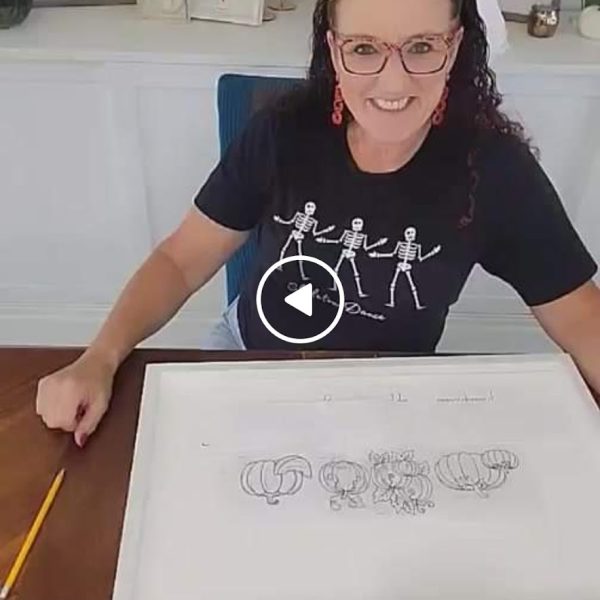
I love those cute Fall porch signs you see absolutely everywhere. Don’t you? What I don’t love is the not so cute price tag! Here is my take on the farmers market sign.
If you are not much for tutorials, you can watch the video on how I made this. Just click the picture below.
I am a sucker for a cute sign and this one is about as cute as it gets!
Here is what you will need to make this sign:
- Premade sign blank. This one is similar
- Computer printout of words you wish to use
- Scissors or paper cutter
- Pencils – you will need many (or only one and a pencil sharpener)
- Sharpie markers (I used black)
- Additional paint for the frame (optional)
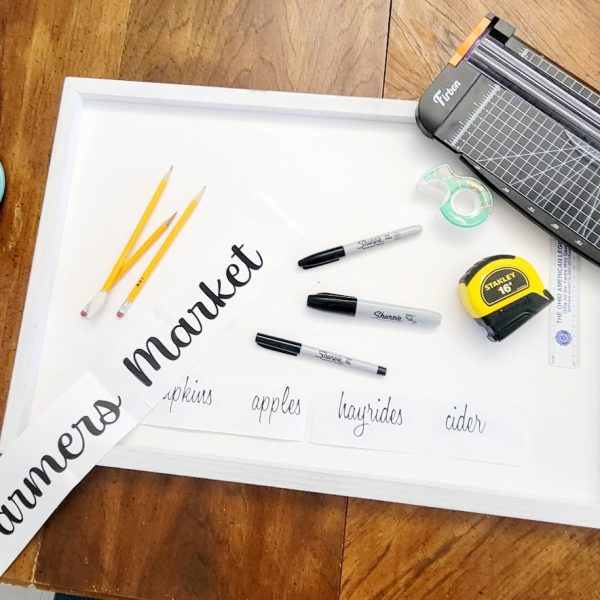
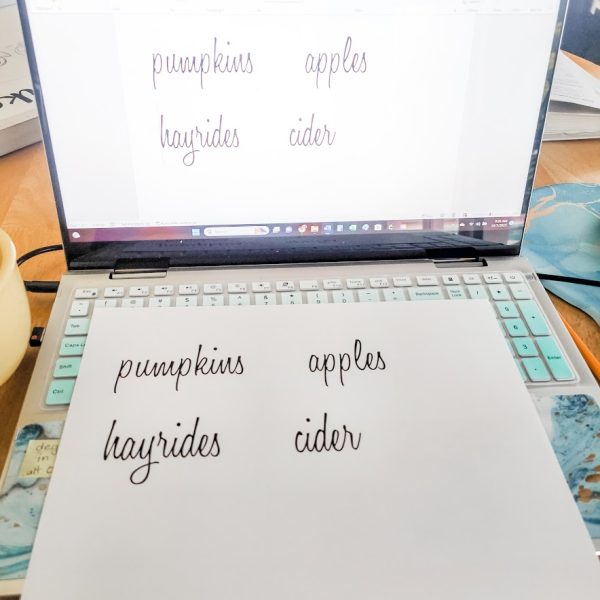
I am fortunate to have a laptop and printer in my home so I was able to print what I wanted for this sign. If you do not have a printer, find a friend who does or visit your local library to print out your design.
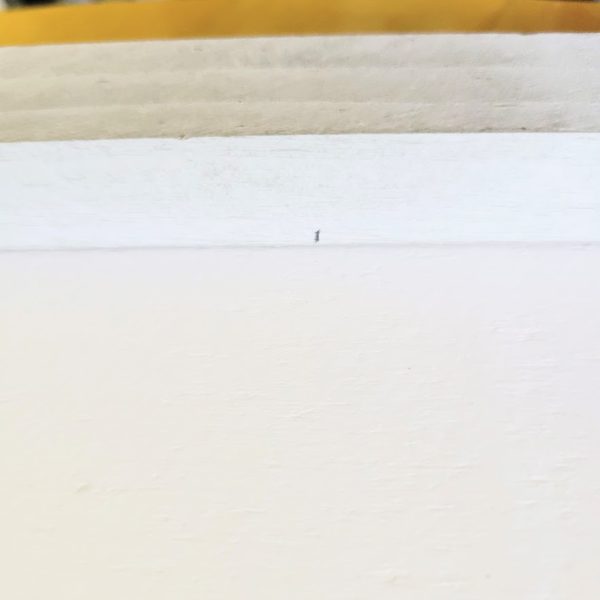
Measure your premade wood sign and put a pencil mark directly in the center on all 4 sides.
Cut and tape the words you want on each line making sure that they are lined up and spaced correctly.
Take each paper strip that you taped and fold it in half making sure the letters on each end line up. Crease the fold in the center and open the strip.
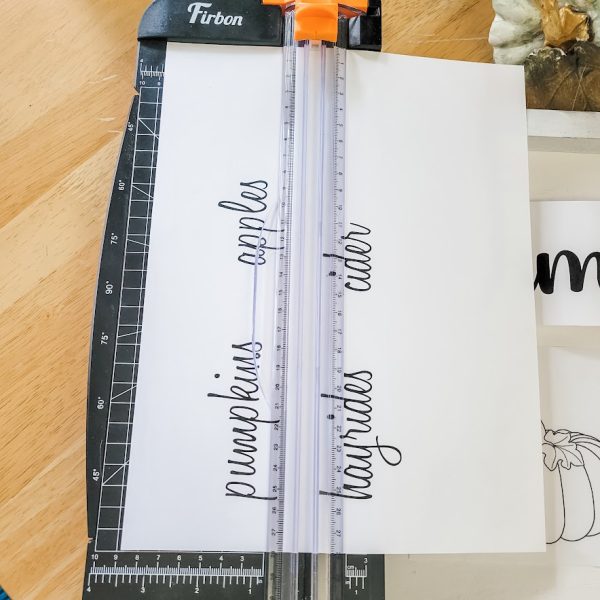
Match up the center folds to the lines on the sign. This will make sure that each line is centered properly.
This is when you can edit your design by changing fonts, pictures and the like.
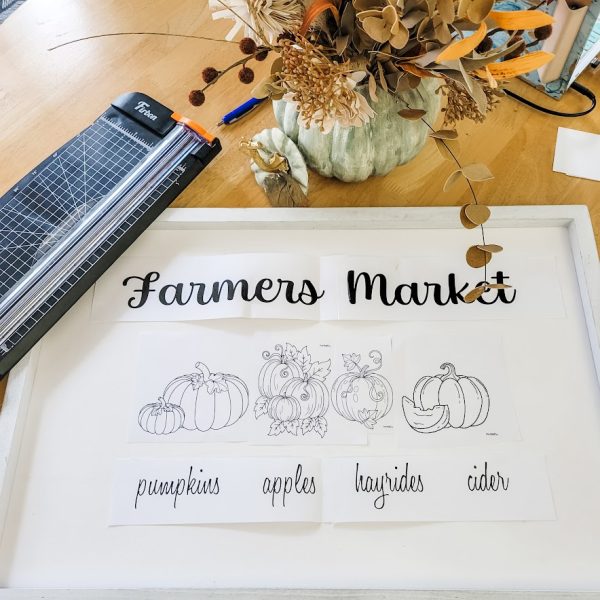
Now, this next step is my favorite. I learned this technique back in high school (when dinosaurs roamed the earth). It’s called “poor man’s carbon paper.”
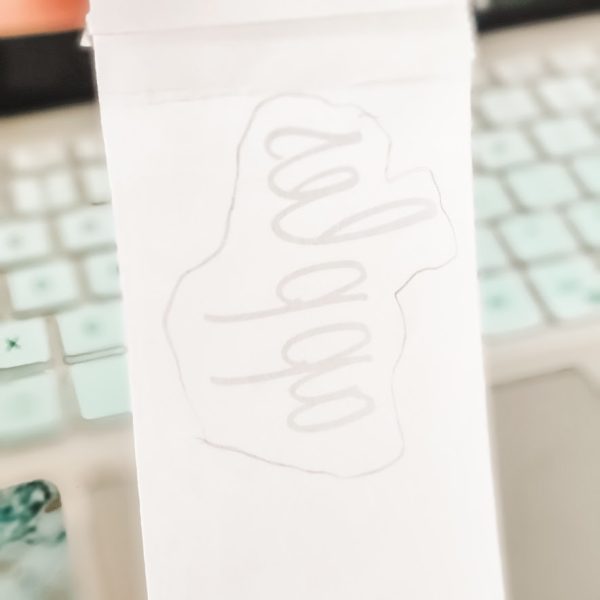
Flip the paper strip over and hold it up to the light. With your pencil, draw around each word.
Lay the strip on the table and scribble inside where the word is. Make sure to lay down quite a bit of pencil lead in the area.
The lead will transfer onto your board easily and can be erased if you make a mistake (unlike carbon paper).
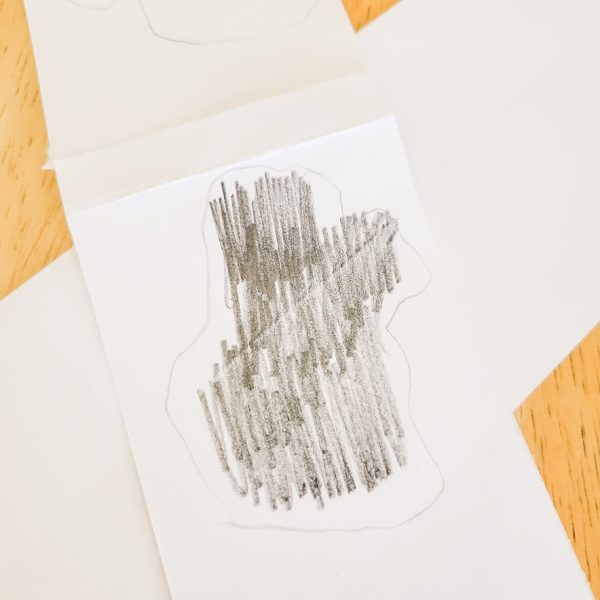
Once you have all your pencil lead on your strip, tape one side of your paper strip to your board making sure everything is centered.
Trace over all your letters pressing hard enough to transfer the pencil lead to your board.
Lift up a portion of your strip to see if it is dark enough on the board.
Remove all your strips to reveal your design (unfortunately, I did not get pictures of this).
Using your Sharpie marker, draw over all your lines, I also added a little shading.
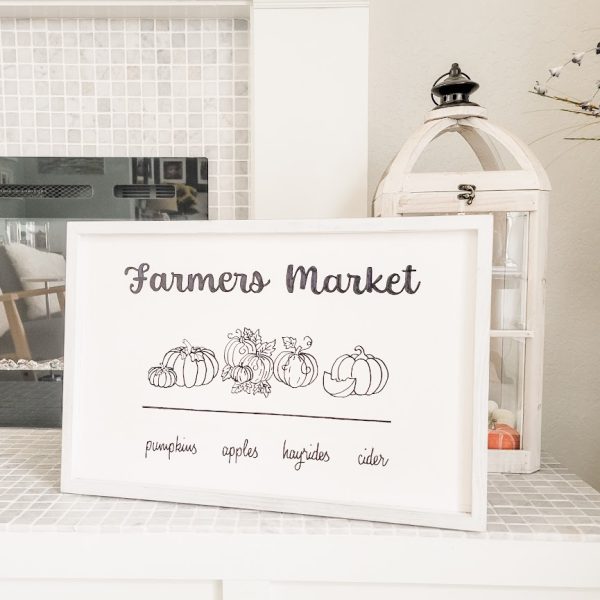
This is my sign finished…or so I thought. It didn’t look quite right. I felt that it was lacking a little “something.”
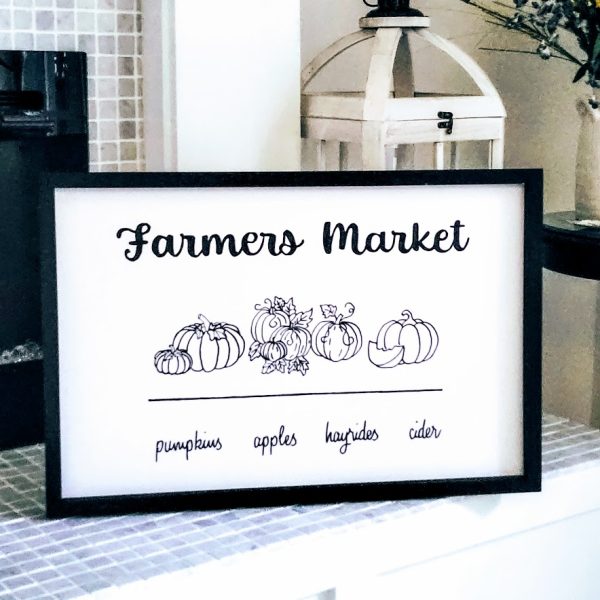
I am totally in LOVE with it now! Painting the frame black was just what it needed!
I might put it on my front porch, but right now it looks so goon on my new fireplace!
What do you think?

