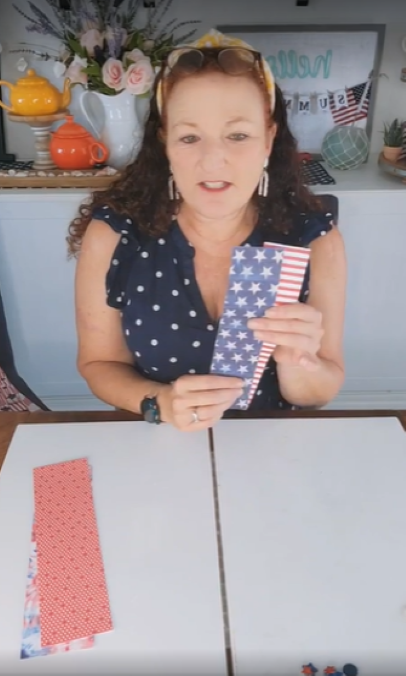
Using your ruler and paper cutter or scissors, measure and cut three strips of equal width (2 1/2 inches for the smaller one and 3 inches for the larger one)
Ensure all three strips are equal in length—approximately 12 inches long.
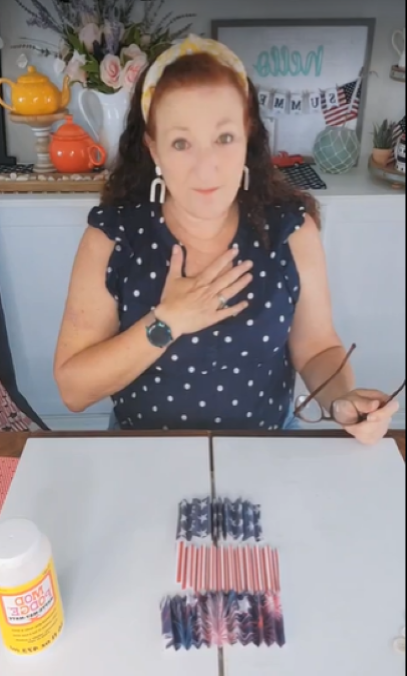
Next, you are going to fold each strip into a fan (like we used to do when we were kids)😊
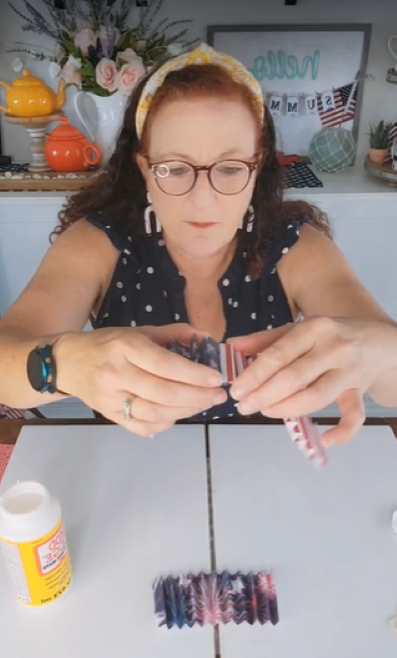
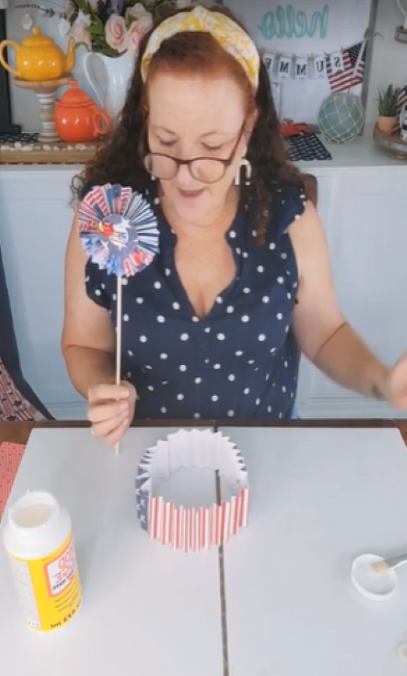
Glue the 3 “fans” together using Mod Podge, ensuring your folds line up. Enclose the strips in a circle (see the last picture).
Here is my patriotic paper cut into equal length and width strips
Here are my 3 strips folded into a fan-shape
Glue the 3 strips together keeping the folds aligned
This is what it should look like when all 3 strips are glued together.
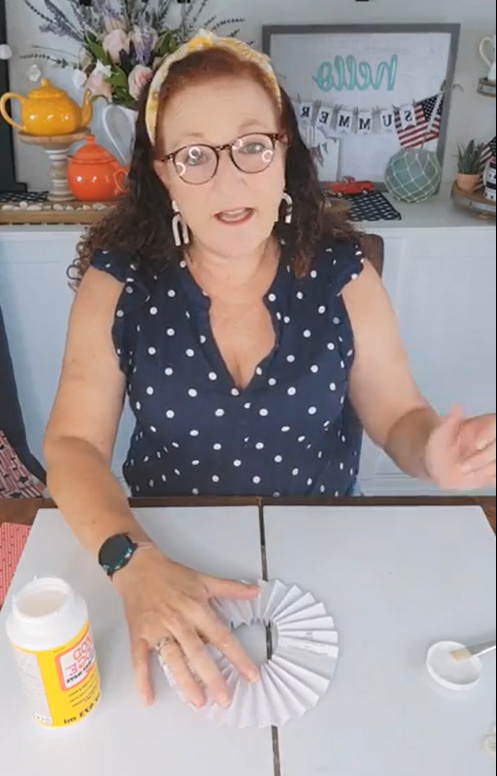
Press the circle flat and squish the center together.
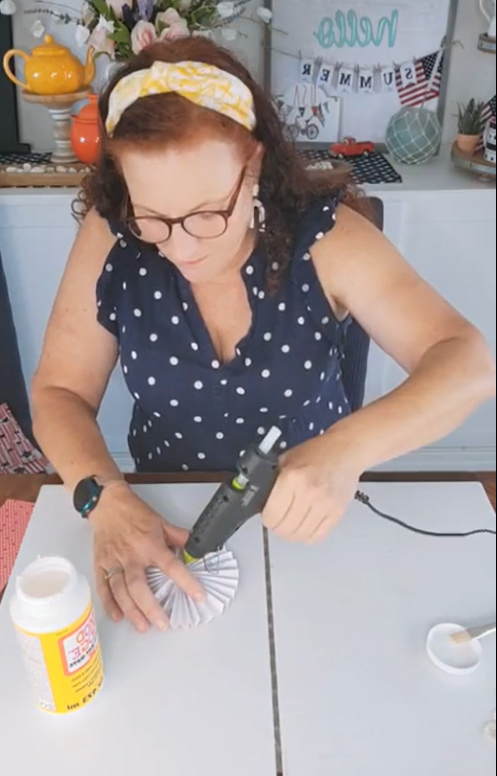
Apply enough hot glue to hold the paper into the medallion shape.
Hold until glue is firm.
Push the circle flat to form the medallion shape
Hot glue the center to hold the medallion shape
You can use a 1-inch and 2-inch circle cutter to cut circles out of coordinating paper.
Since I do not have circle cutters in that size, I looked around my home for something similar (a 3″ battery-operated candle and a 1″ spool of thread).
Draw a circle around each object on your paper and cut it out.
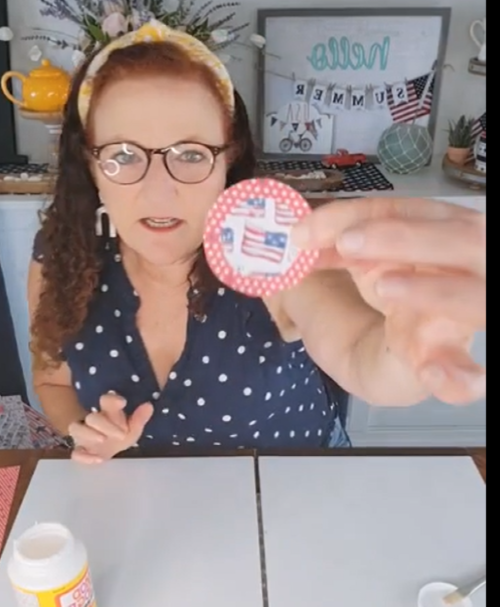
Glue the two circles together using Mod Podge (I also hot-glued a few buttons to mine) and then hot-glue the circles to your medallion.
Glue your two circles together
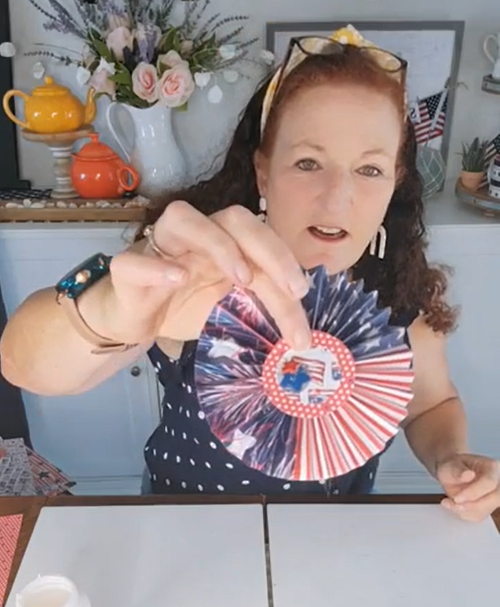
This is what your medallion will look like when the glue is set.
You can attach a wooden dowel to your medallion using hot glue like I did.
These are so cute when grouped with different-sized medallions.
I also added these sweet cardboard paper towel tube rockets to my grouping.
I love them!
Here is my patriotic centerpiece all ready for the holiday
I hope you enjoyed this tutorial on making these patriotic paper medallions as much as I did.
I would love to hear from you.
If you decide to make a few, shoot me a picture in the comments below.
Hi, I’m Danielle!
I am the designer, writer and diy’er behind this blog. I enjoy decorating my home for practically nothing by doing most of the work myself, finding new and imaginative ways to make it beautiful and by watching for killer sales. I find humor almost anywhere and can laugh at myself through it all. I have learned that most projects don’t go exactly as intended, but can be more beautiful than the original plan.
Re-Fabbed Boutique – Beautiful, quality clothing for women of all shapes and sizes!!
We use cookies to ensure that we give you the best experience on our website. If you continue to use this site we will assume that you are happy with it.
You can revoke your consent any time using the Revoke consent button.