The year 2021 is almost 3 months old which means we are heading into Spring Cleaning Season! Yay! Not excited?! Yeah…I get it. If you are not the type to keep up with cleaning out the clutter on a regular basis, Spring Cleaning can seem like an overwhelming nightmare! If this is true, I hope this article will help. First and foremost, take a deep breath. This is not a race and you should not compare yourself to anyone. This life is your journey. Try to do one room a day. I suggest you start with the easiest room. In my house that would be the guest bathroom. It is small and the cupboards don’t get too cluttered normally.
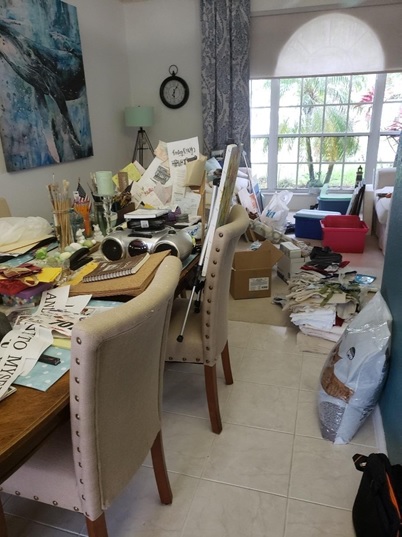
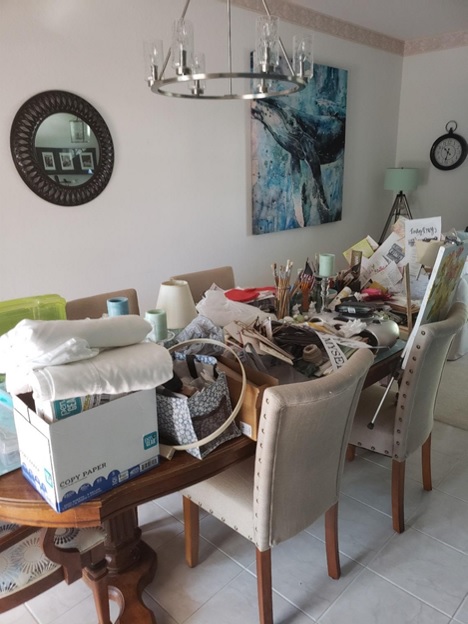
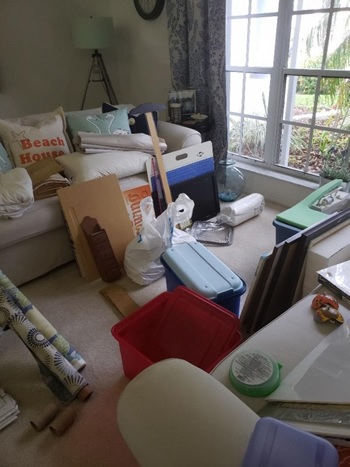
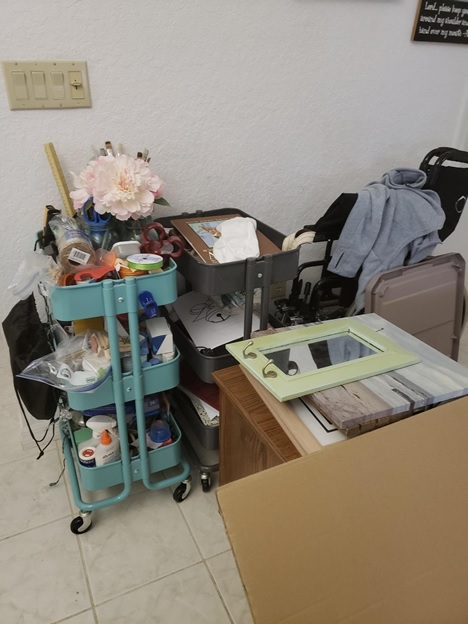
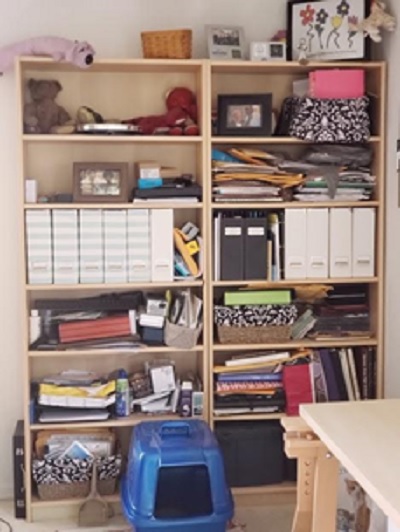
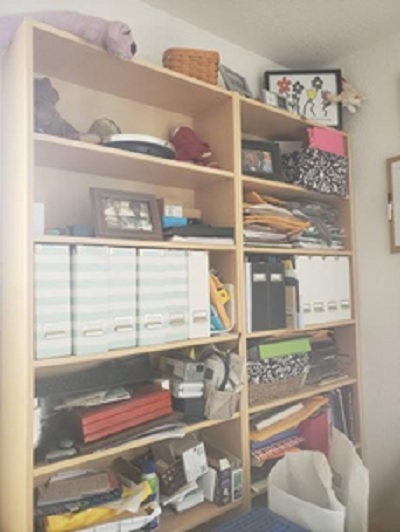
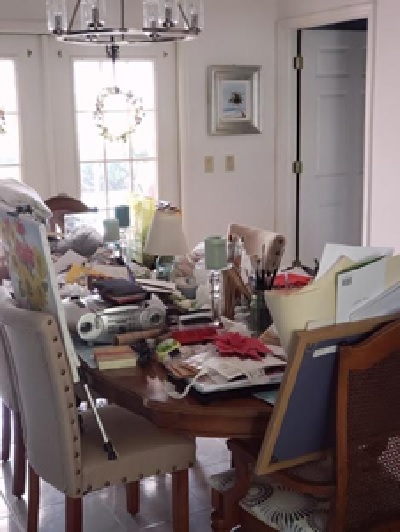
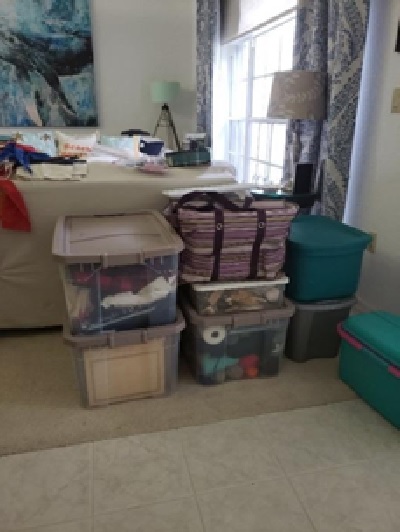
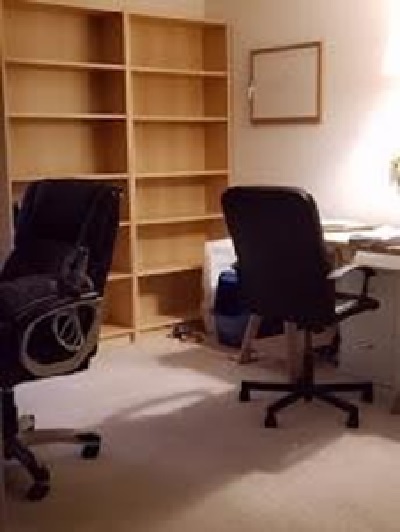
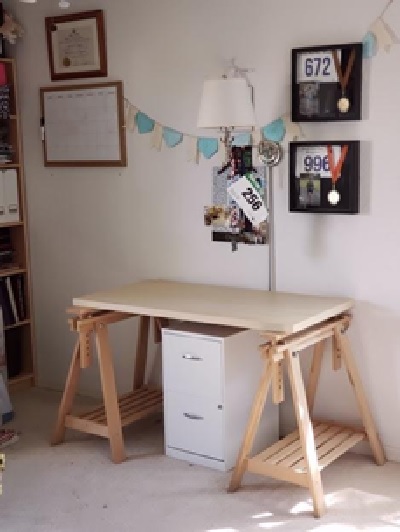
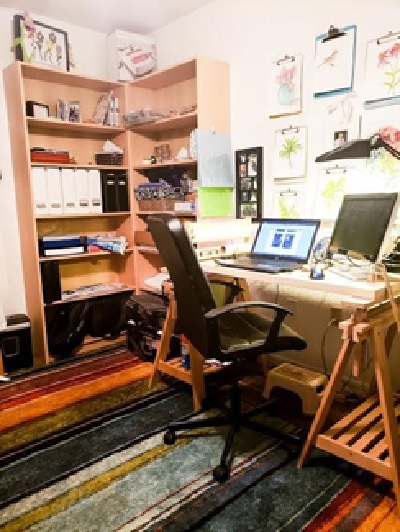
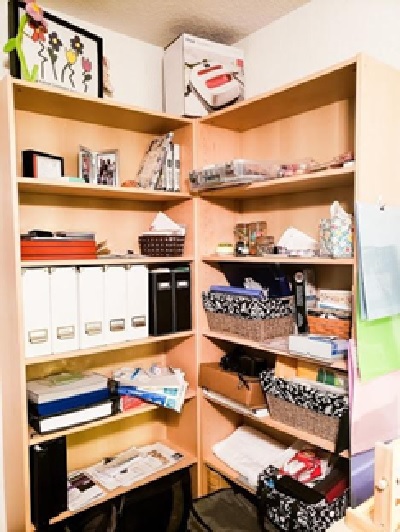
The picture below is all the “things” I had collected in my office. I brought everything out into the living room to sort.
Separate all the things into 3 piles. I don’t use baskets or boxes for this because my piles are usually too large to fit into containers.
My first pile is for things I want to keep. This is usually:
- things that still fit,
- things that I have used in the past year, and
- things that I still have an attachment to.
My second pile is for things I want to donate. This is usually:
- things that no longer fit or that I haven’t worn in the past year,
- things I no longer use, but are still in good shape for someone else, and
- things I no longer have an attachment to.
My third pile is for, you guessed it…things I want to throw away or trash.
- things that are broken or have pieces missing,
- things that are outdated, and
- things that are outdated or unhealthy to keep.
Once you have your three piles completed – take a break! Whew what a big task you just did! Go You!!! Grab a snack and sit if front of your piles.
Rule #1 and it is a BIG rule…DO NOT REARRANGE OR SECOND-GUESS YOUR PILES…YET!!! They are to stay in the piles you originally designated.
Now
Step #1
Take your trash or throw away pile out of the equation (bag it up and take it outside. This bag never comes back in the house.
Step #2
Let’s take a second look at the donate pile. Are you sure everything in this pile is good enough for donation? Are there buttons missing or is the zipper broken? How about those kitchen items? Are all the pieces there? If not, place these items in a second trash bag and take this bag outside with your first trash bag. If everything looks to be in order, bag it up and write “donate” on the bag. This bag is never to be opened again. DO NOT second-guess if you need these things or not.
Step #3
Let’s take a SERIOUS look at the keep pile. This is where you have to be extremely honest with yourself. Have you used, played, worn or looked at each individual thing in the past year? If not, and it is still in good shape, donate it! Put it in a second donate bag right now and do not open it again! So hard to do, but imperative to a clean, healthy home.
Step #4
Wipe down all surfaces in the room you just decluttered with disinfecting cleaners and replace drawer and shelving liners with new ones. Sweep all floors and replace any rugs or flooring that is worn. Clean all things that are going back into this area (i.e. launder garments, wash vases, etc.).
Step #5
This is the most fun step! Arrange all the things you have left. Don’t they look great now that they are clean and not in a cluttered space? I love looking at my accomplishment once my room is all done.
I know that spring cleaning can be a very hard thing to do. But think of how much happier and healthier you can be in a clean, clutter-free environment! Once you get started, it will become easier, I promise!
Just clean one room a day, or one half of a room if it is a large space. I know that my master bedroom is my biggest task because I like to keep clothing well past it’s “expiration date!” Meaning…clothing that is too small, too large, out of style or broken zippers/missing buttons. Once my closet is in order, my whole bedroom looks better! I actually wear all my clothes once they are no longer pushed in the back of my closet due to clutter. Yay!
I hope this tutorial helps you get your spring cleaning done in a much easier, faster fashion. I really want to help you feel less-stressed, happier and to love your space again. Please drop me a comment if this was a help to you or if you have an idea for your Spring Cleaning routine. I would LOVE to hear from you!
— Danielle

