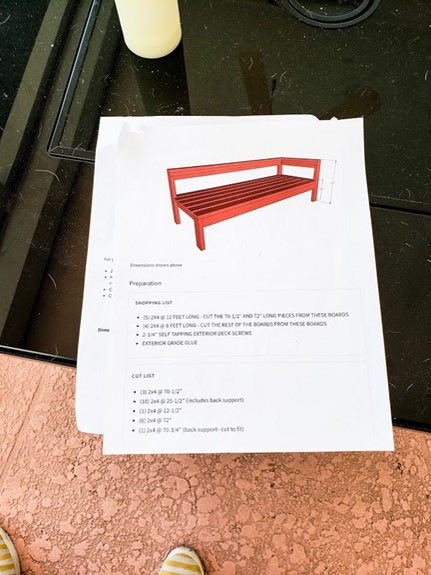
So last week two amazing things happened. First, my son and his wife flew down from Ohio. We had such a great visit with them! Second, I got the opportunity to build an outdoor sofa with my son! It was the first time ever that my power tool abilities were good enough to be able to “keep up” per say. 😊 I had printed out plans from my favorite building blog https://www.ana-white.com/ and was ready to go when they arrived. Now, if you knew my son, you would know that he would rather design the thing himself. Which is good, except he builds everything as if 50 elephants were going to use it for soccer practice! I mean, this thing is sturdy Y’all!
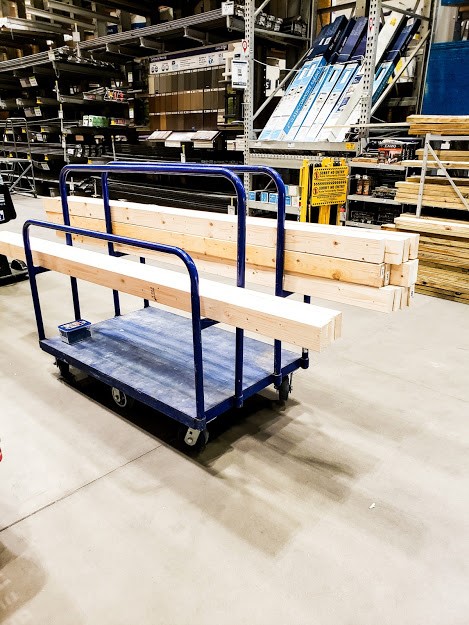
We went to our local lumber yard and picked out the 2 x 4’s and 2 x 6’s we needed for our project. I should have taken a picture of the cart once we got it loaded. It looked like we were planning to build a house! 😉
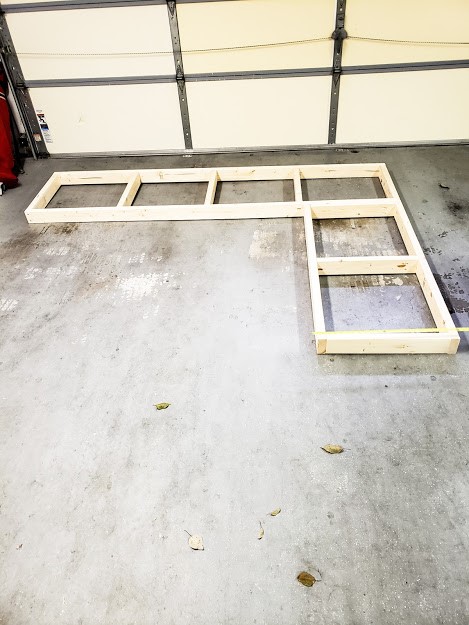
First, we built the skeleton frame in the garage. It was easier to get it started close to where we set up the saws. We kept the saws in the garage because we didn’t want to have to clean the pool of sawdust once we were finished.
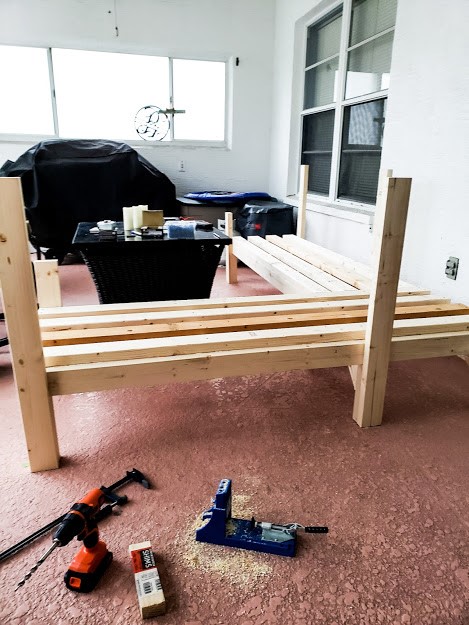
We used a compound miter saw, a 5 ½ circular saw and a Dremel Multi-Max oscillating saw. We also used a Kreg Jig, 2 Black+Decker 20-volt MAX Lithium-Ion drill drivers (one loaded with a drill bit and one loaded with a driver or Philips screw bit).
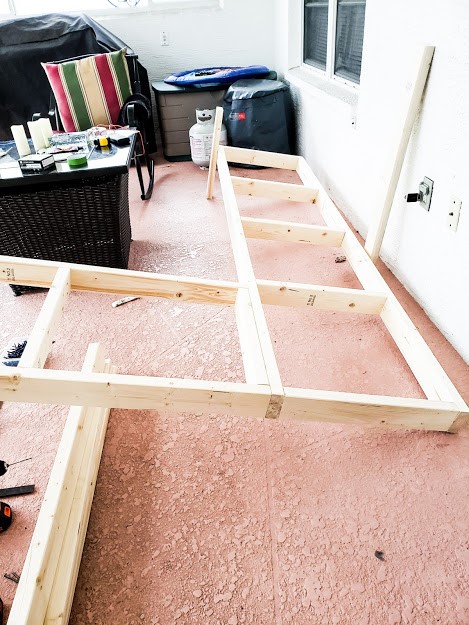
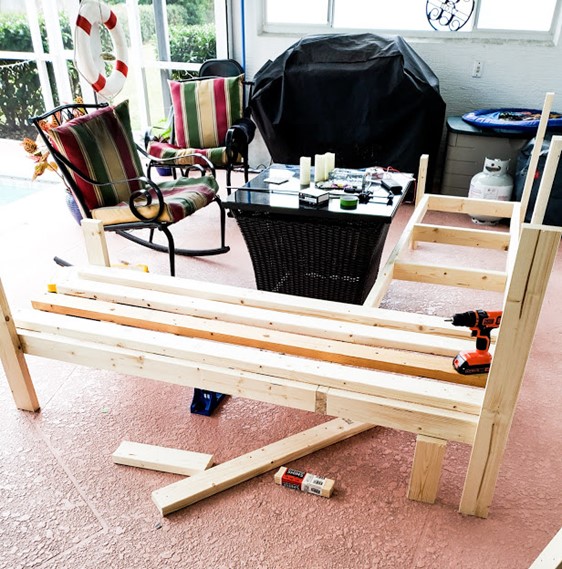
The frame was moved to the lanai to be assembled. It was starting to get too heavy at this point anyways. 😉
We used wood clamps to hold the piece together when drilling the pilot holes. You don’t have to use clamps, but it sure makes the process MUCH easier!
The weather, for the most part, was beautiful! We did have a couple of rainy days though.
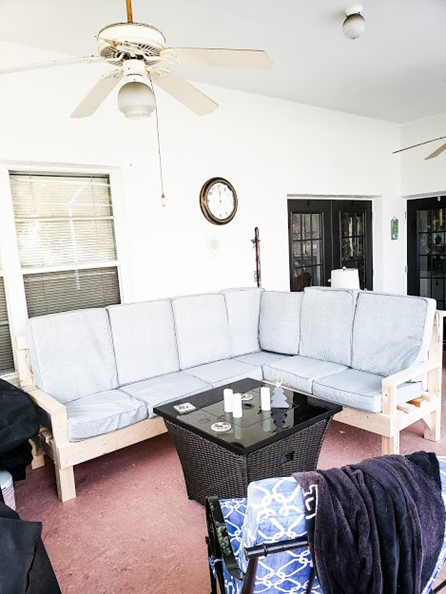
As you can see we decided to make this sofa one “L” shaped piece (not two straight pieces pushed up next to each other as in the original plans). We both thought that it would be much sturdier this way.
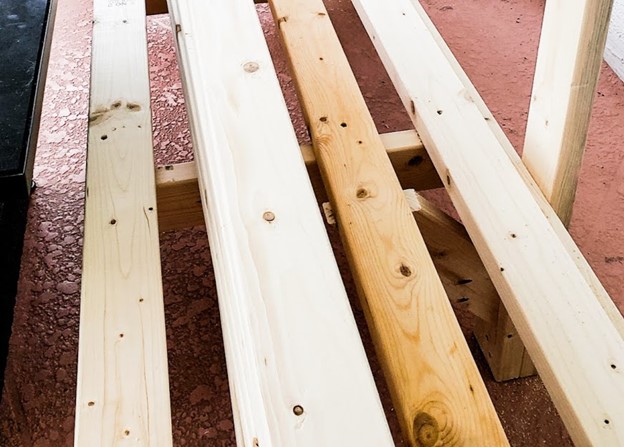
We attached 2 x 4 pine boards to the frame for seating. Cushions will be placed on top of this.
It’s going to be pretty big when finished!
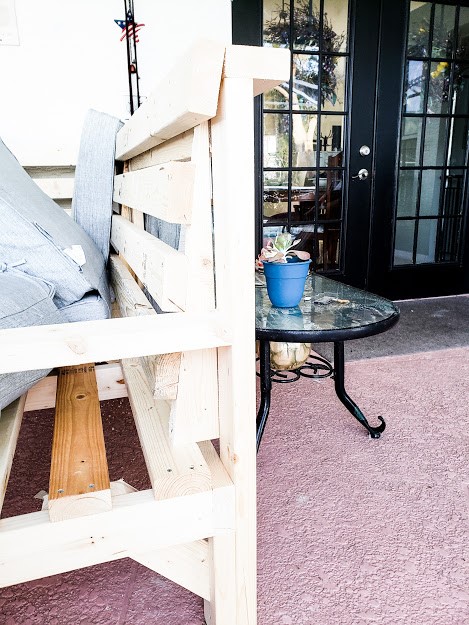
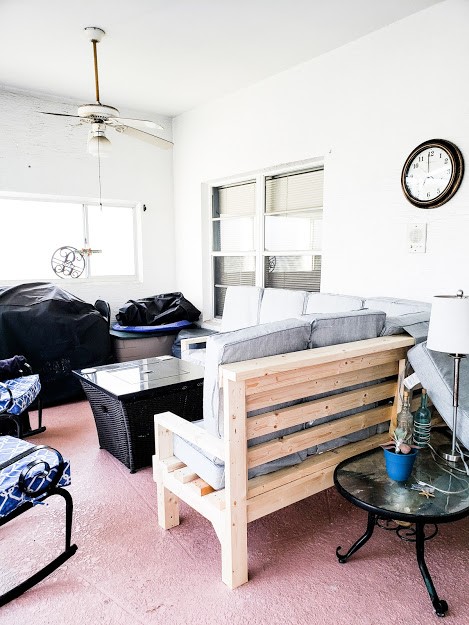
Now this would be strong enough for most of us, but my son builds a very strong product! Notice the bracing under the seating. This was not on the original drawing! It allows the seat to stay stable and not “rack” over time.
We built the arms as instructed on the original plans, but built an angled back piece for added comfort. I mean, who likes to sit “bolt upright?” It’s surprising just how different this little angle made when the cushions were put on.
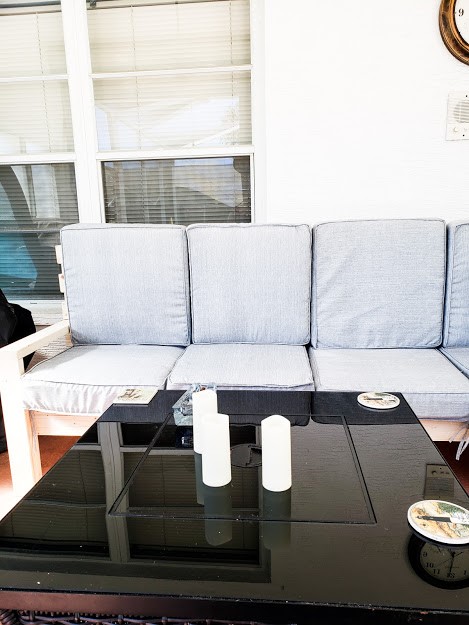
Speaking of the cushions, I found these at our local AtHome™ store. Remember, if you are planning to build outdoor furniture (or any furniture for that matter) make the furniture to the size of the cushions! Unless you are a great seamstress, this will save you a ton of heartache!
Did I follow this rule?…well… no I did not. ☹ It is a good thing that I know how to sew and how to alter these cushions.
As you can see, the backs are a little too tall for this piece so I am going to have to shorten them a bit. I also had to buy an extra cushion for the corner piece.
They stick up just a tad too much over the top rail.
They are pretty comfortable, but I am just not liking how they look yet.
I cannot wait to have our first fire pit party on our new sofa!
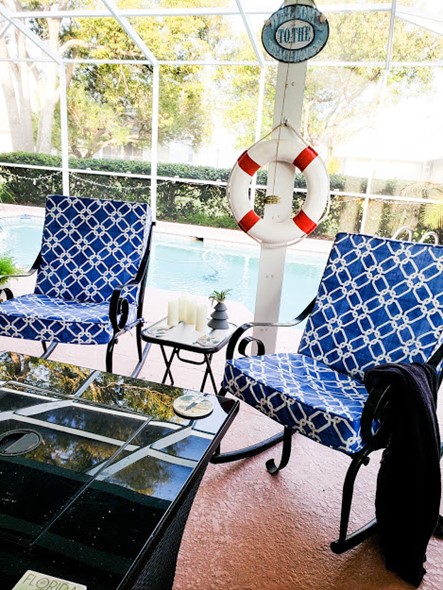
I bought coordinating cushions for the two rockers we already had. I got them at a garage sale 5 years ago. I need to fix the strap from underneath the one on the right. The little side table is a Walmart “end of the season” bargain and the firepit was a house-warming present from our friends. 😊
Thank you all for stopping in to see what we’ve been up to around here! I LOVE sharing ideas with you. If you have any tips or ideas I would love to hear about them!
— Danielle

